
On the portable side, here’s a nice video of the Elkatone 610, which I use if I want to bring a ‘Leslie’ out. Not quite the real thing, but spins the air just fine, and gives a much better 3D-effect than most simulators, especially the high rotor works very well. Crossover is different, and the lower speaker gets the full signal. Fits into the boot of my car, and works well with the hot output of a Nord C1.
Monthly Archives: December 2015
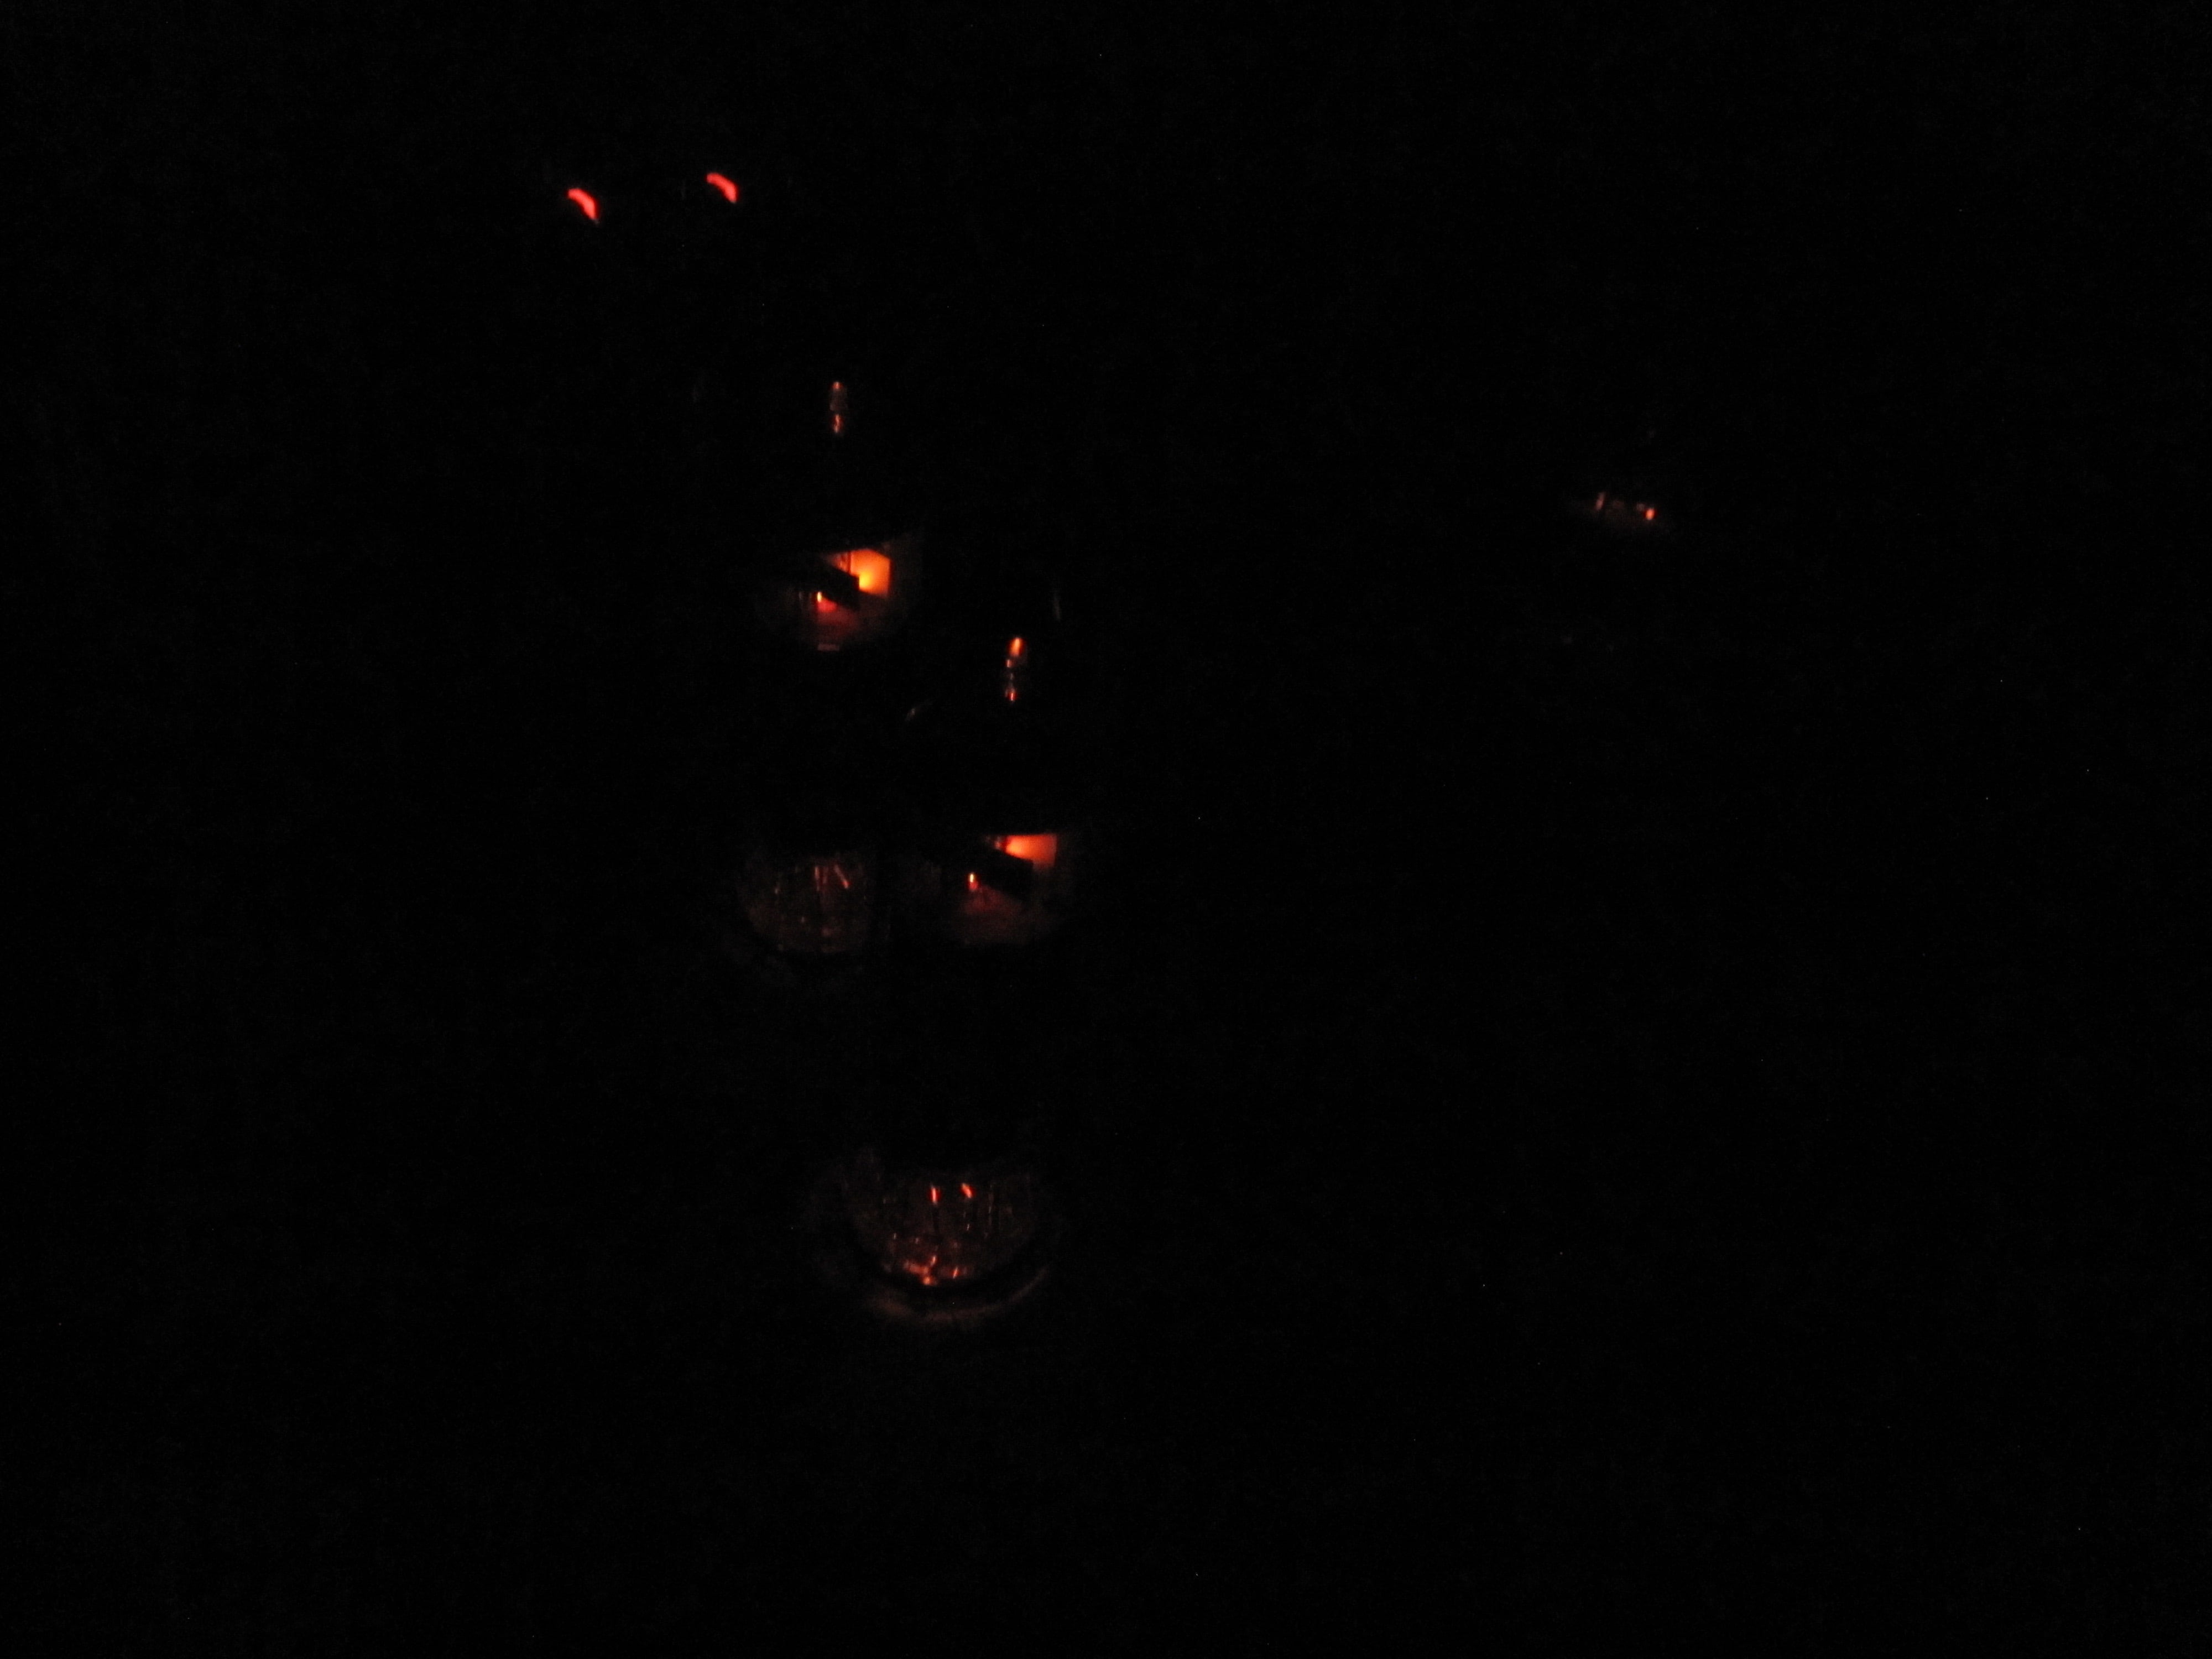
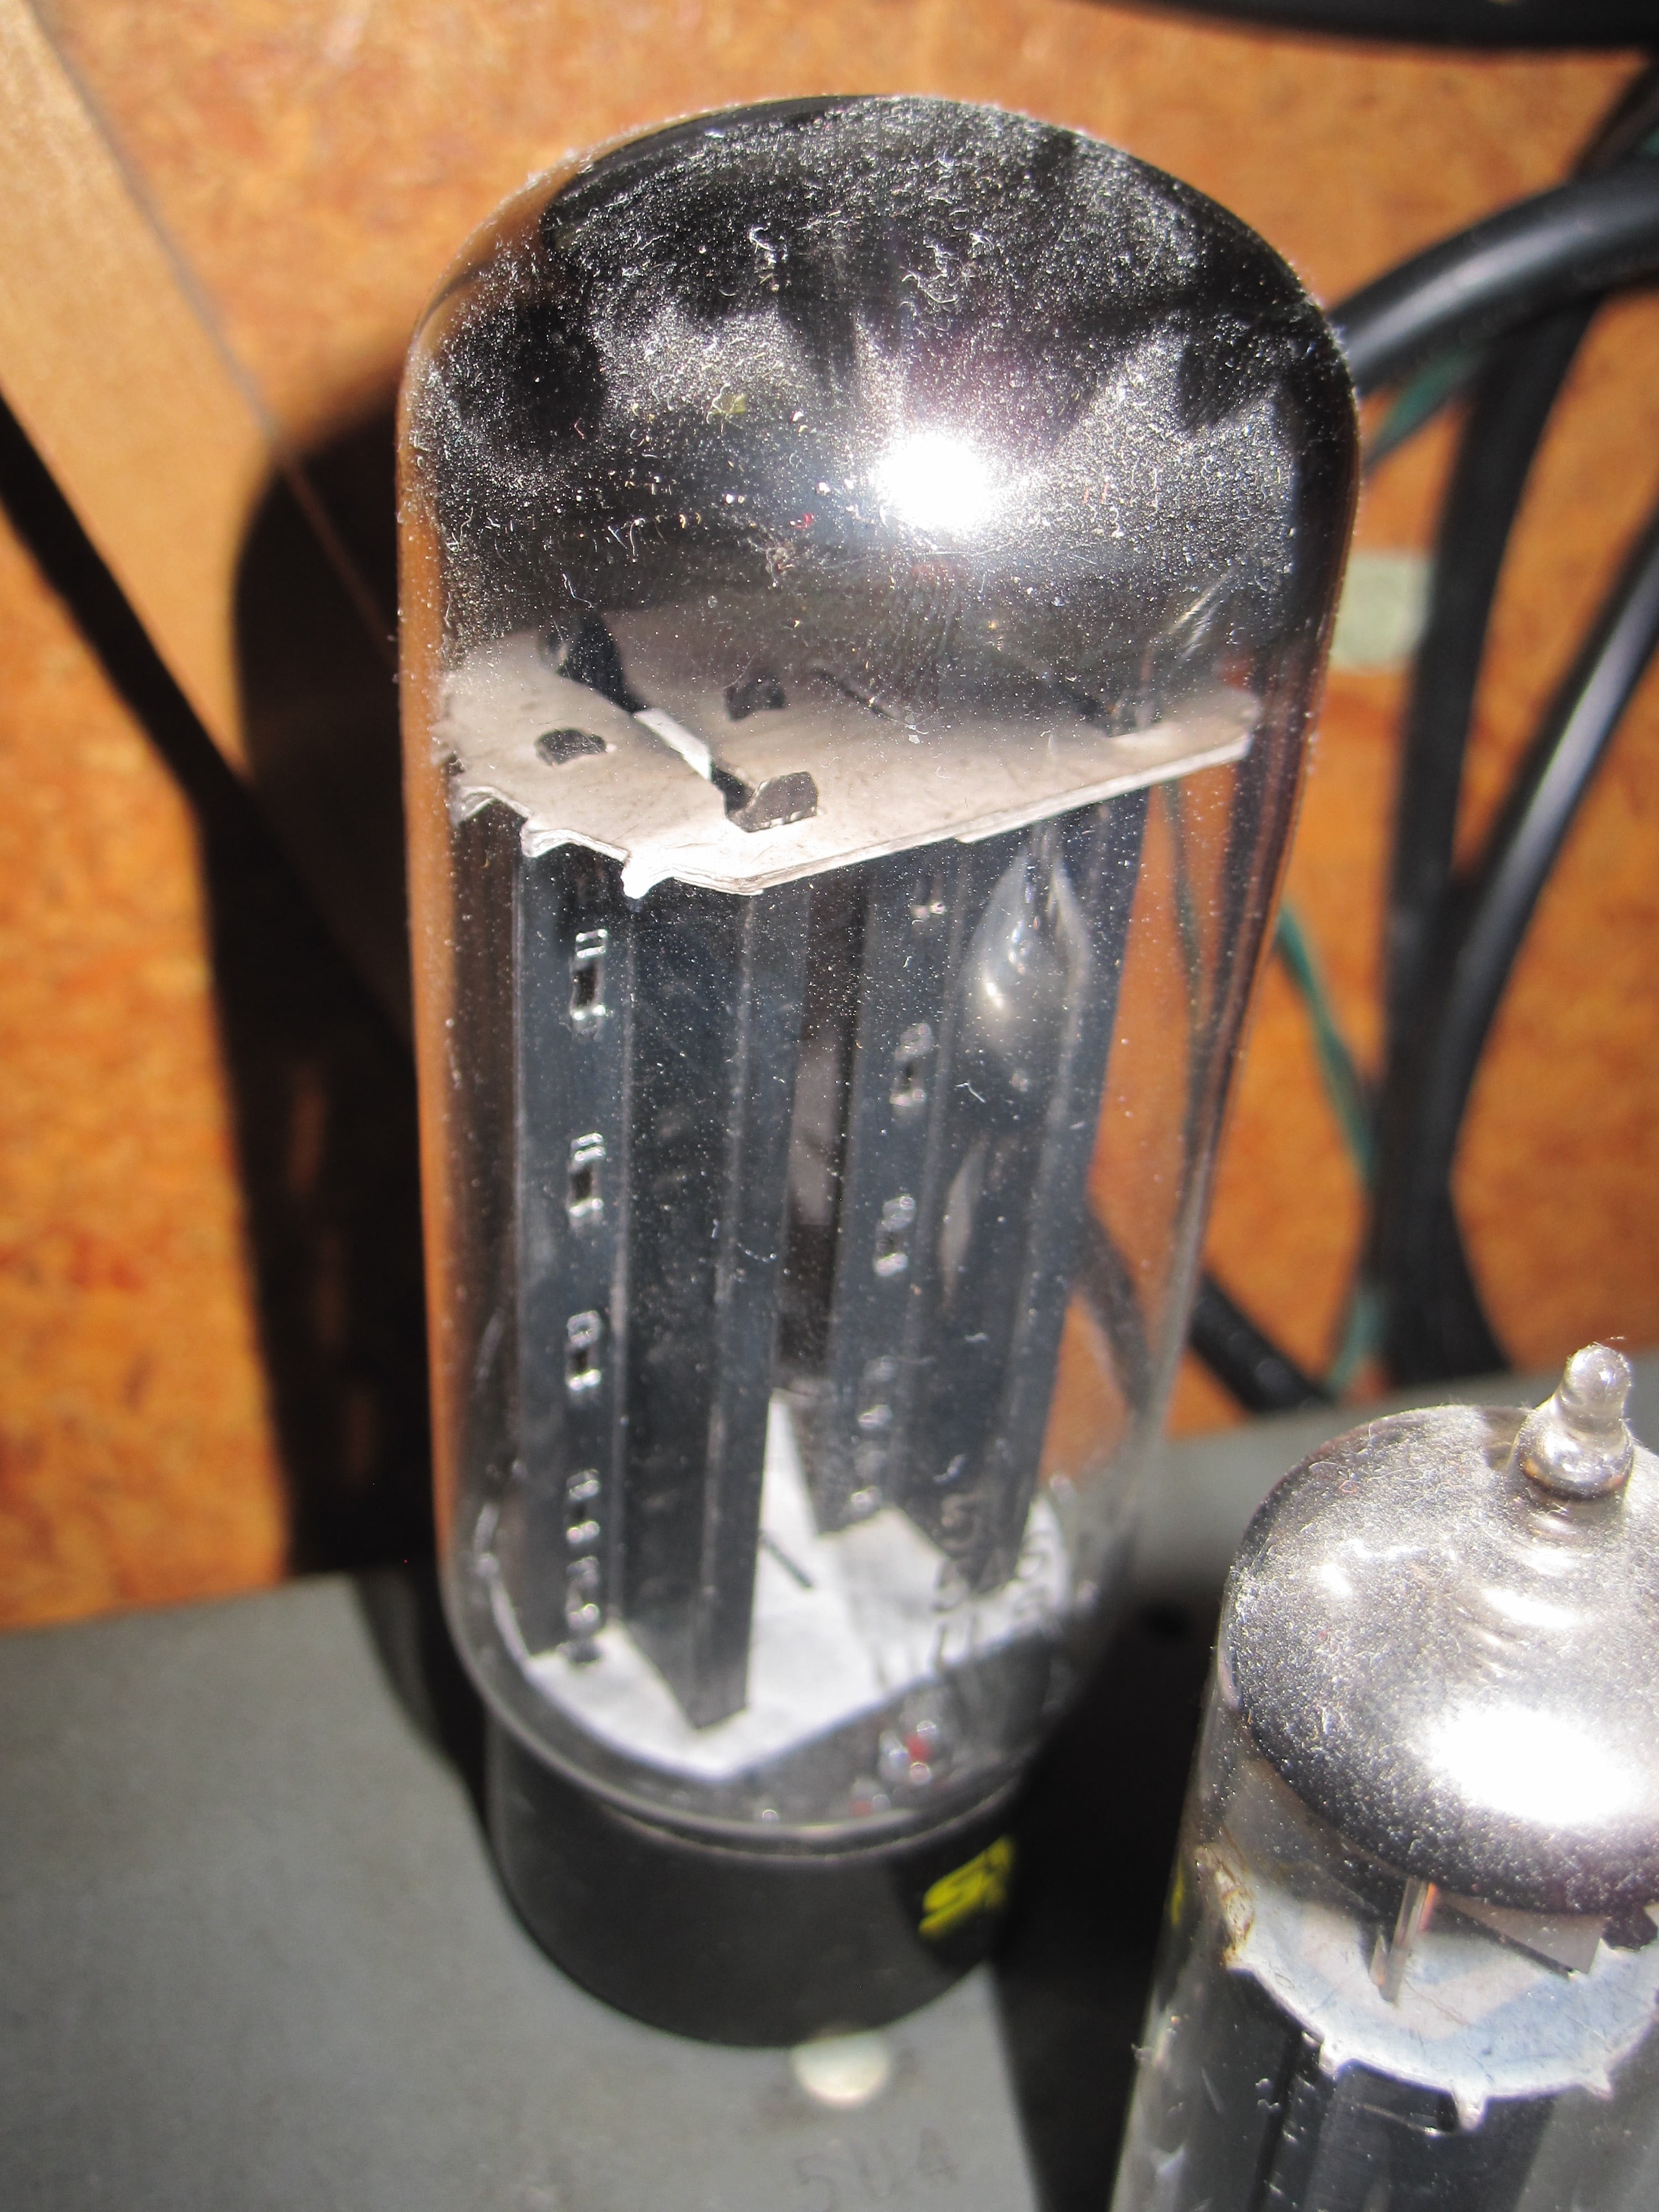
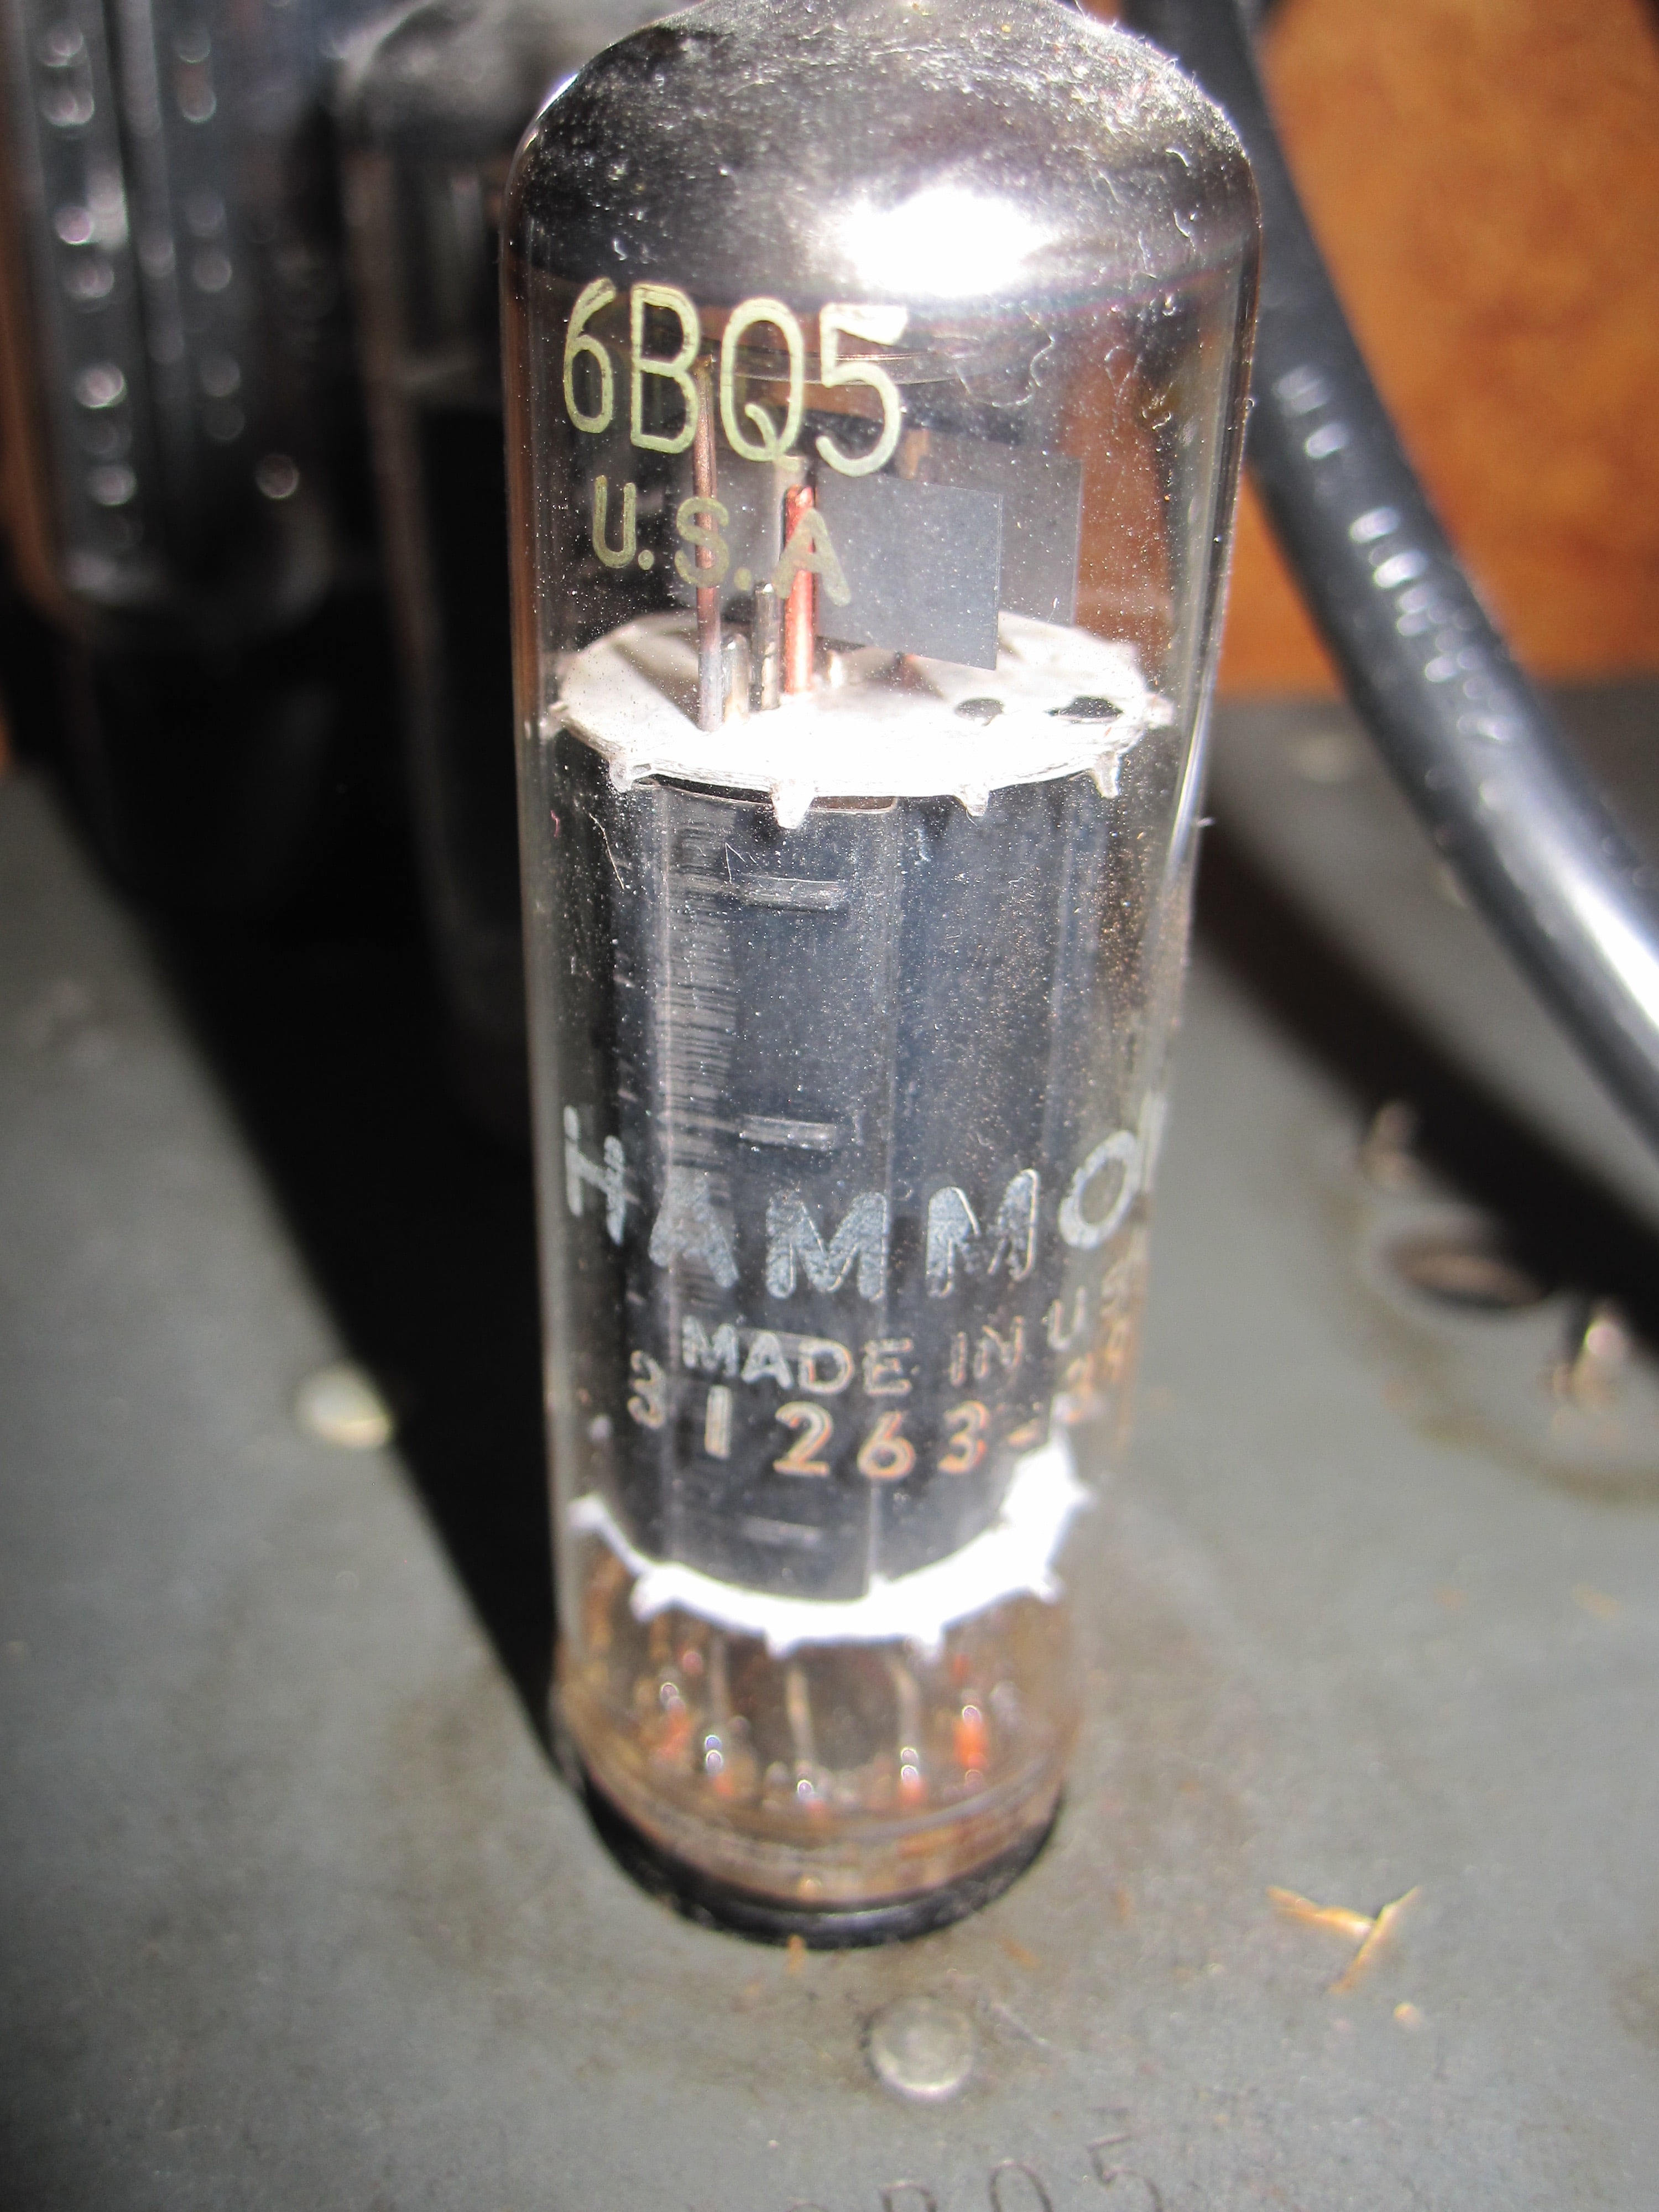
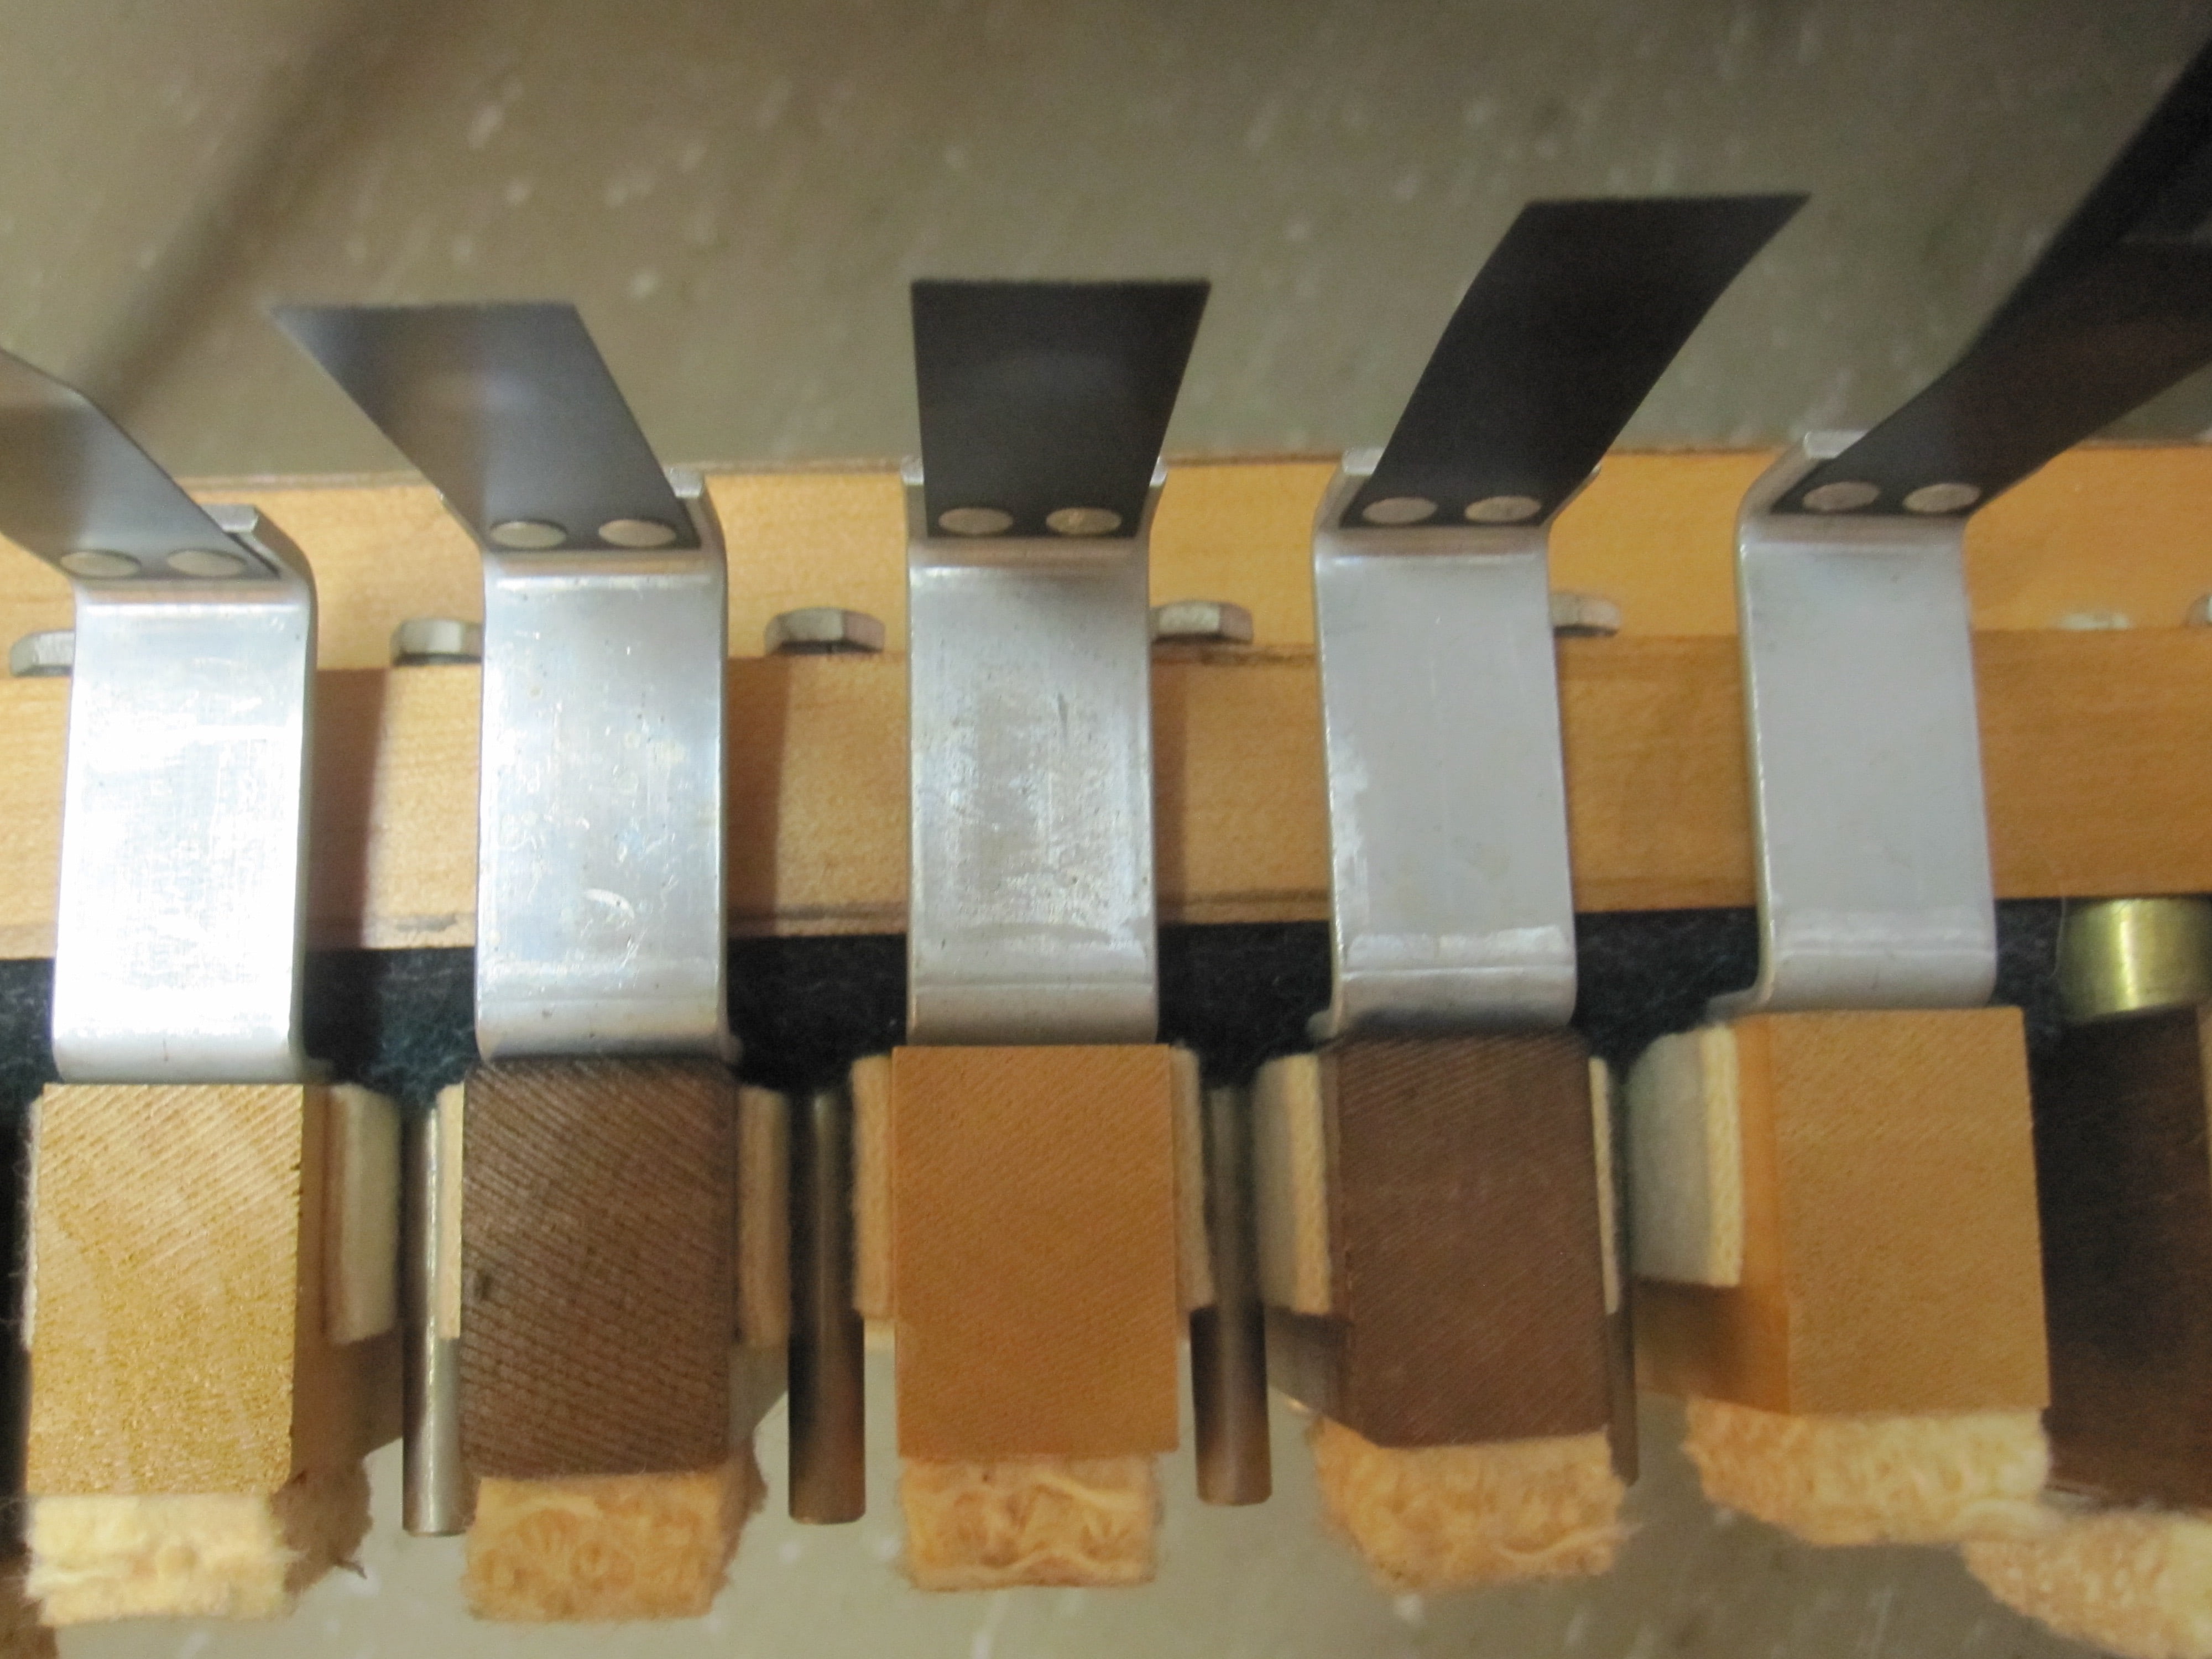
Christmas time – Hammond console tubes glowing
Since it’s almost Christmas, here’s a seasonal picture of all the tubes in my Hammond glowing in the dark.
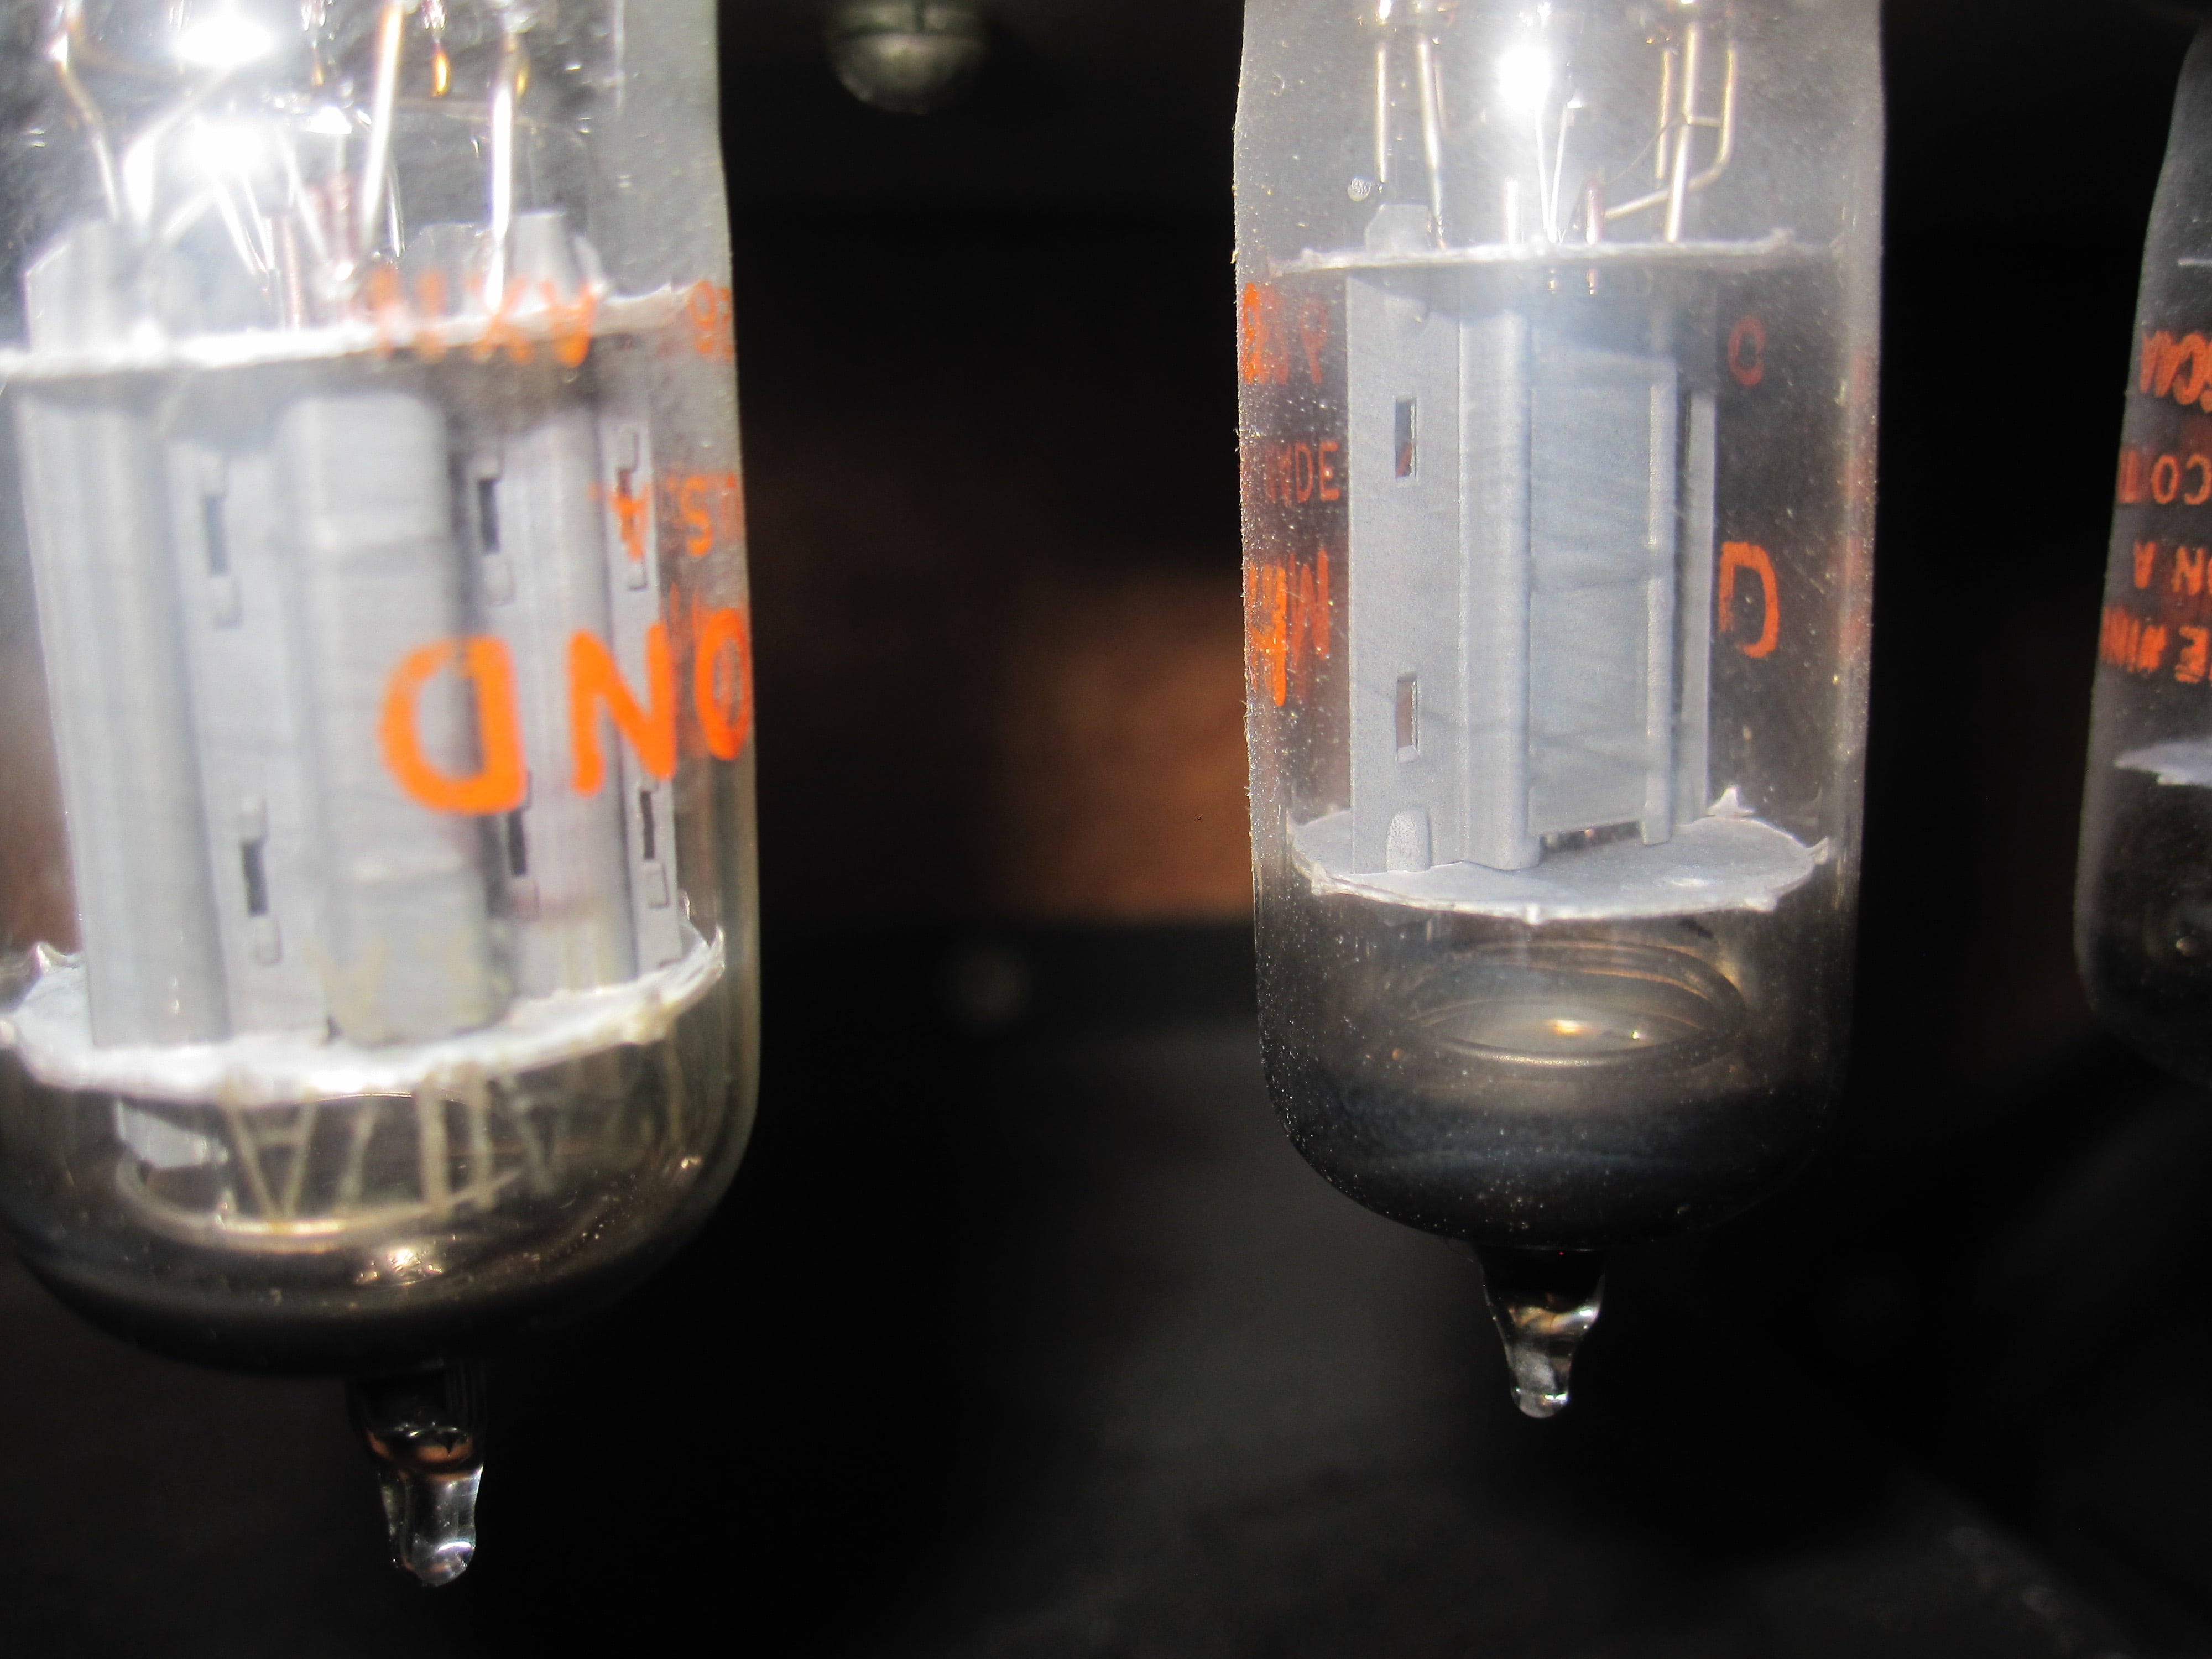
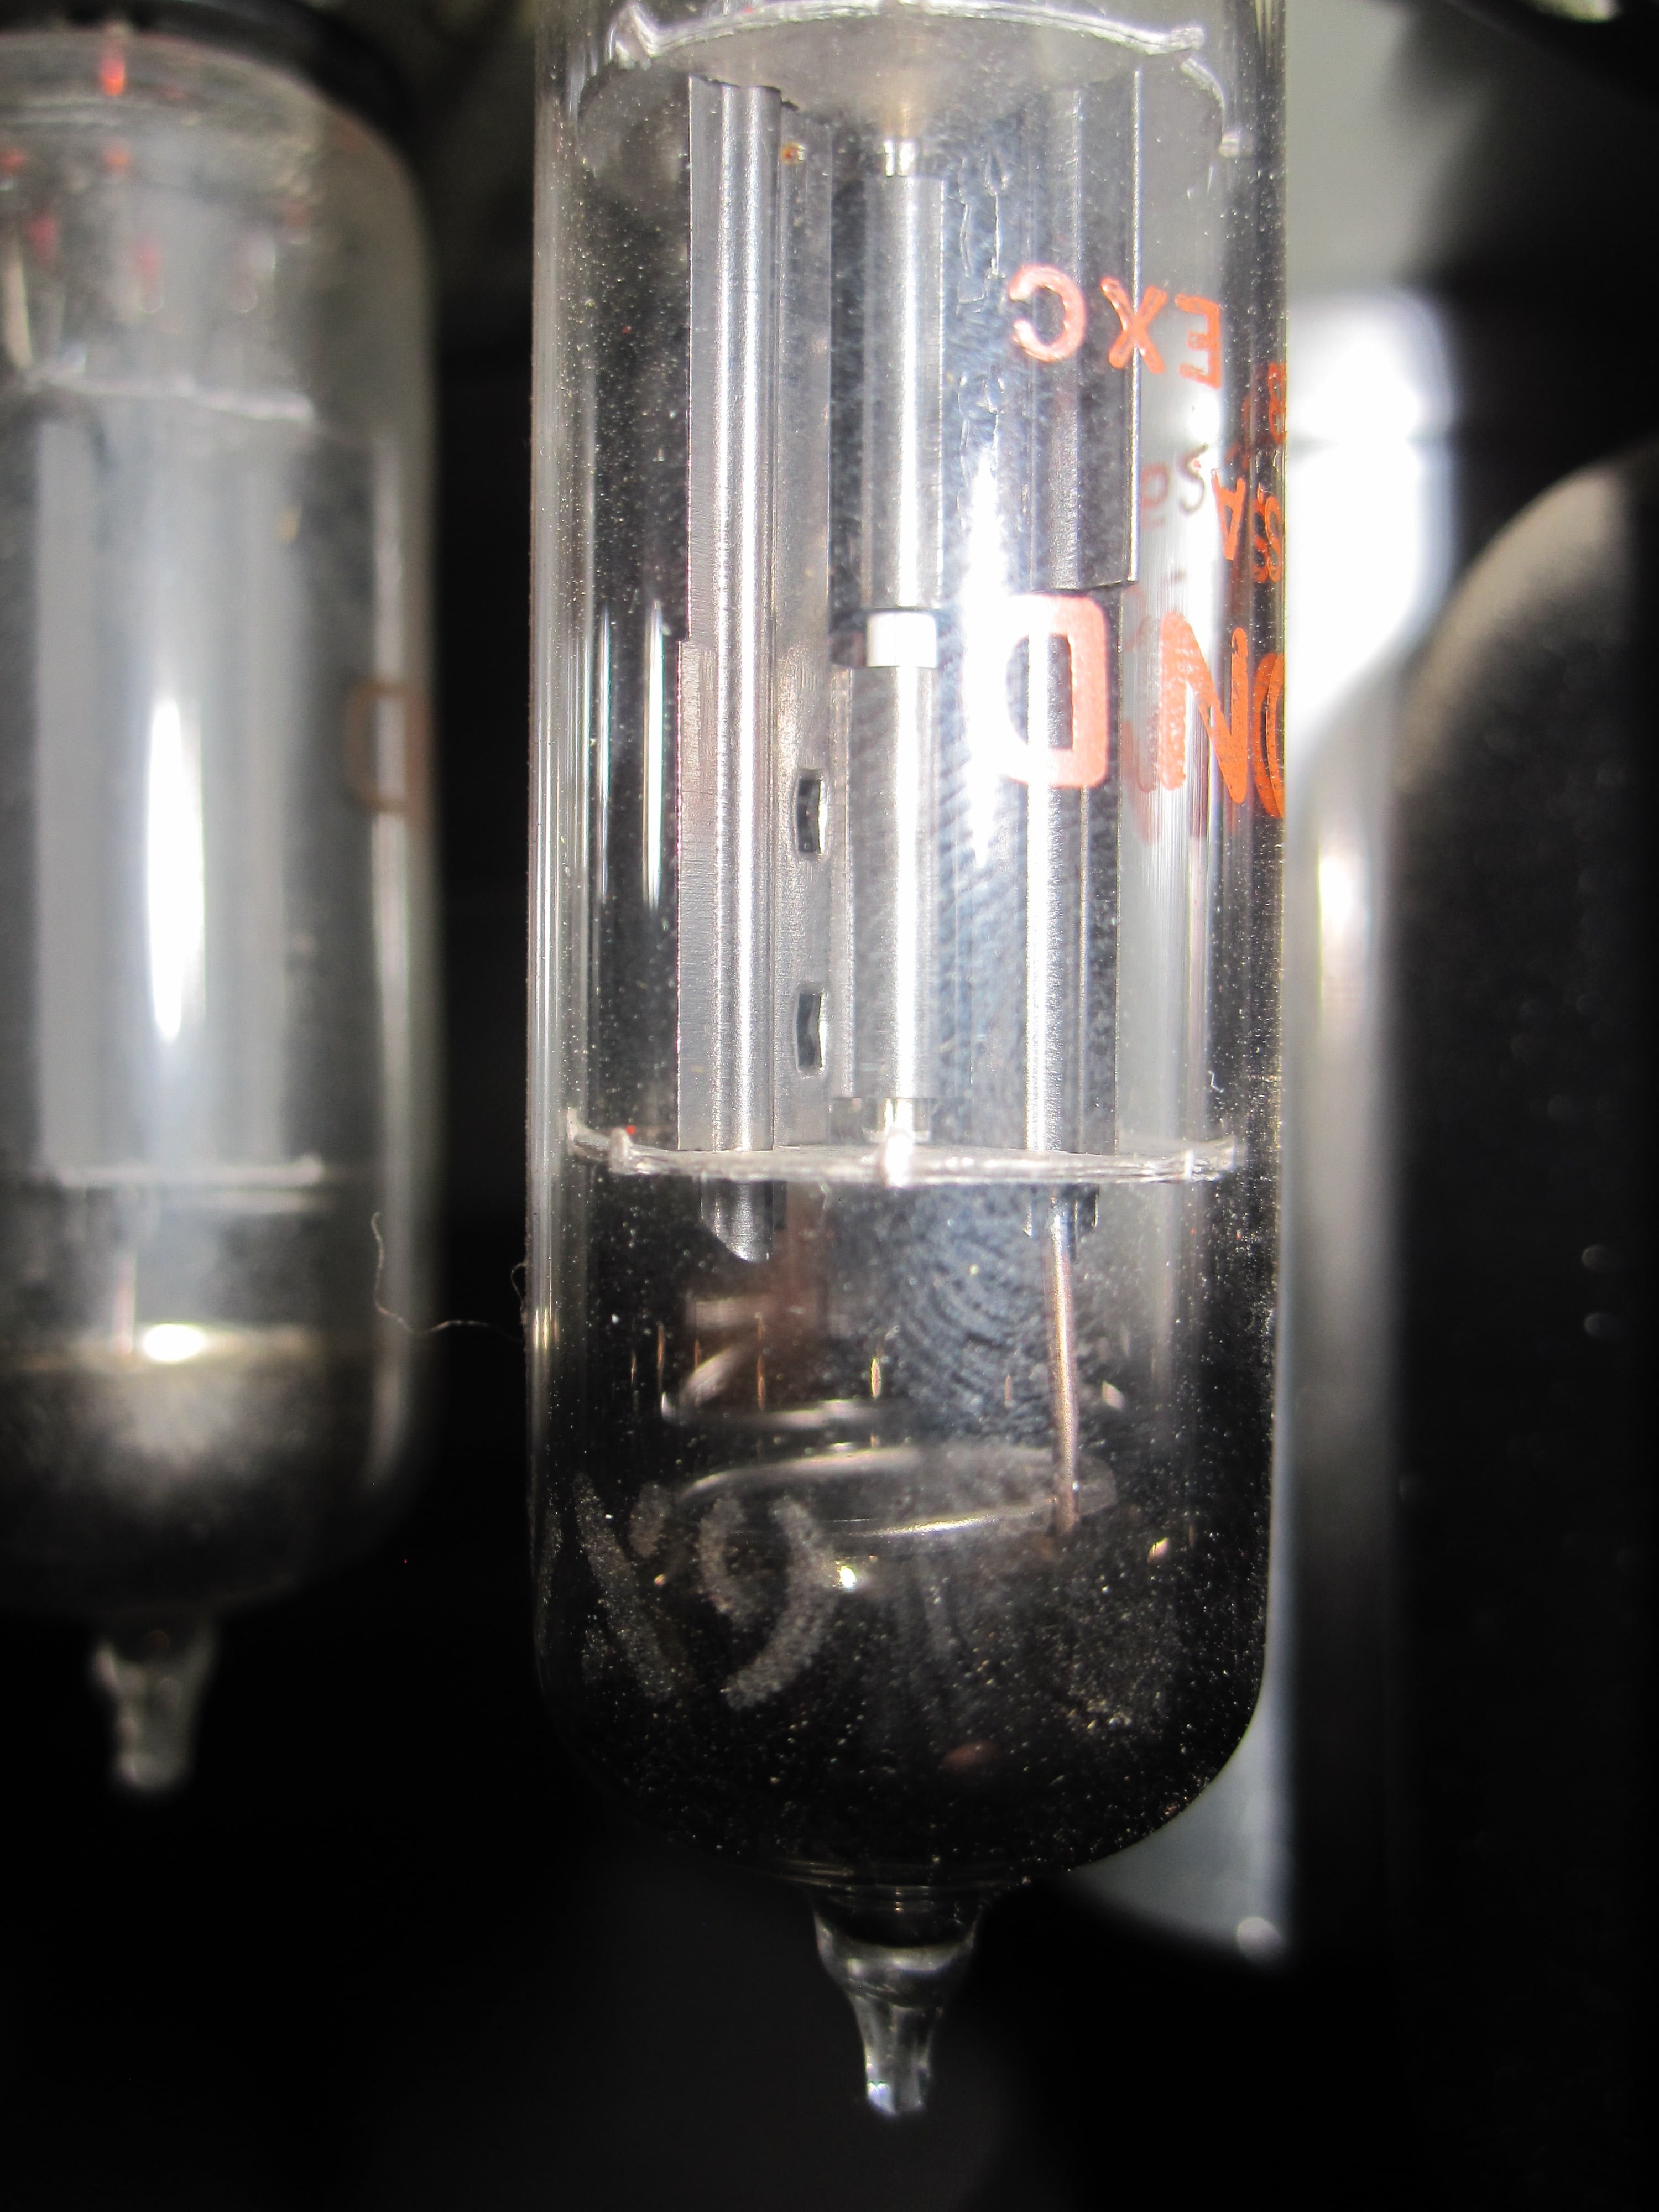
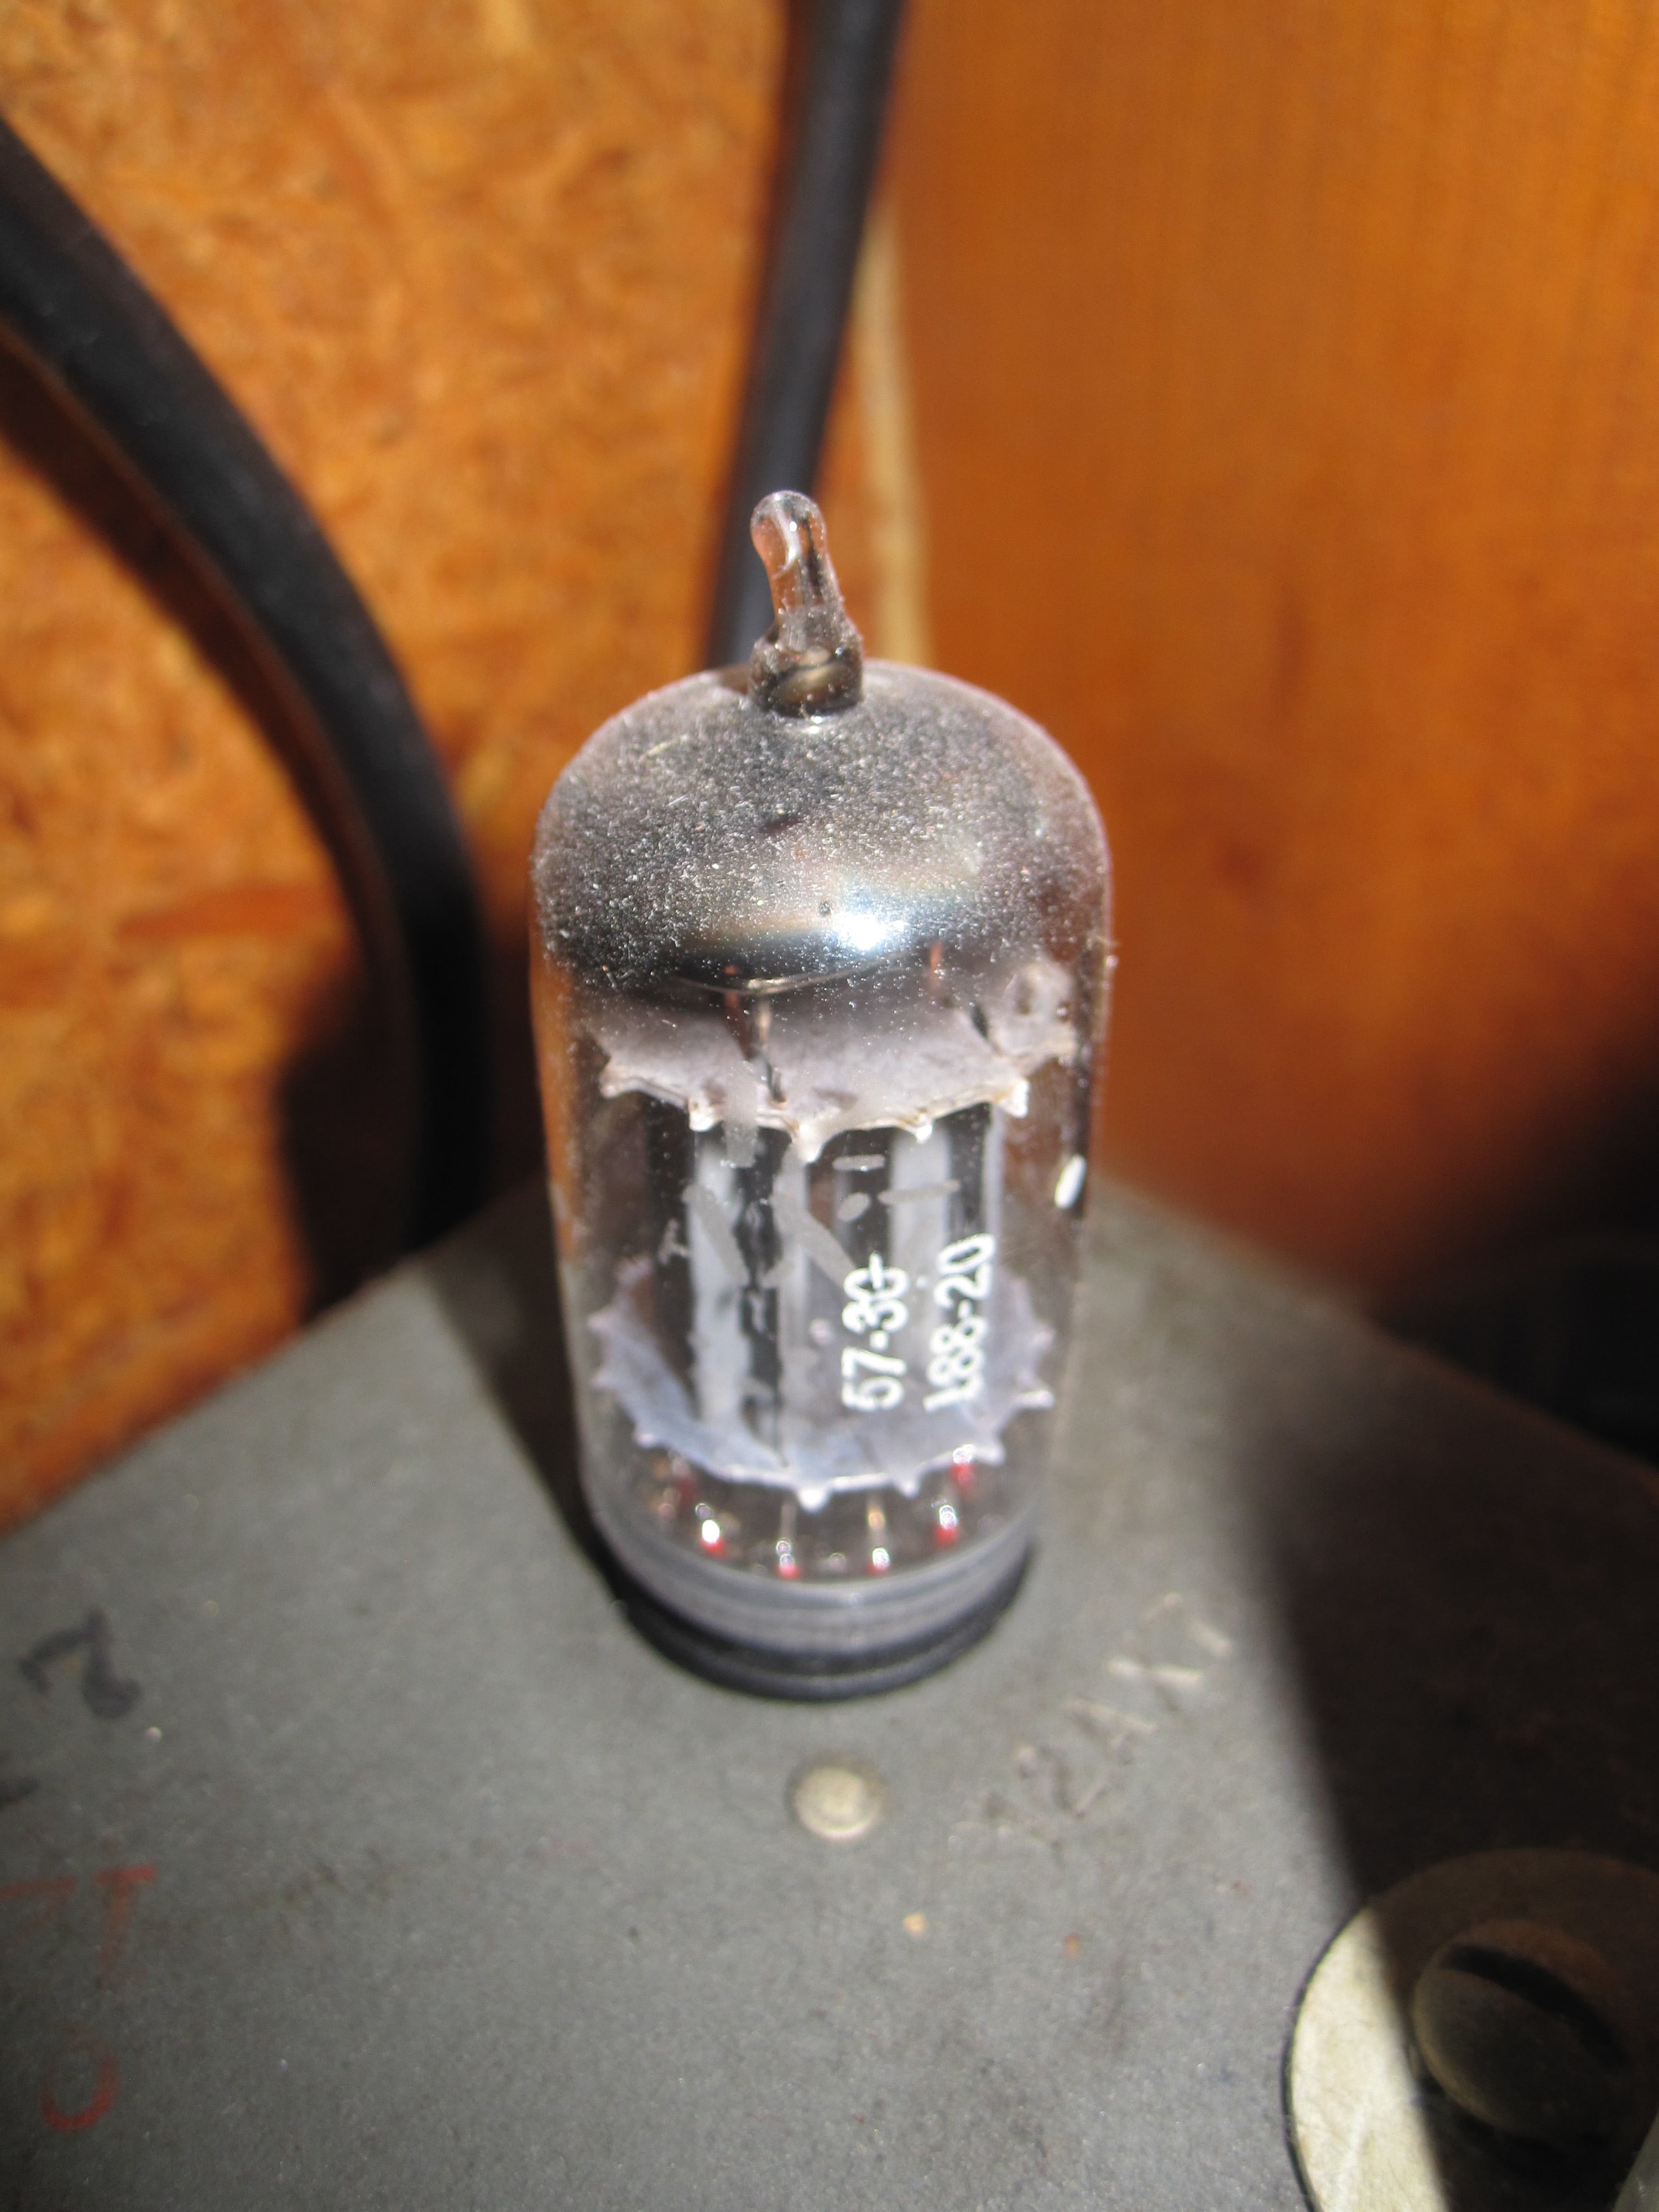
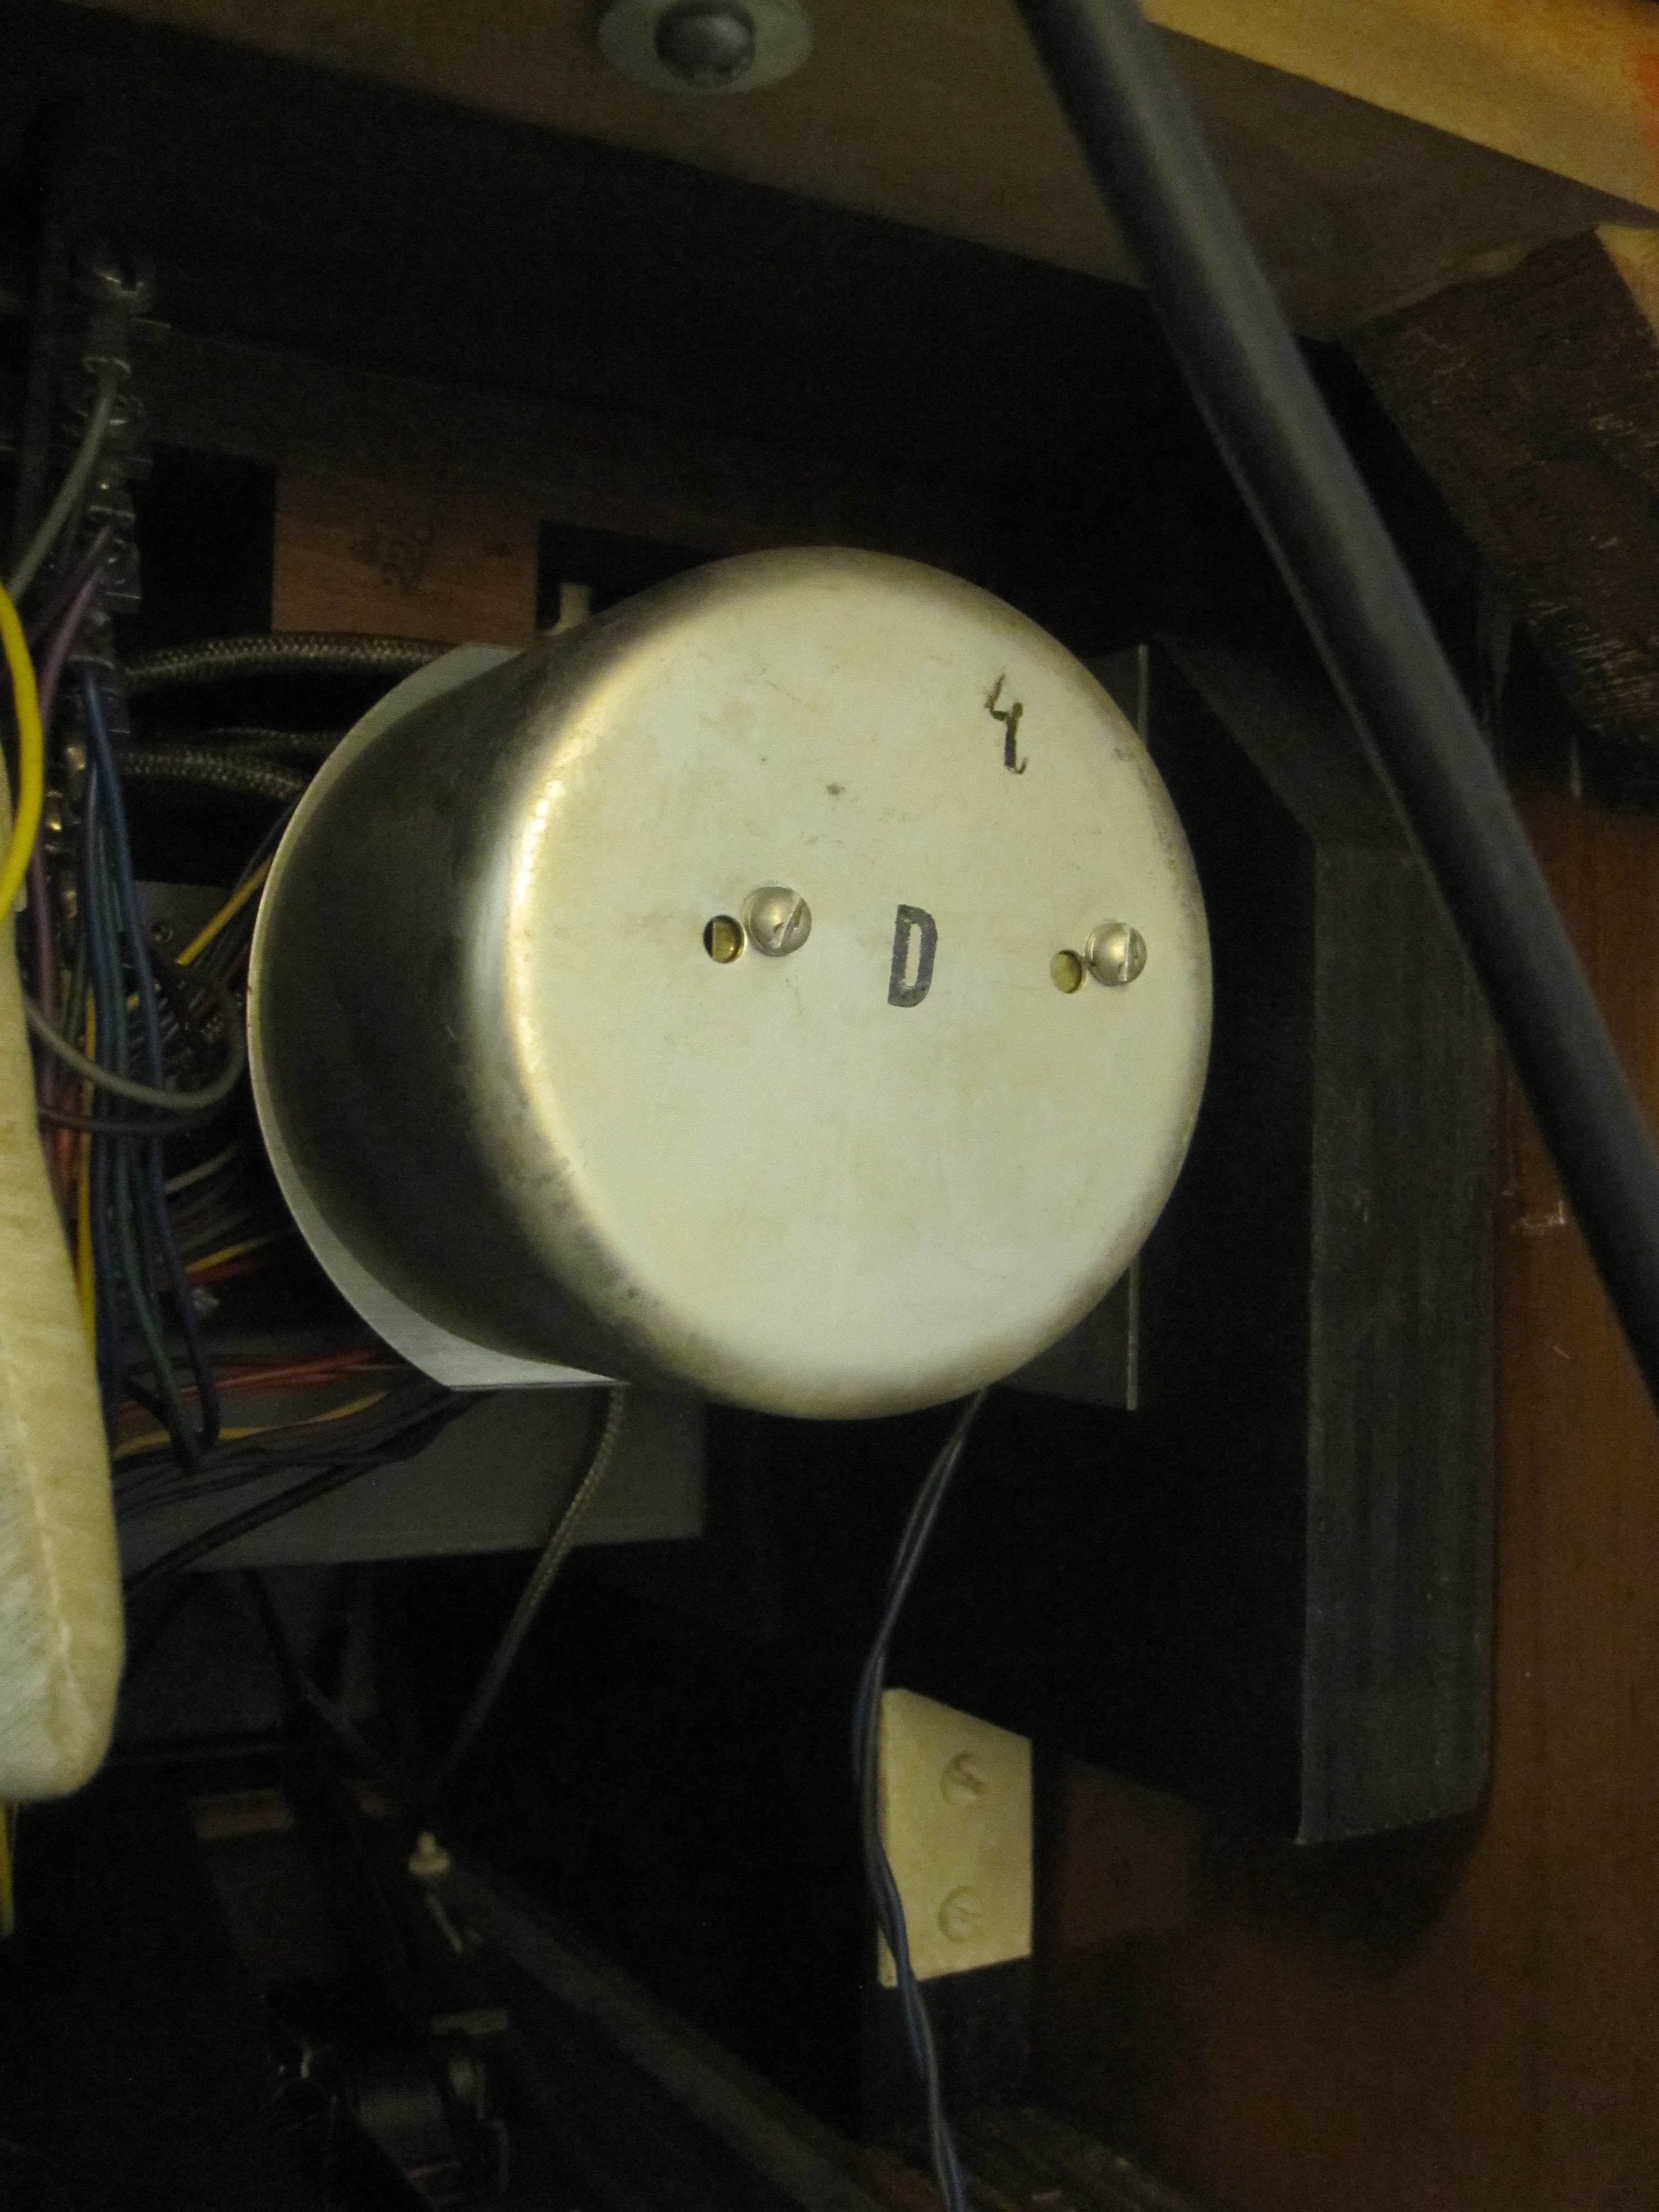
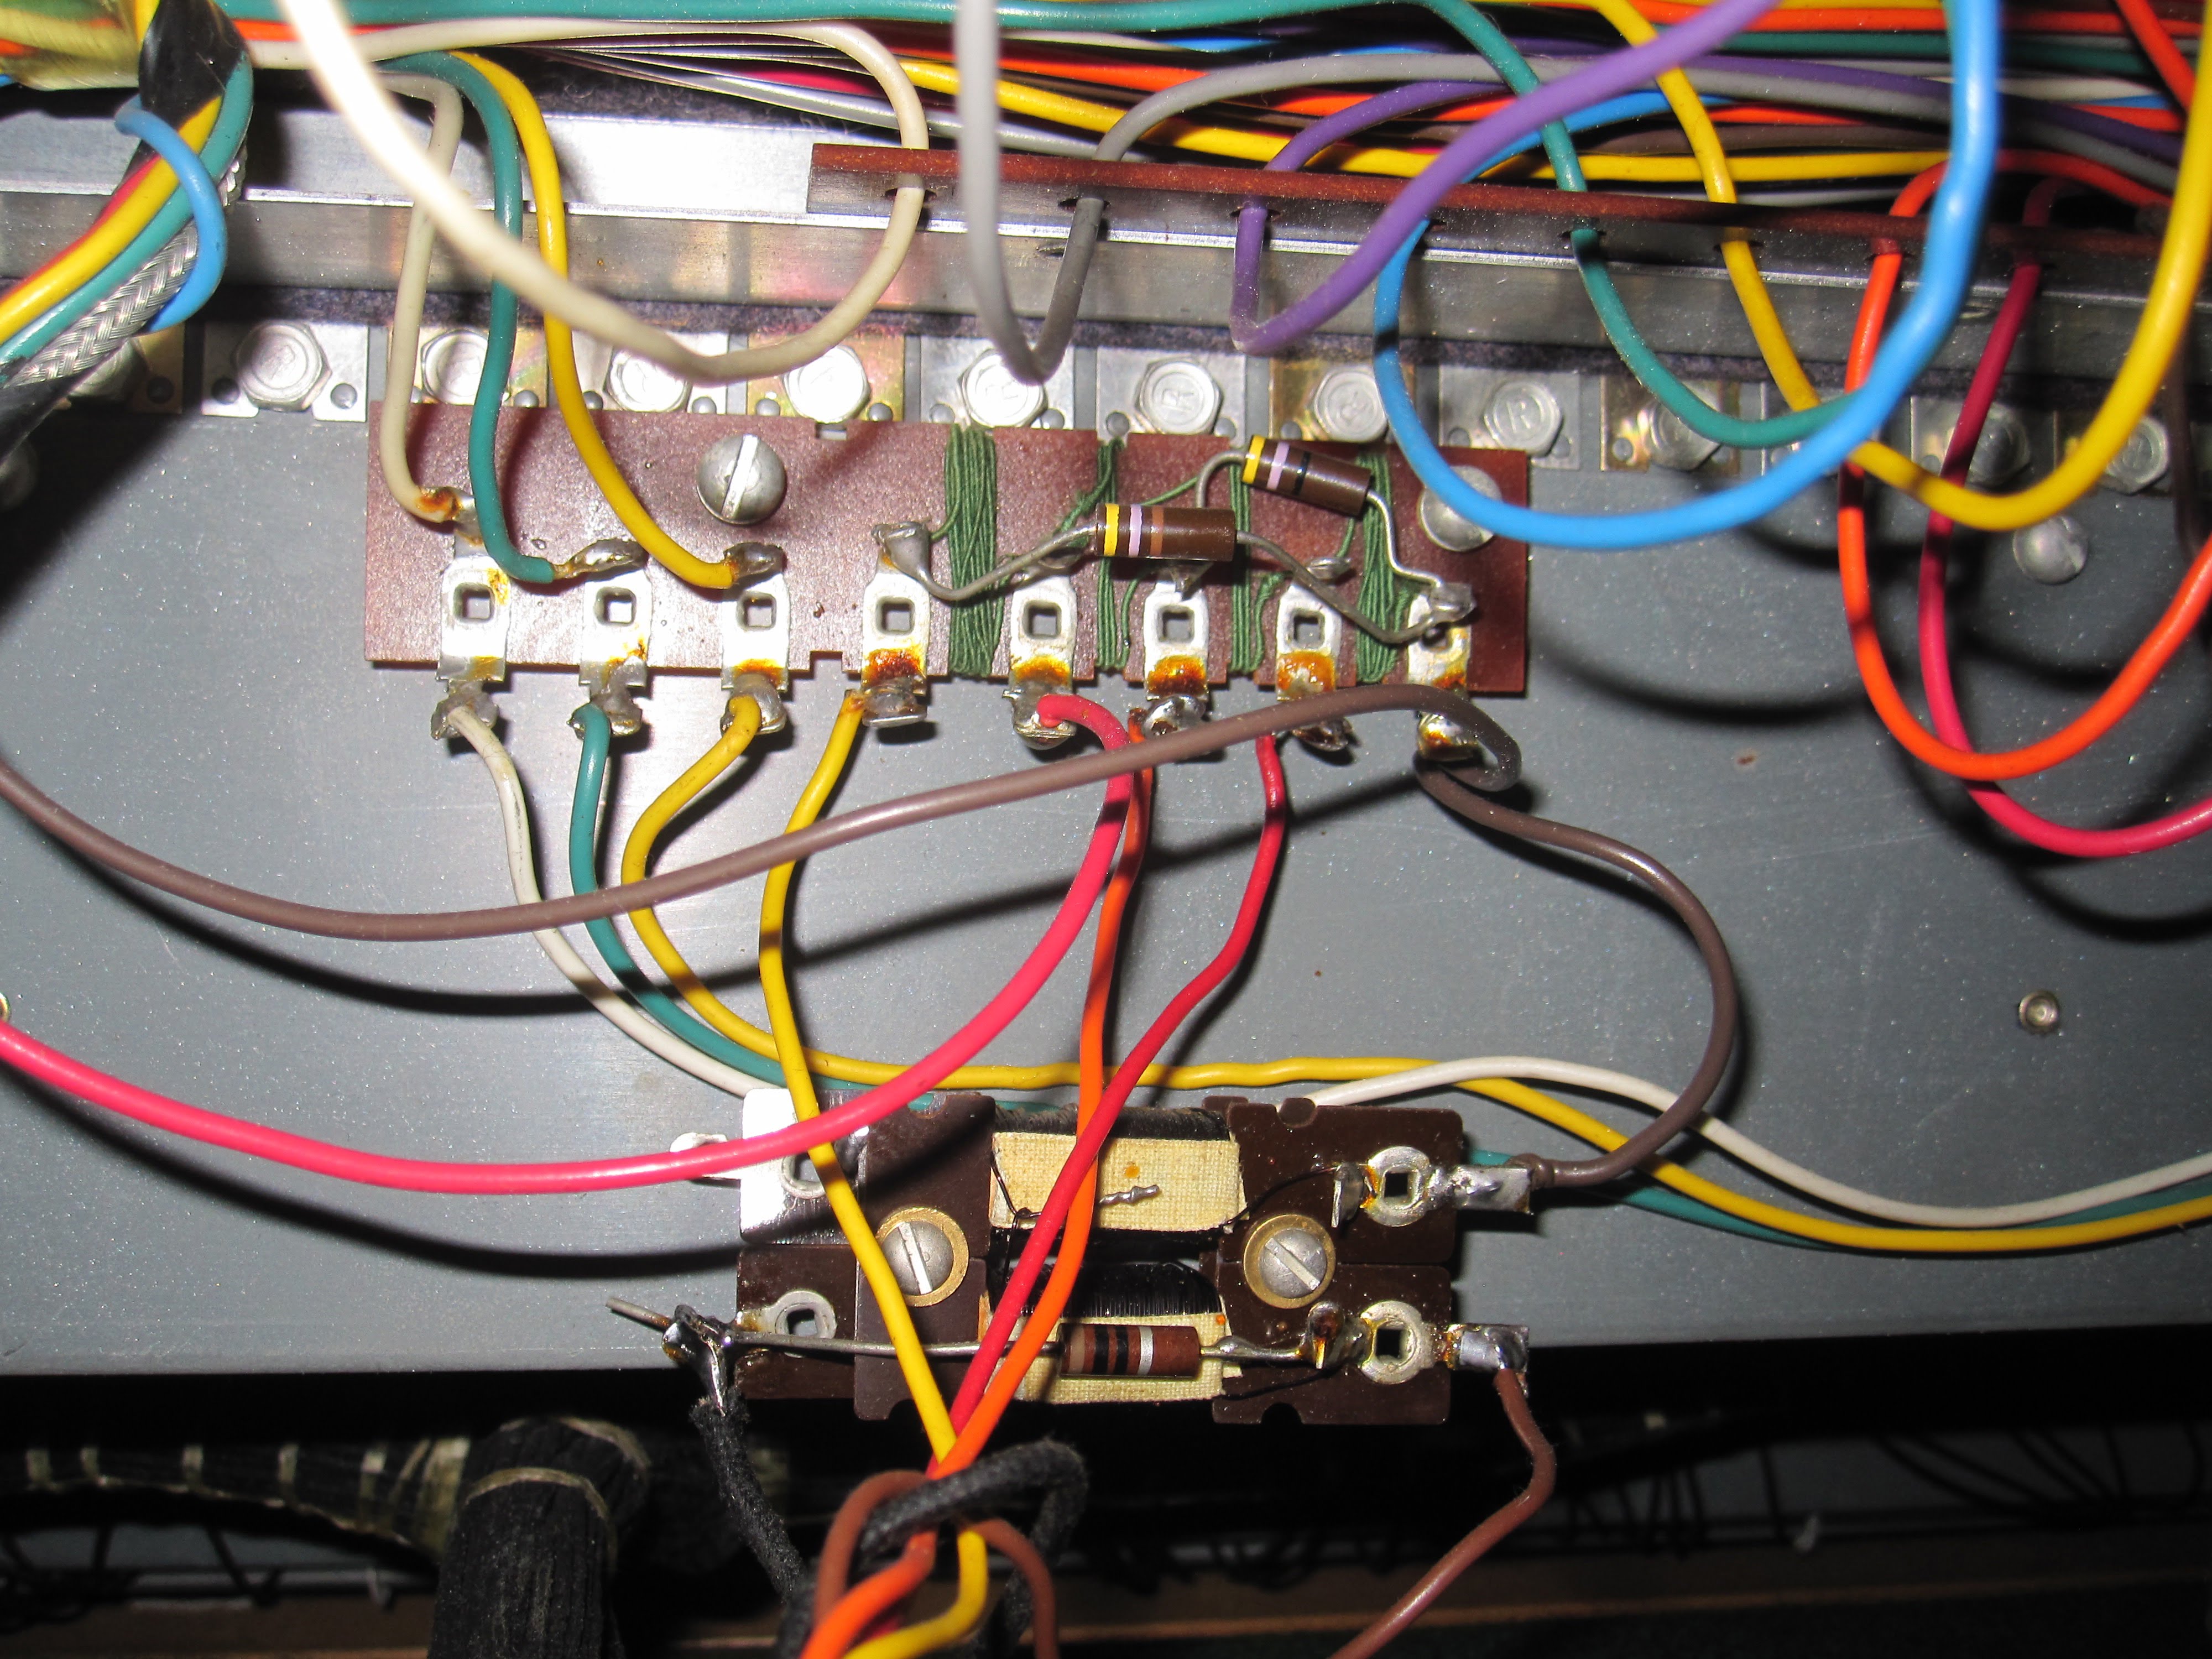
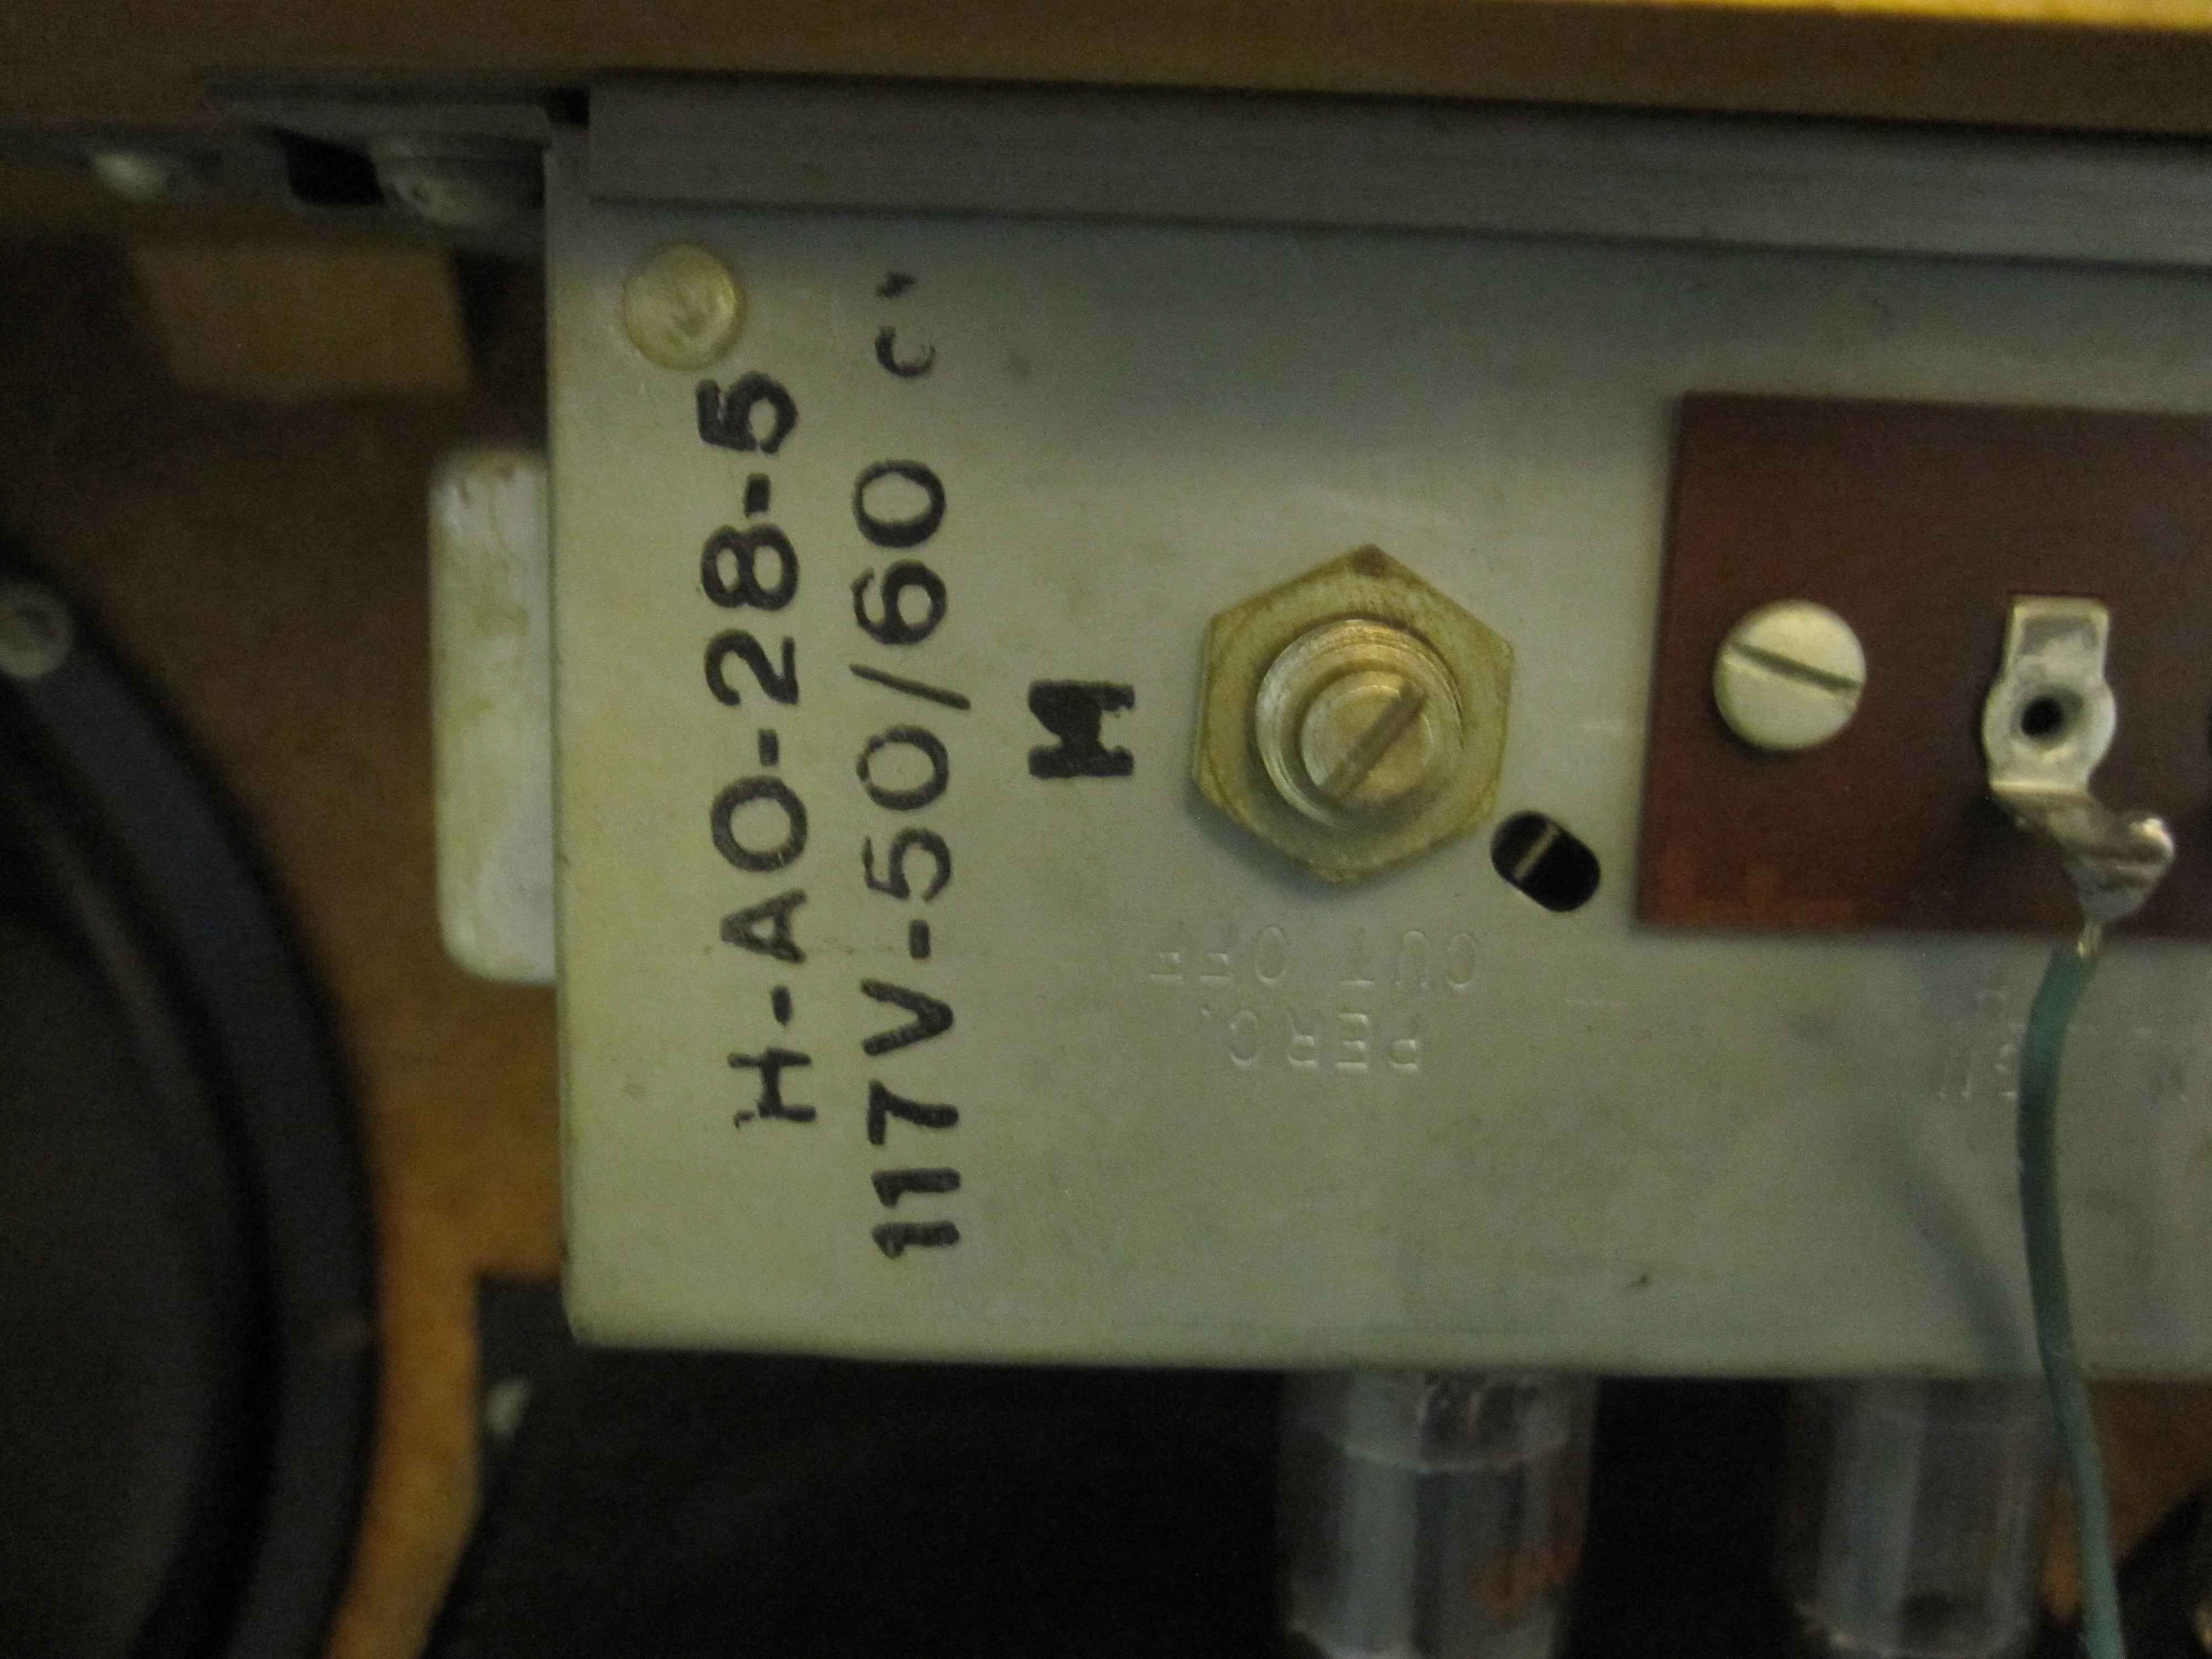
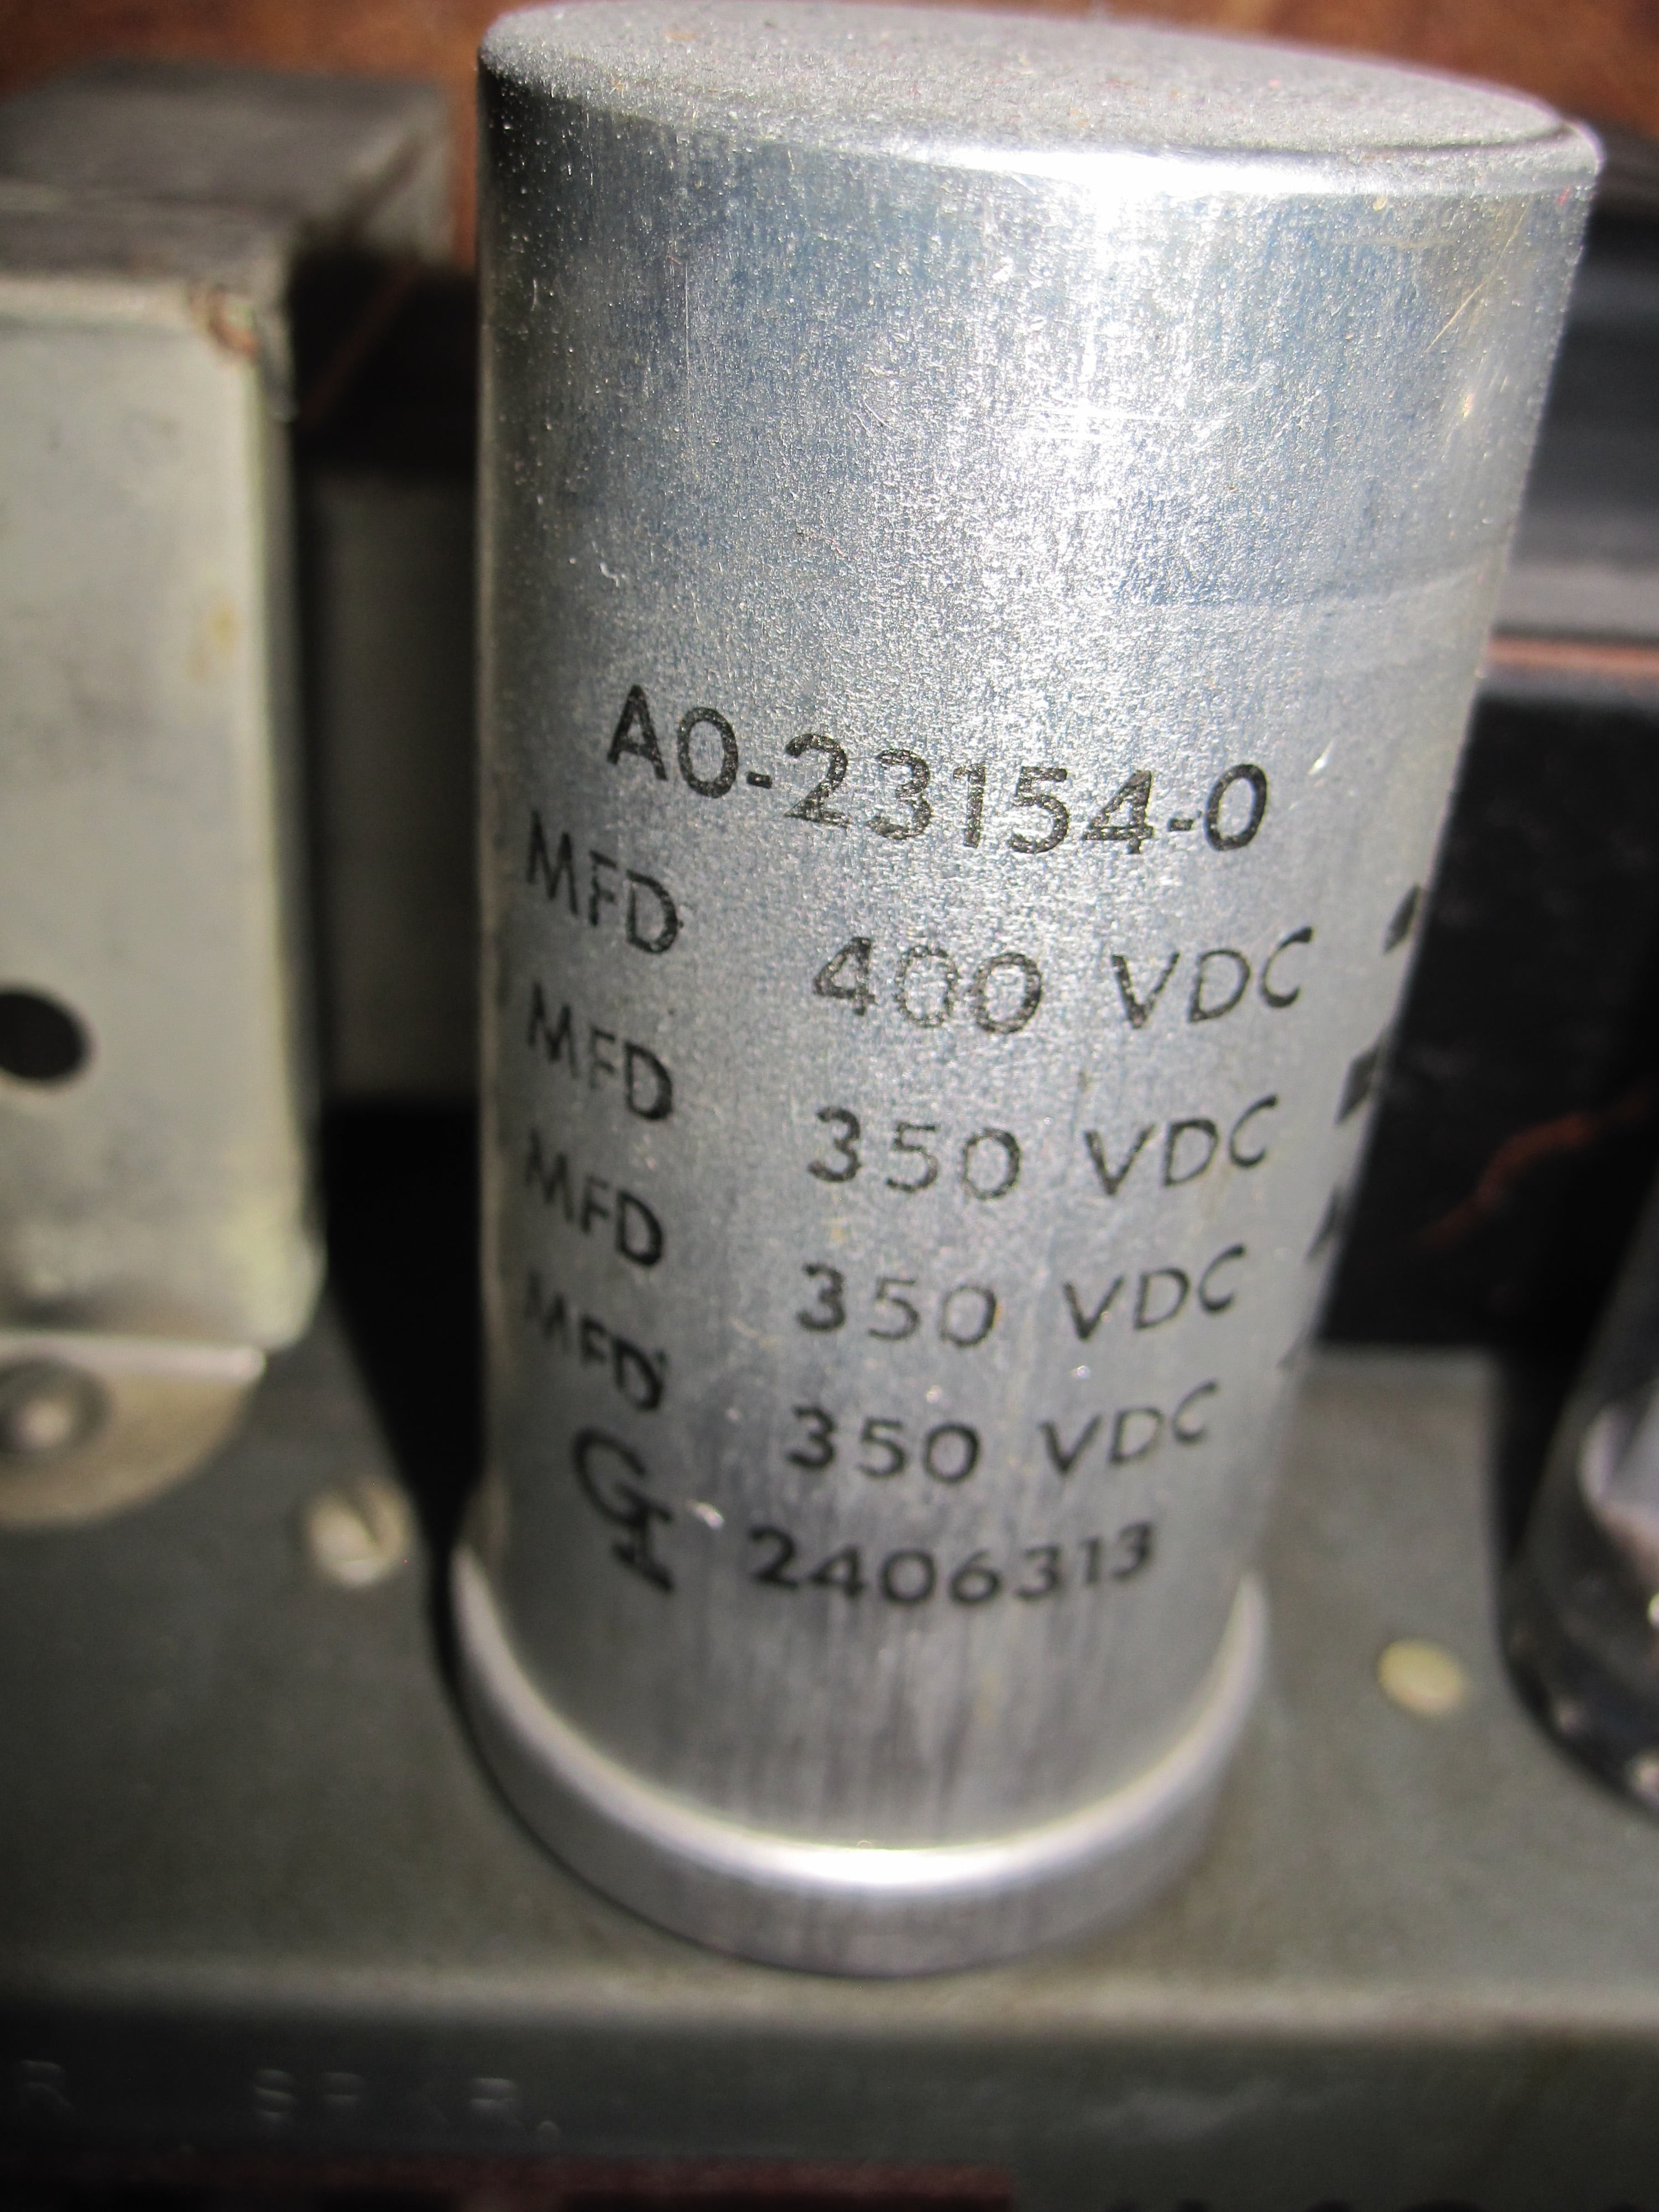
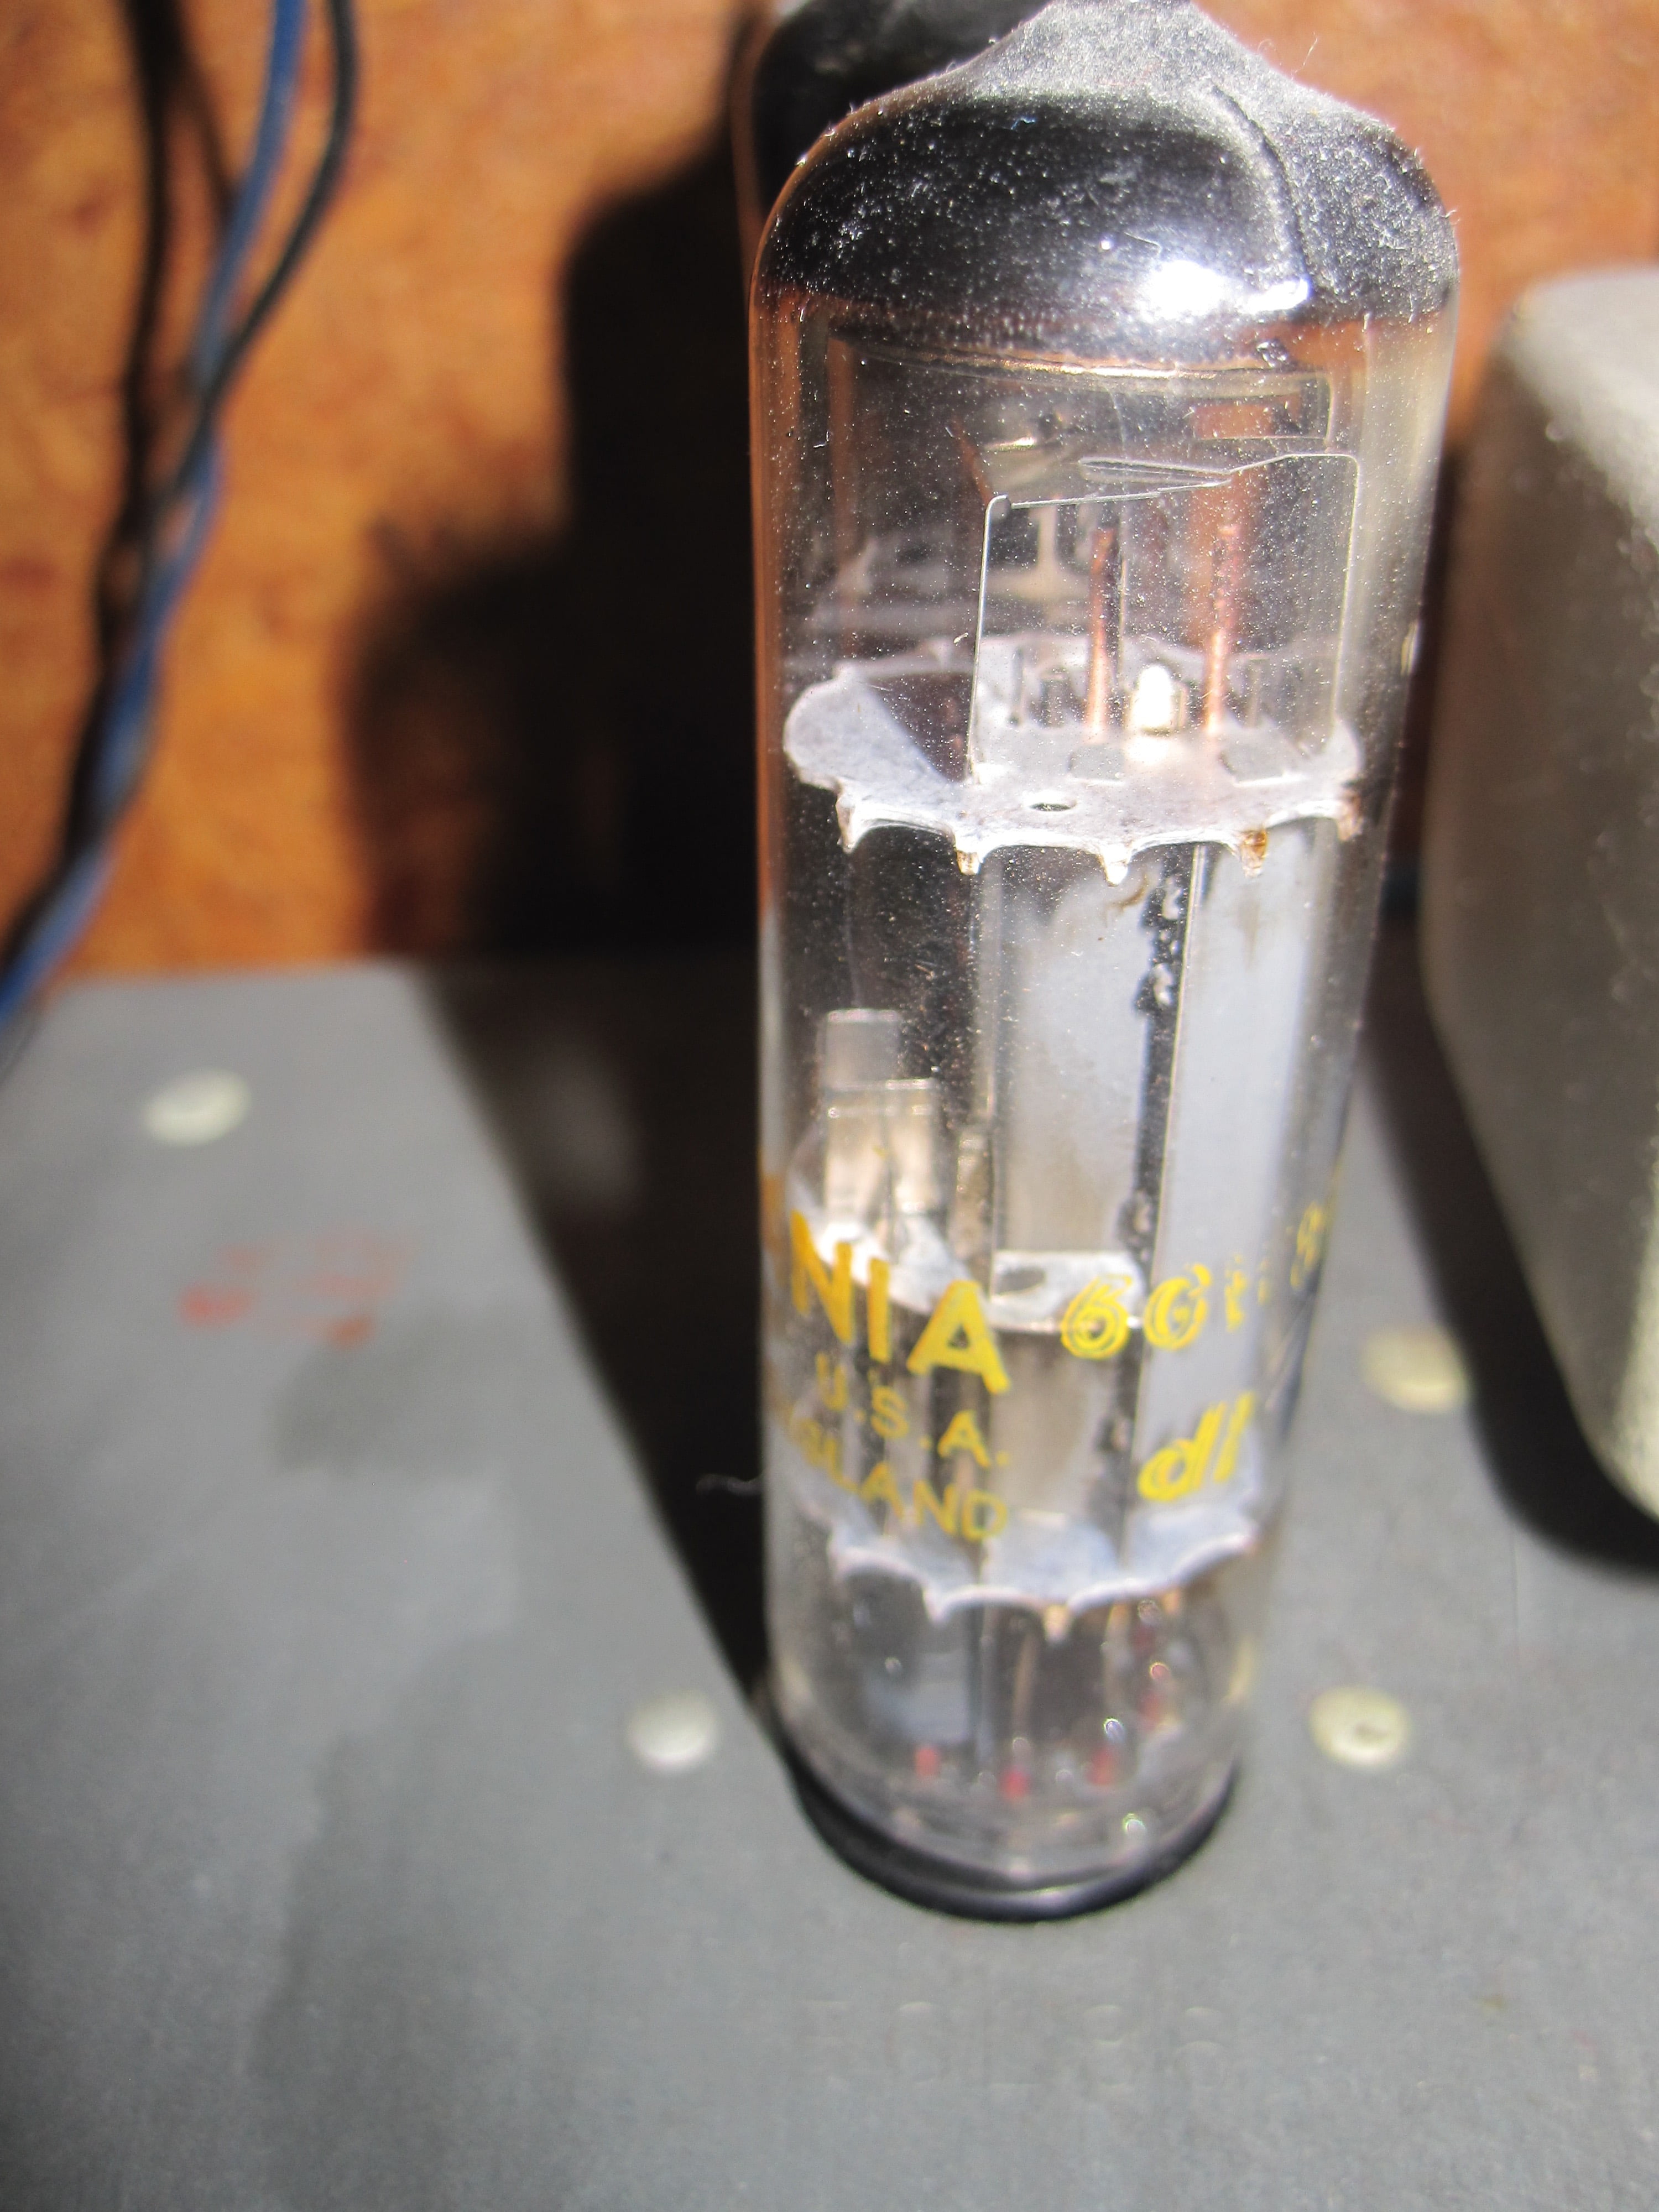
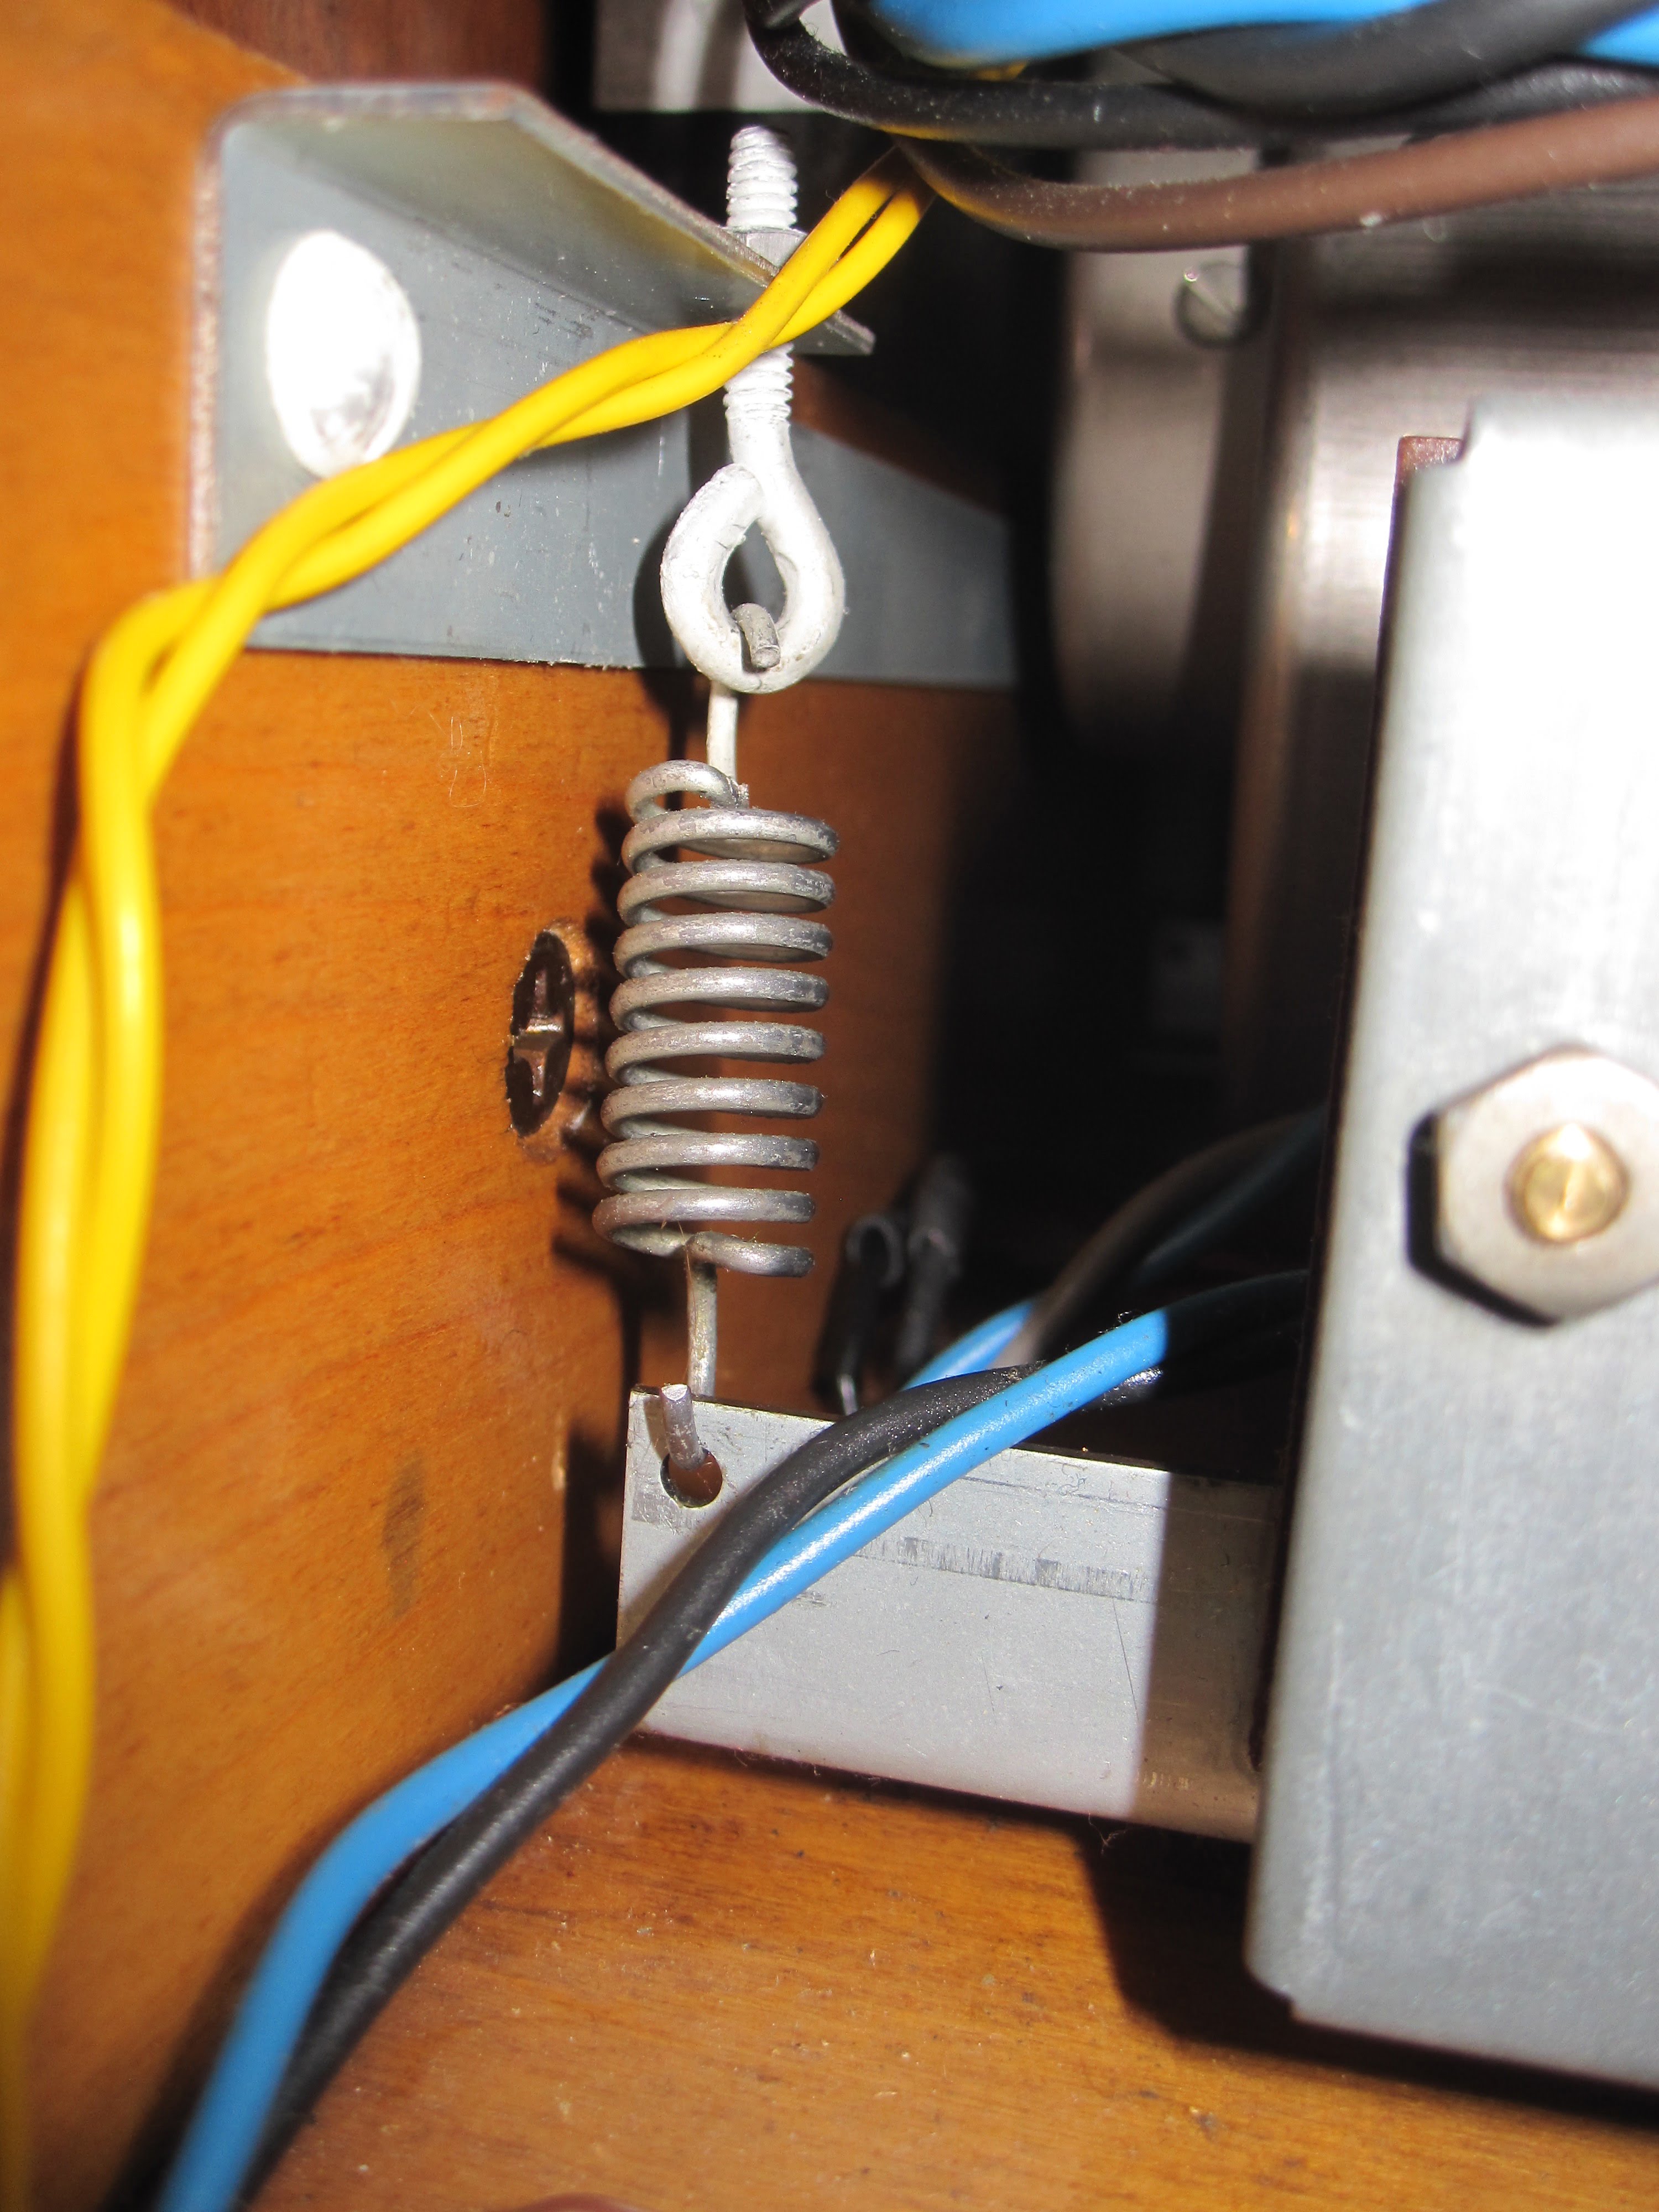
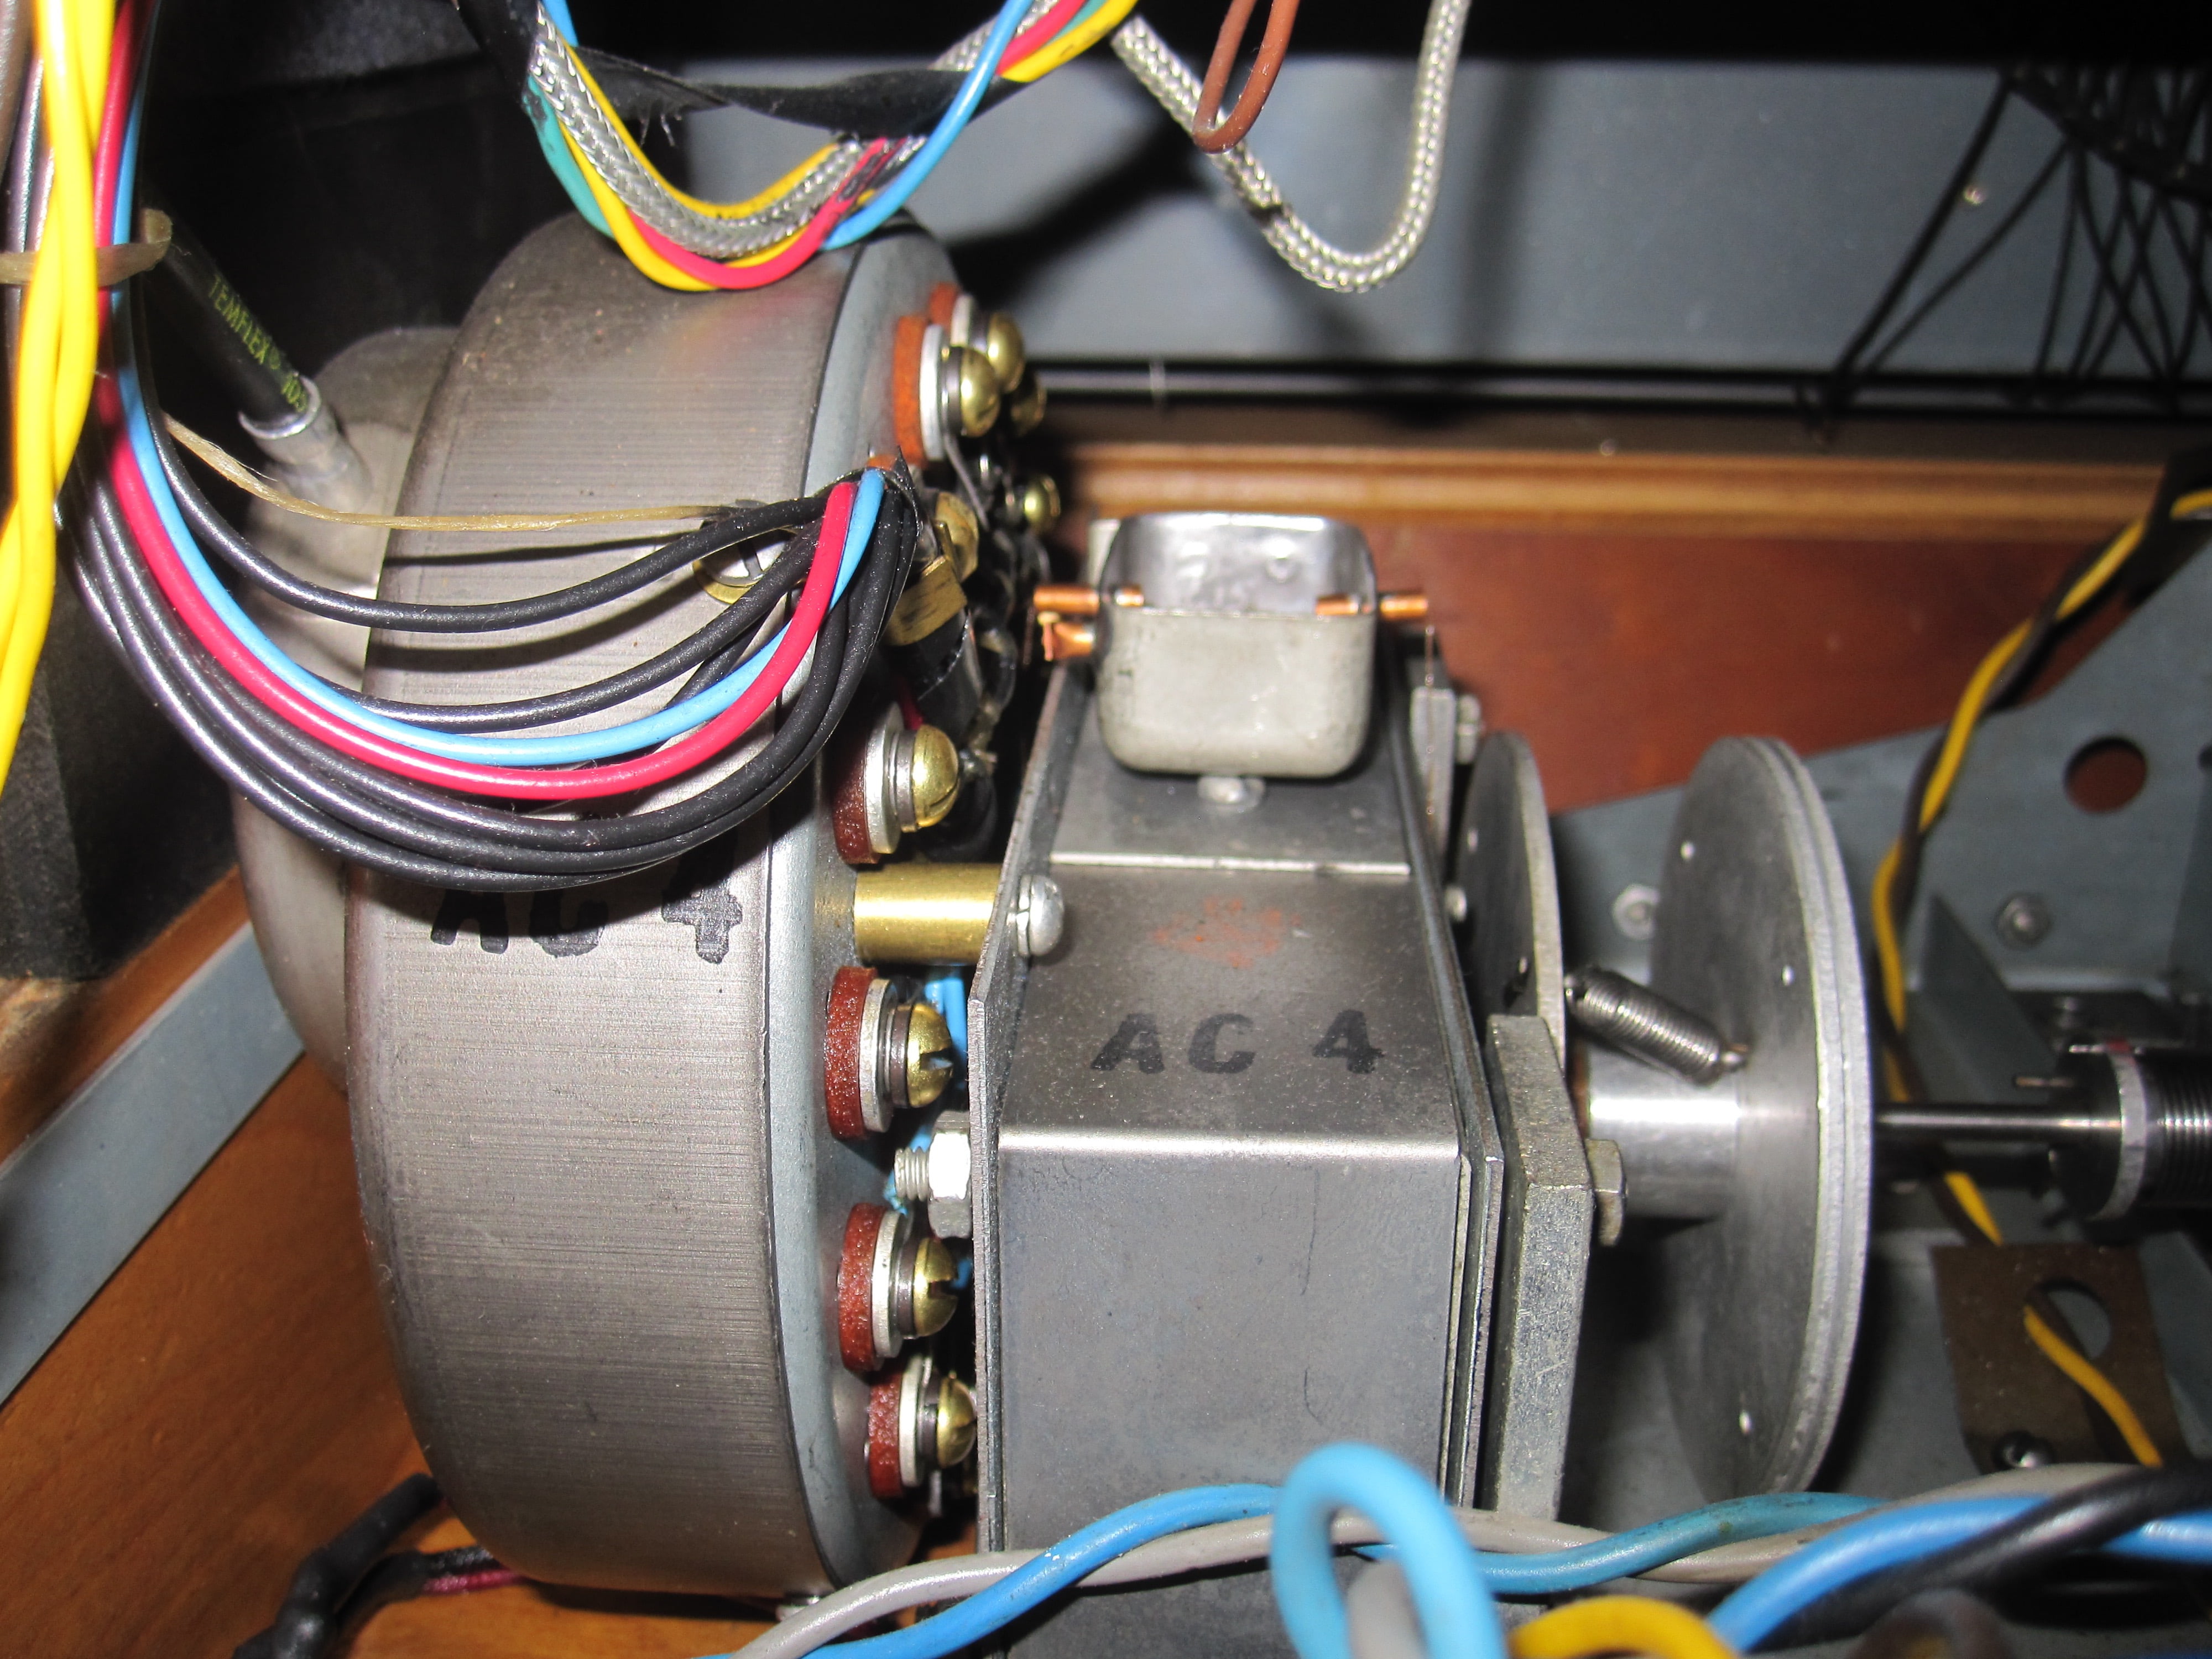
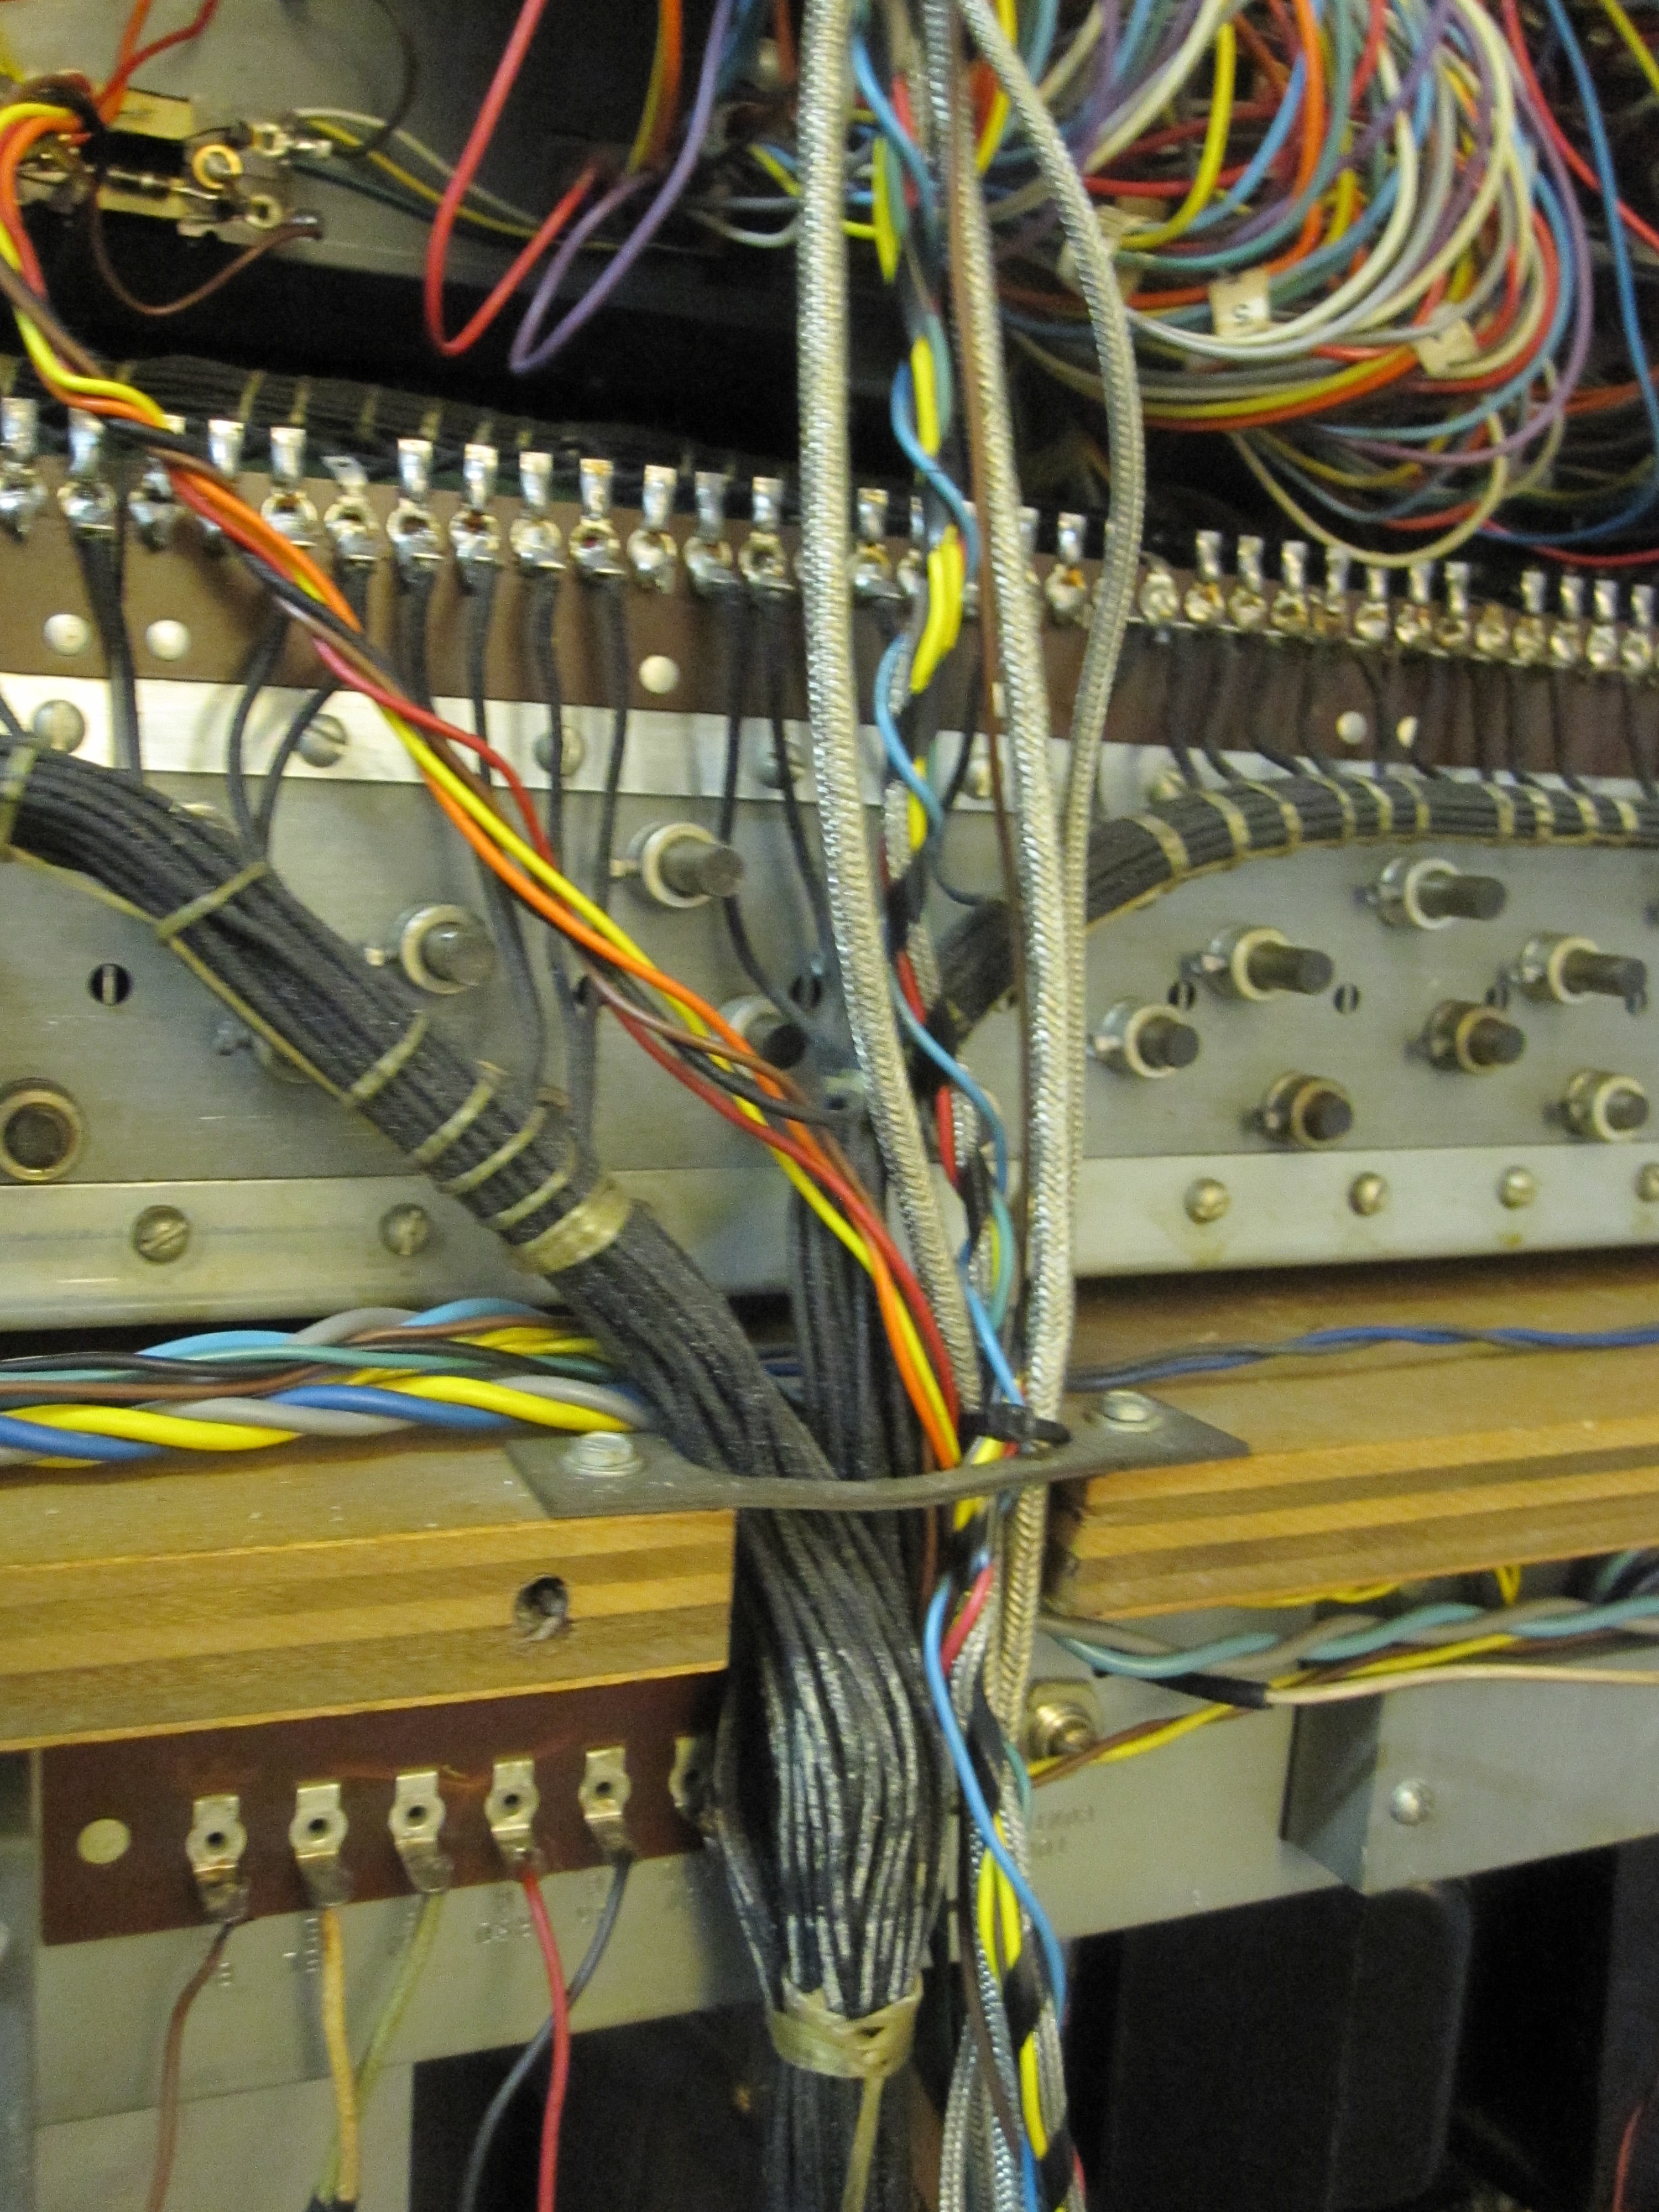
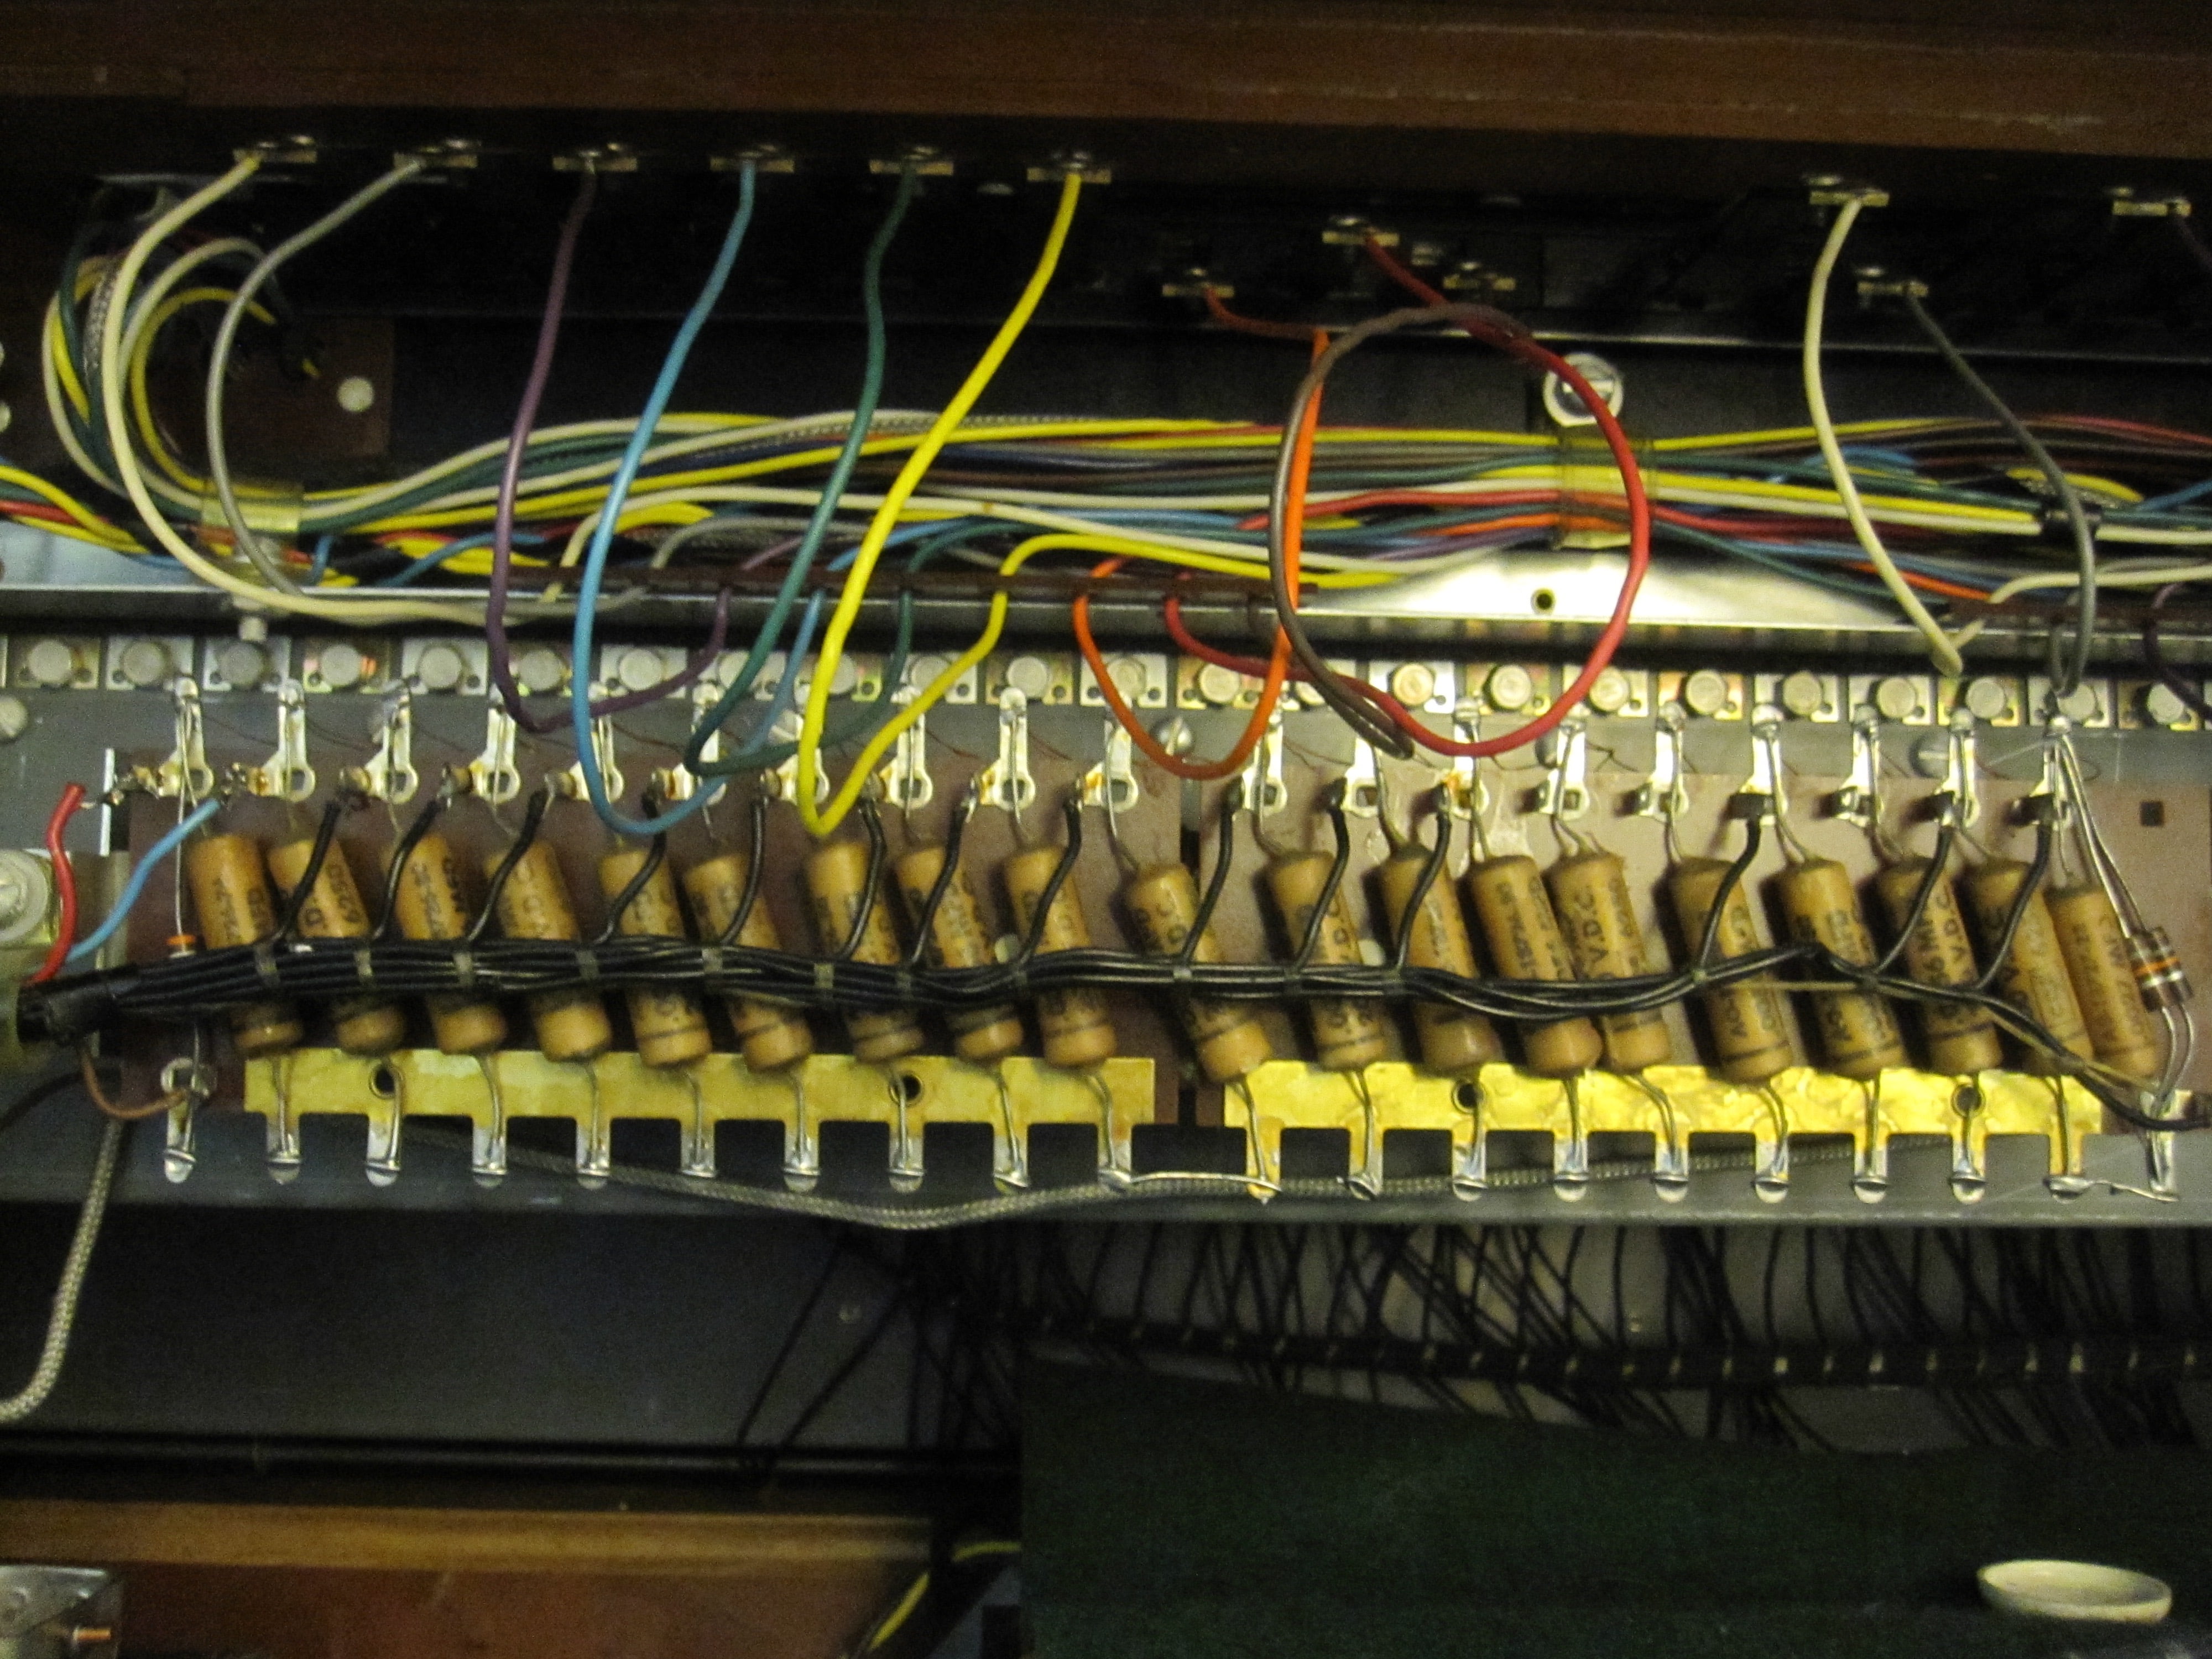
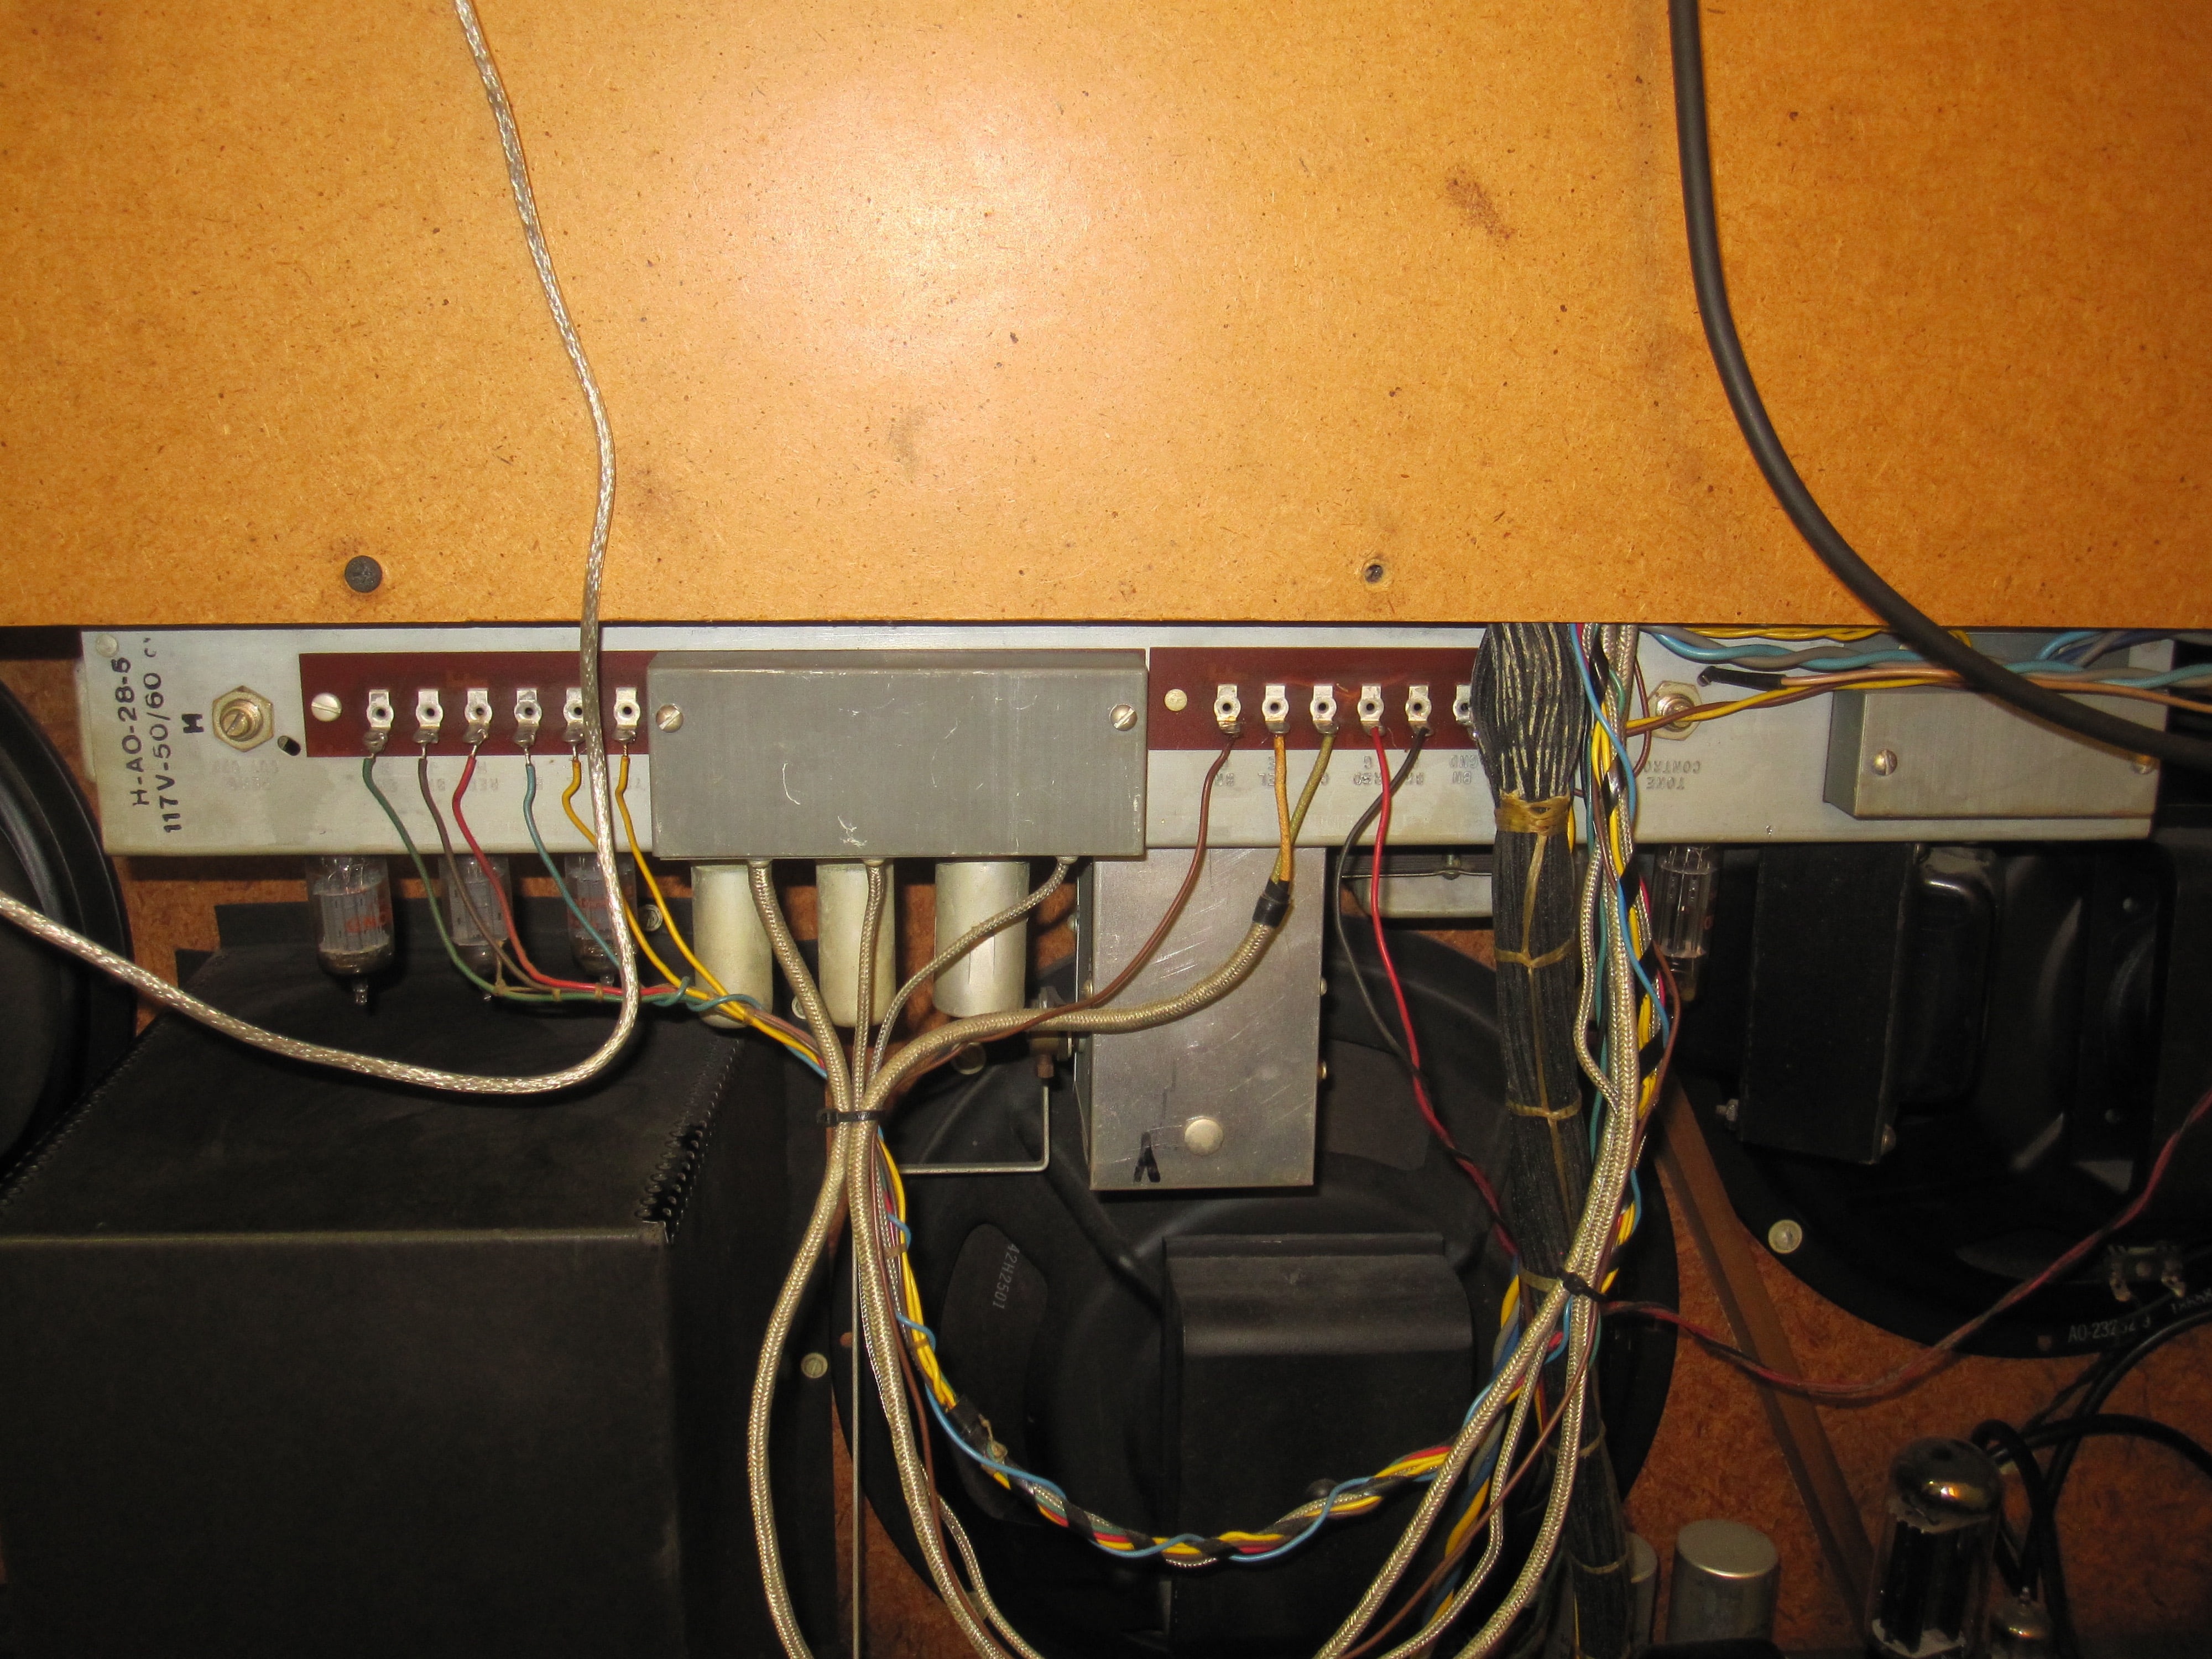
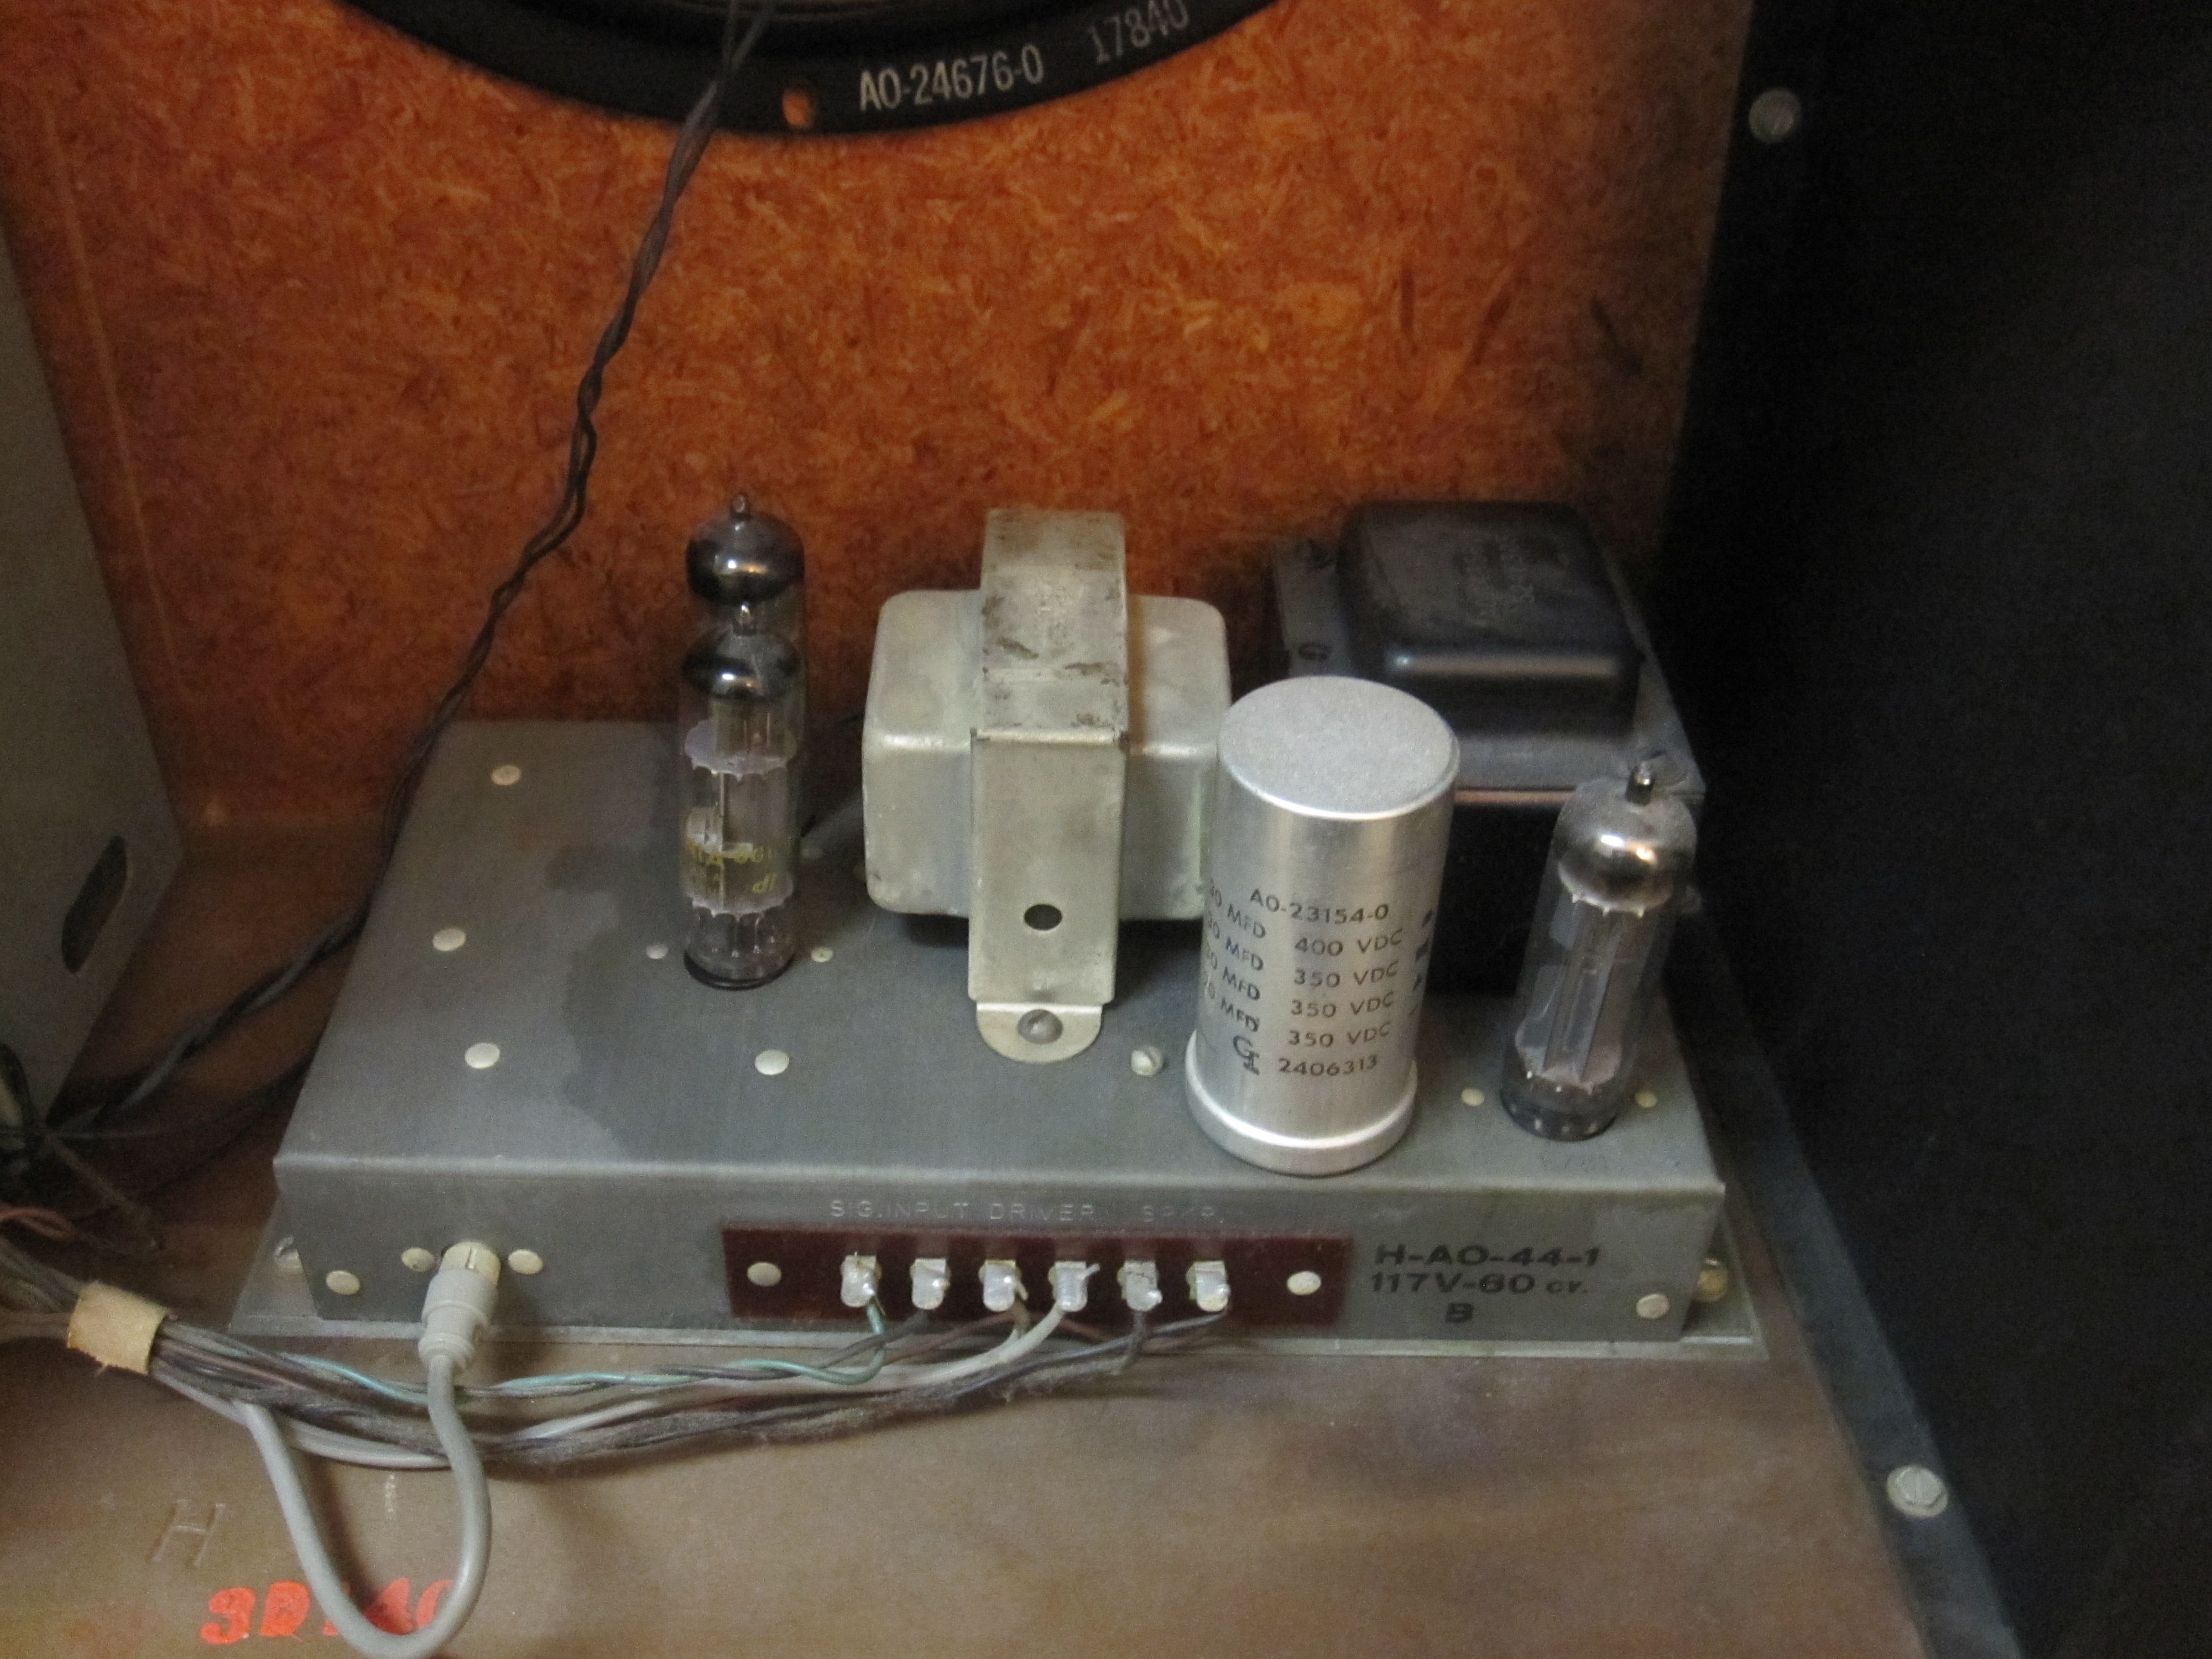
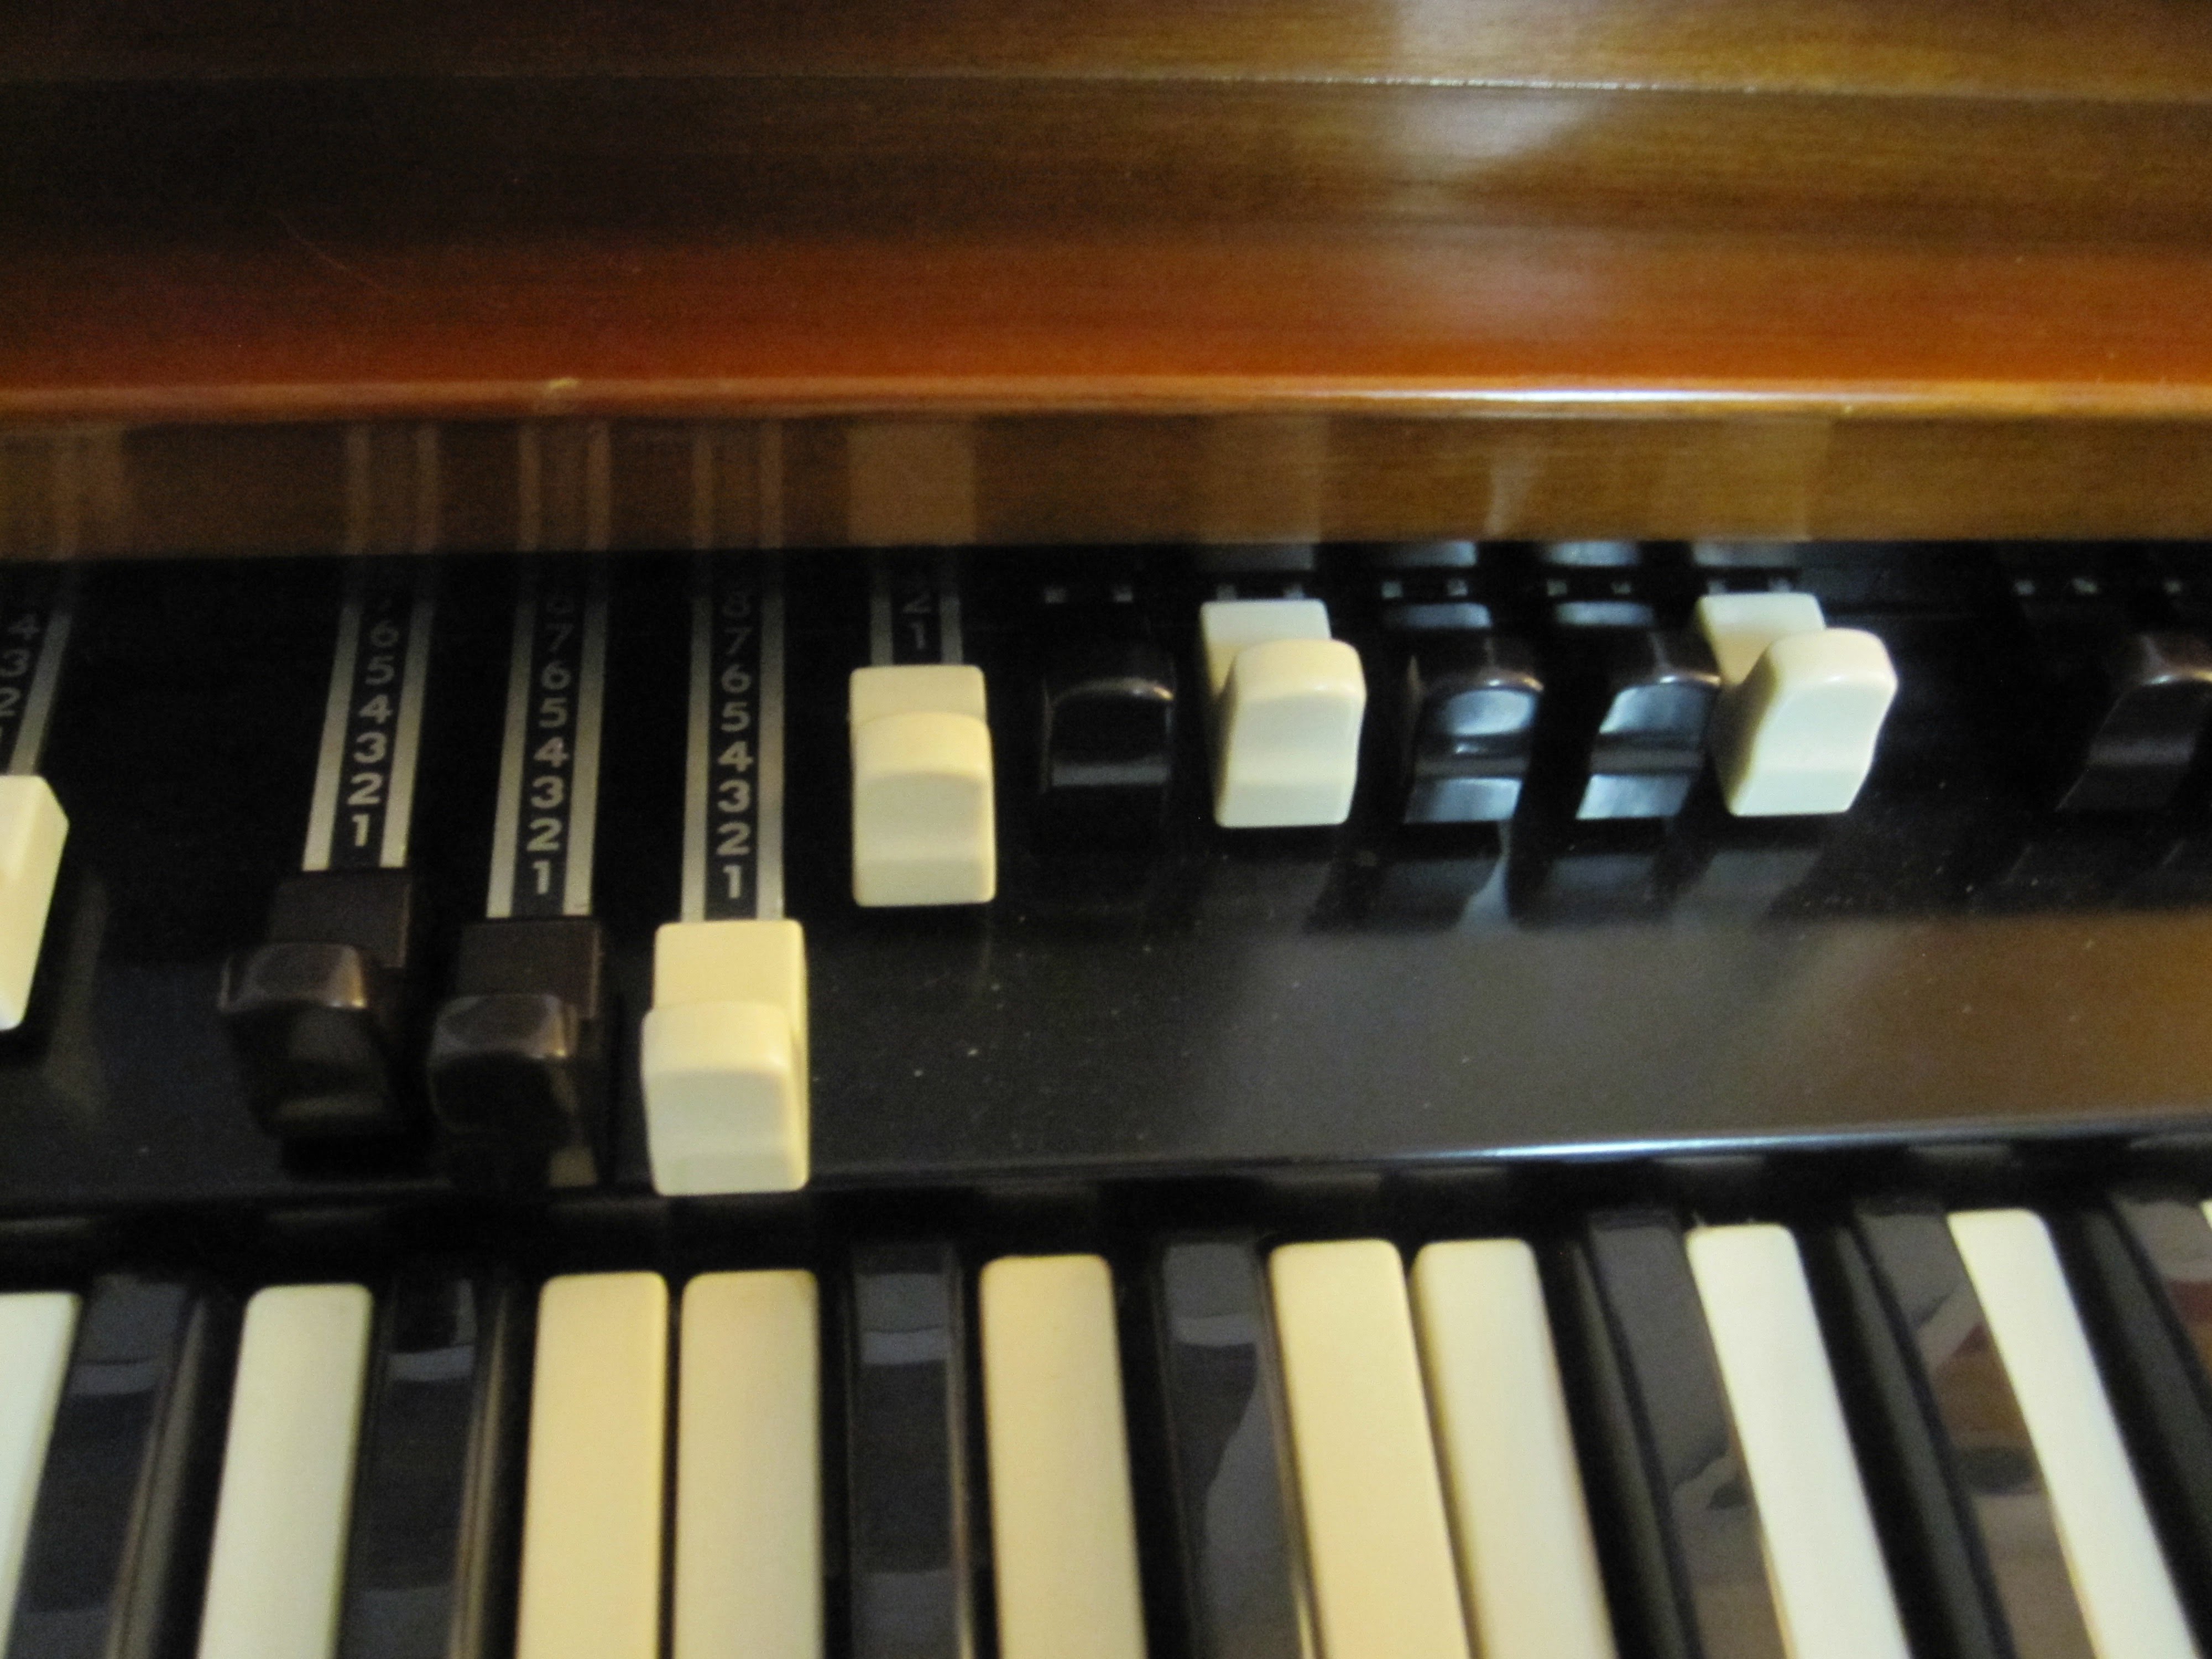
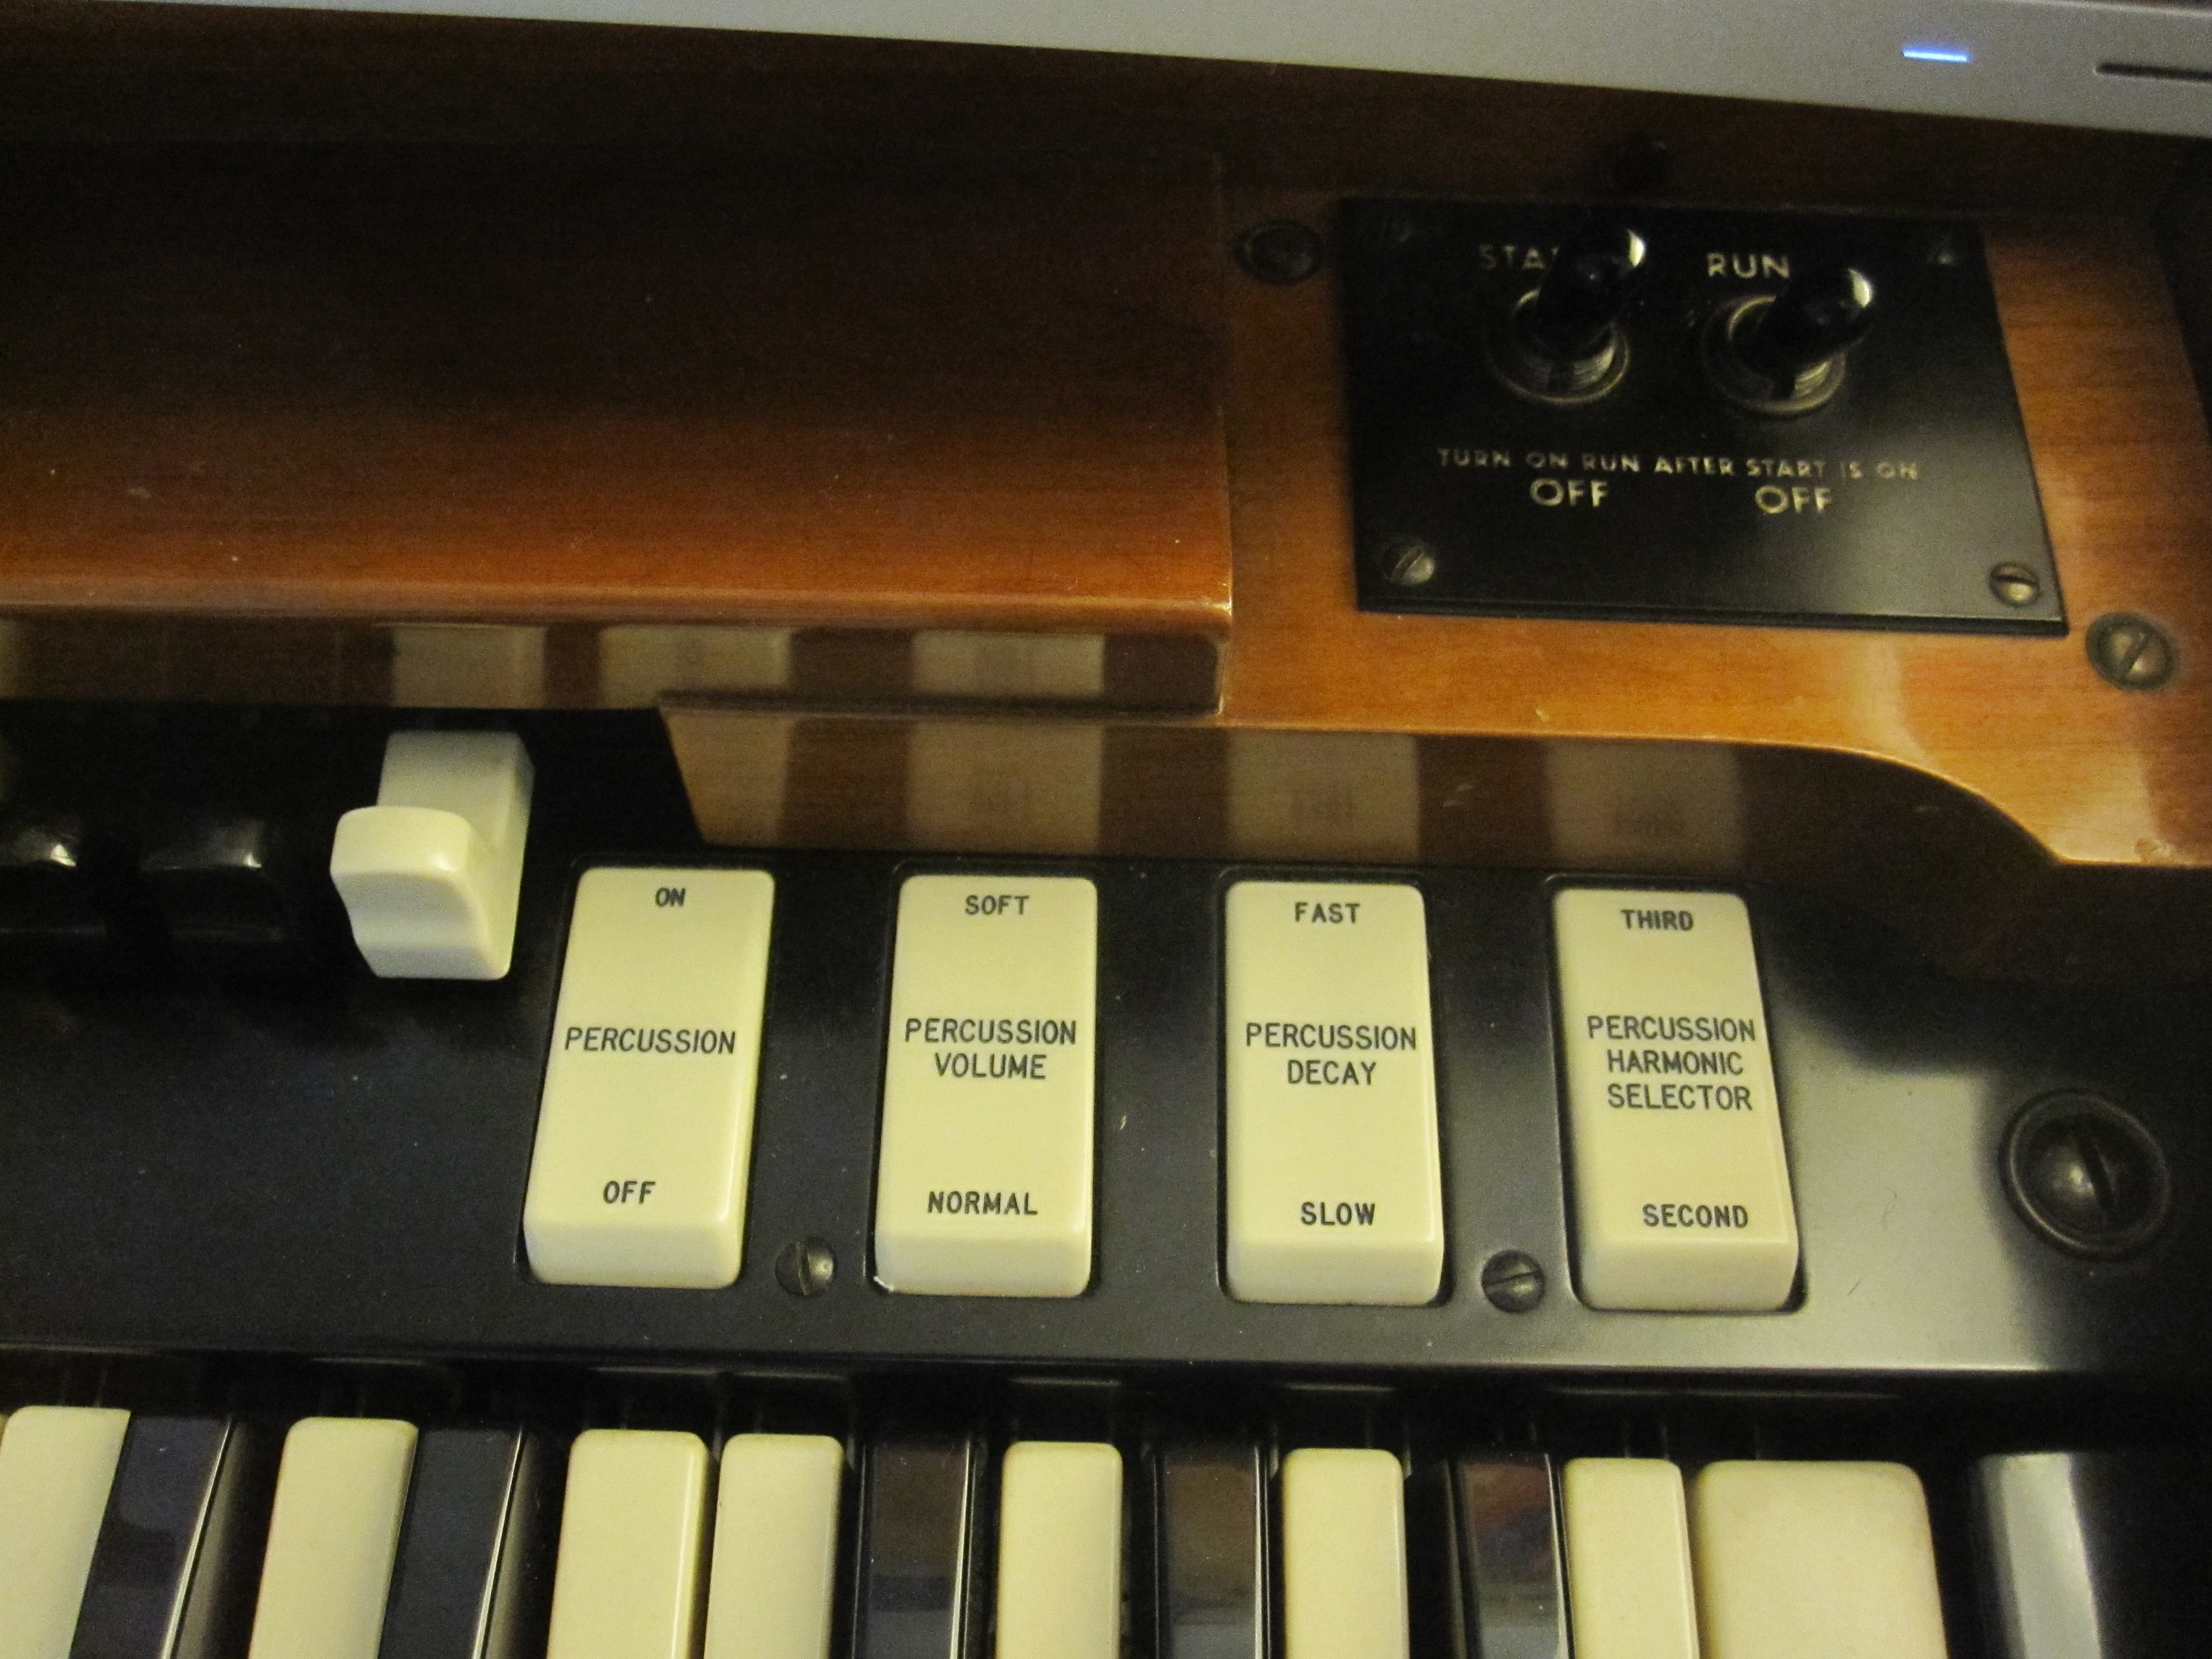
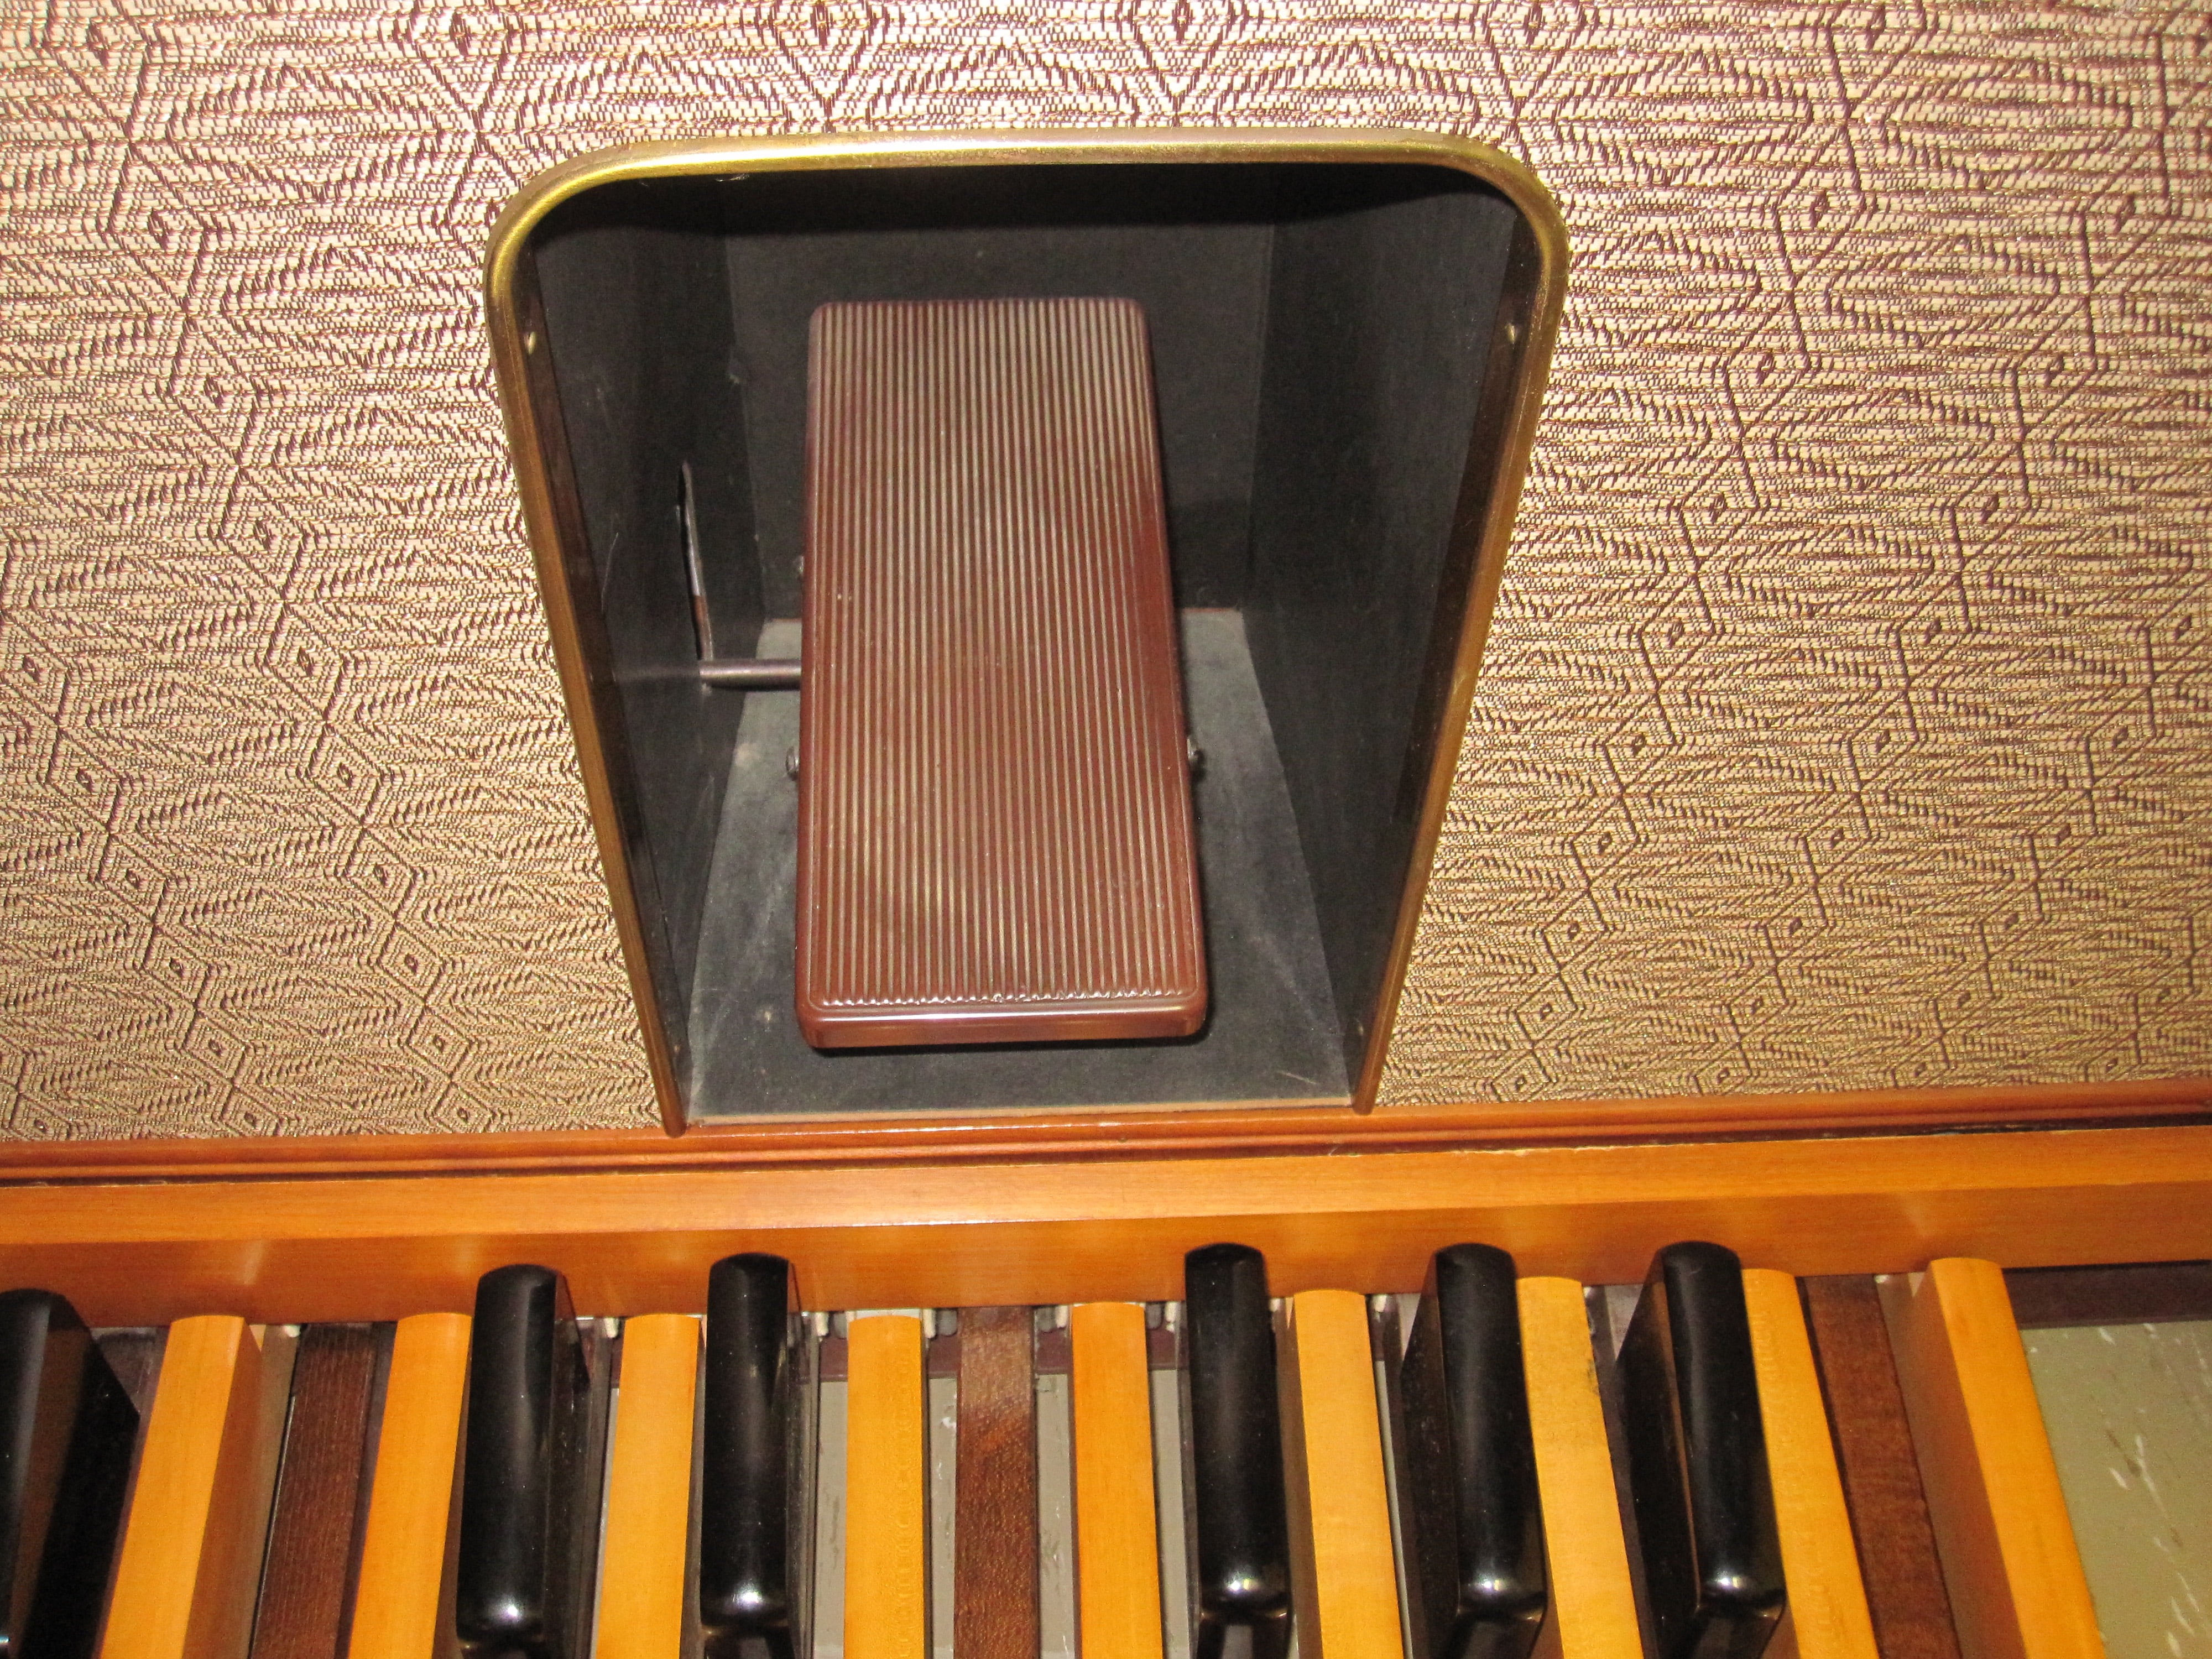
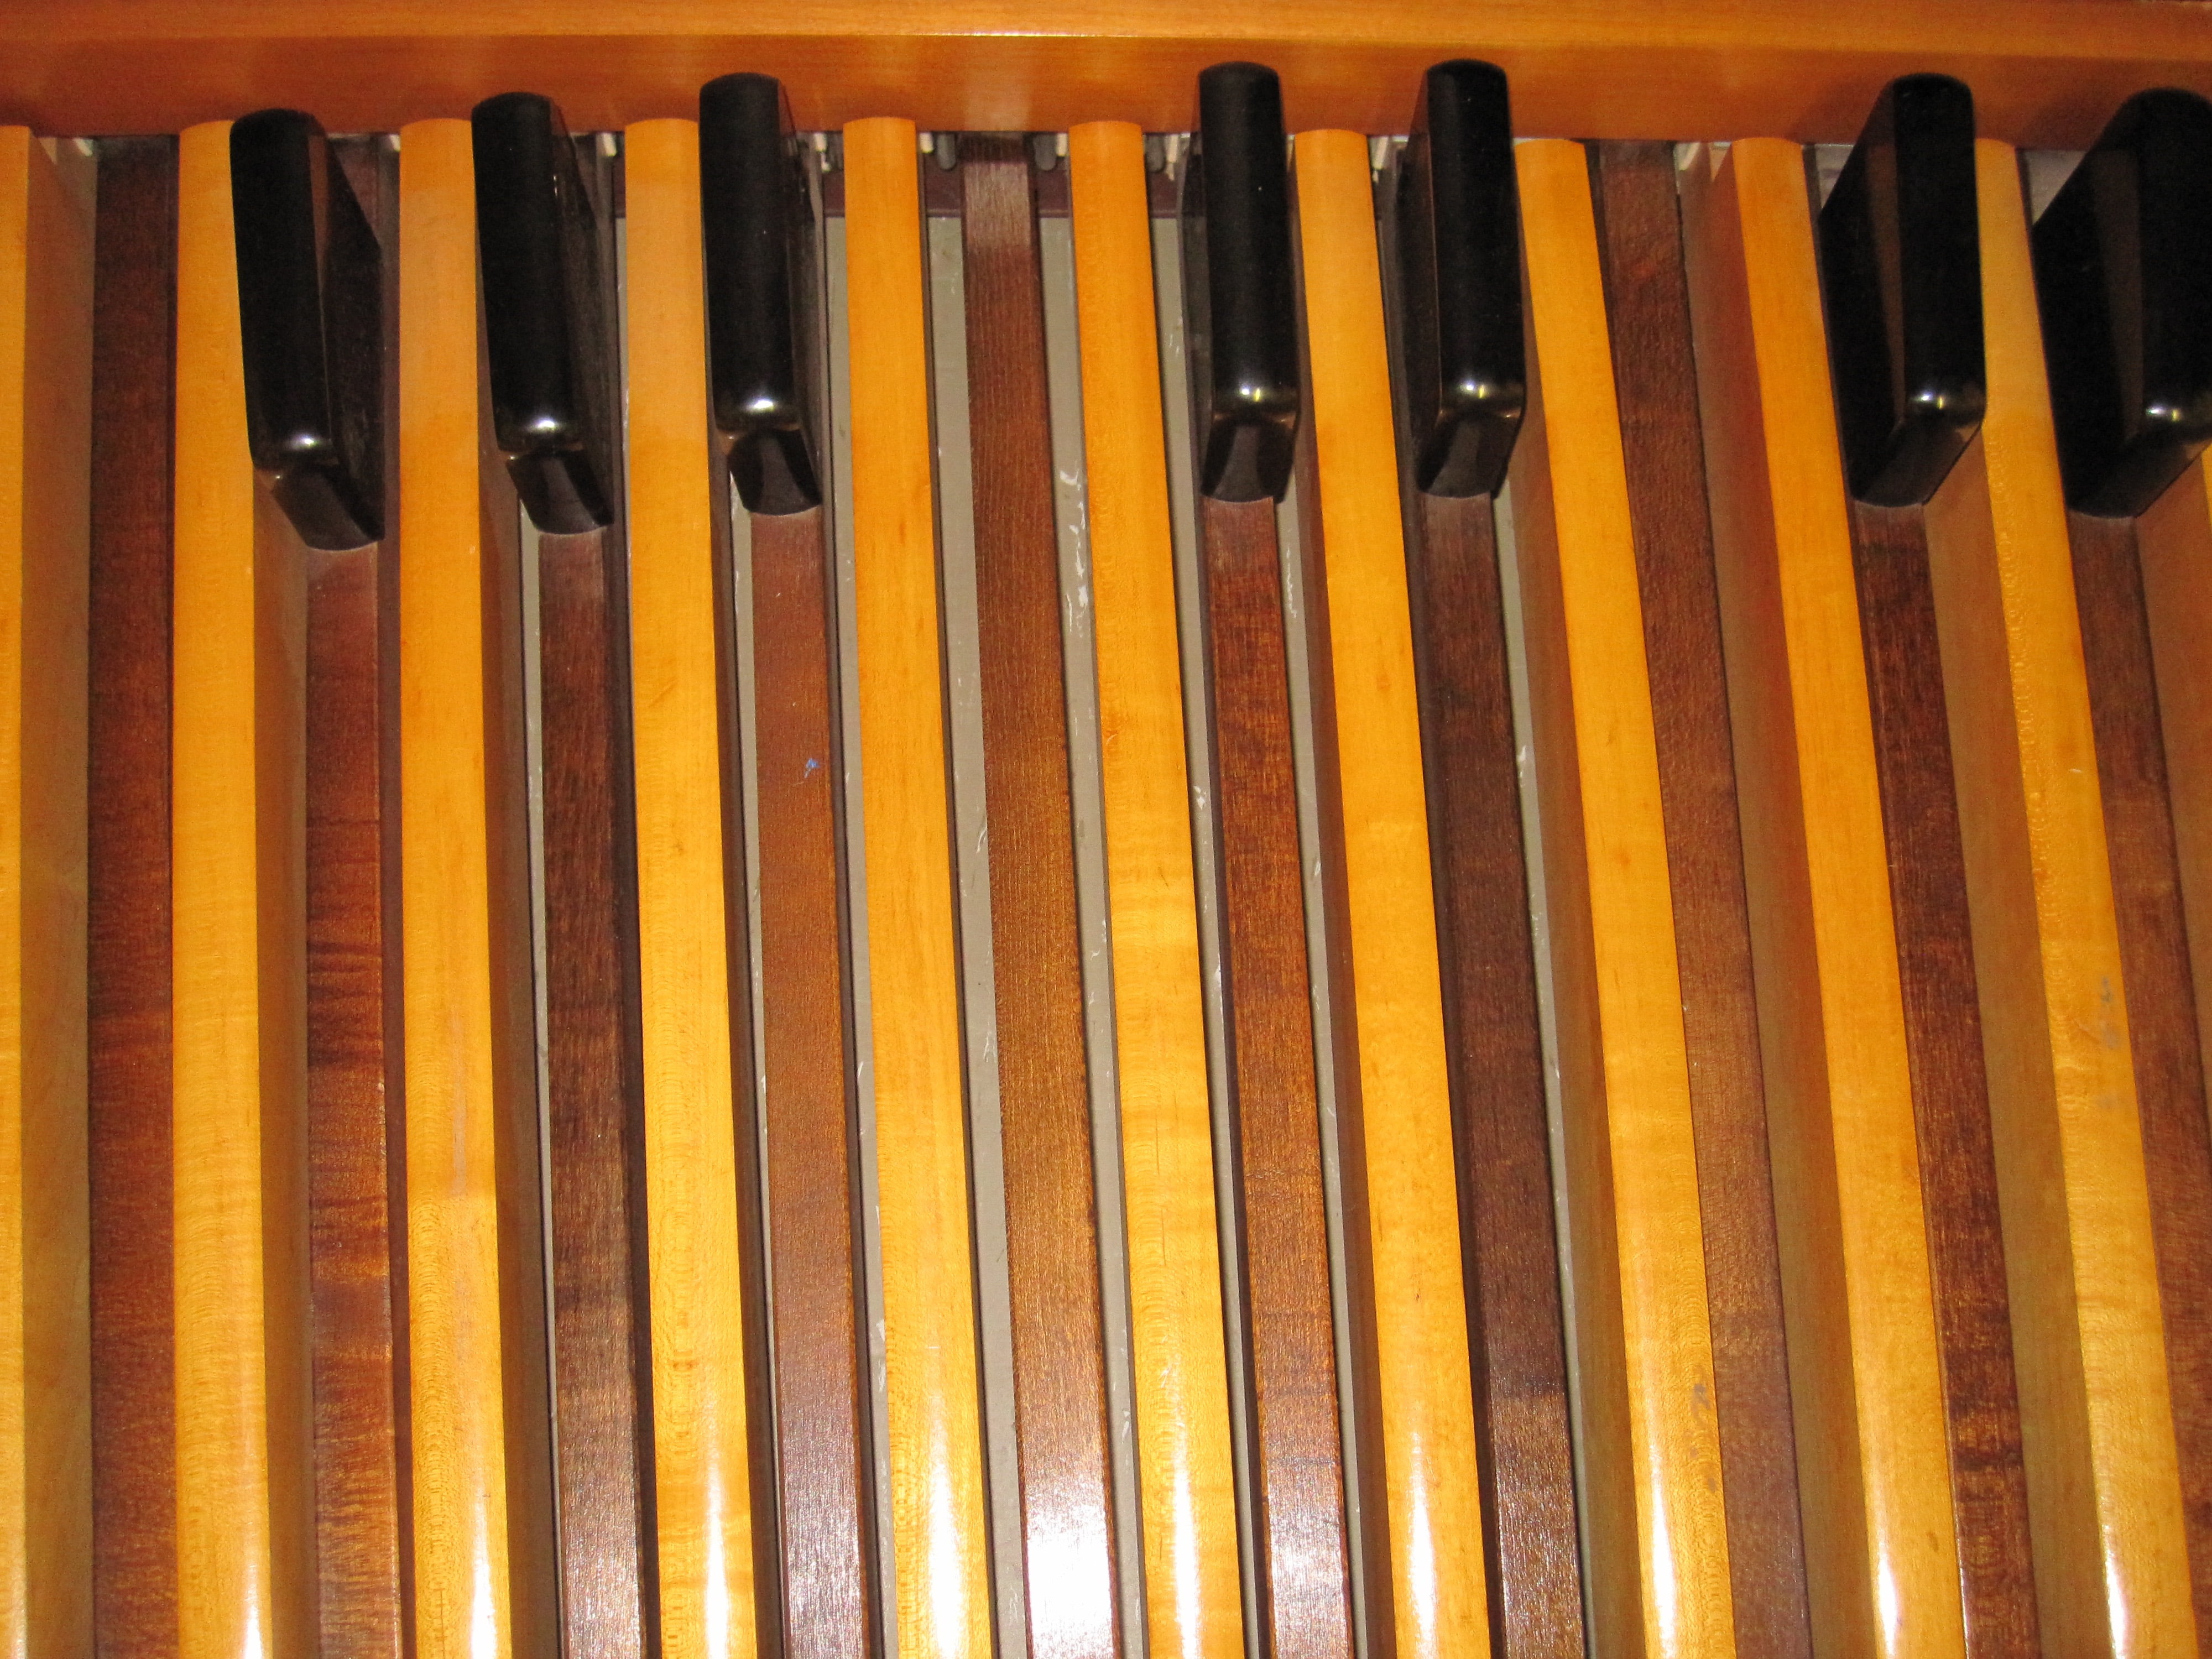
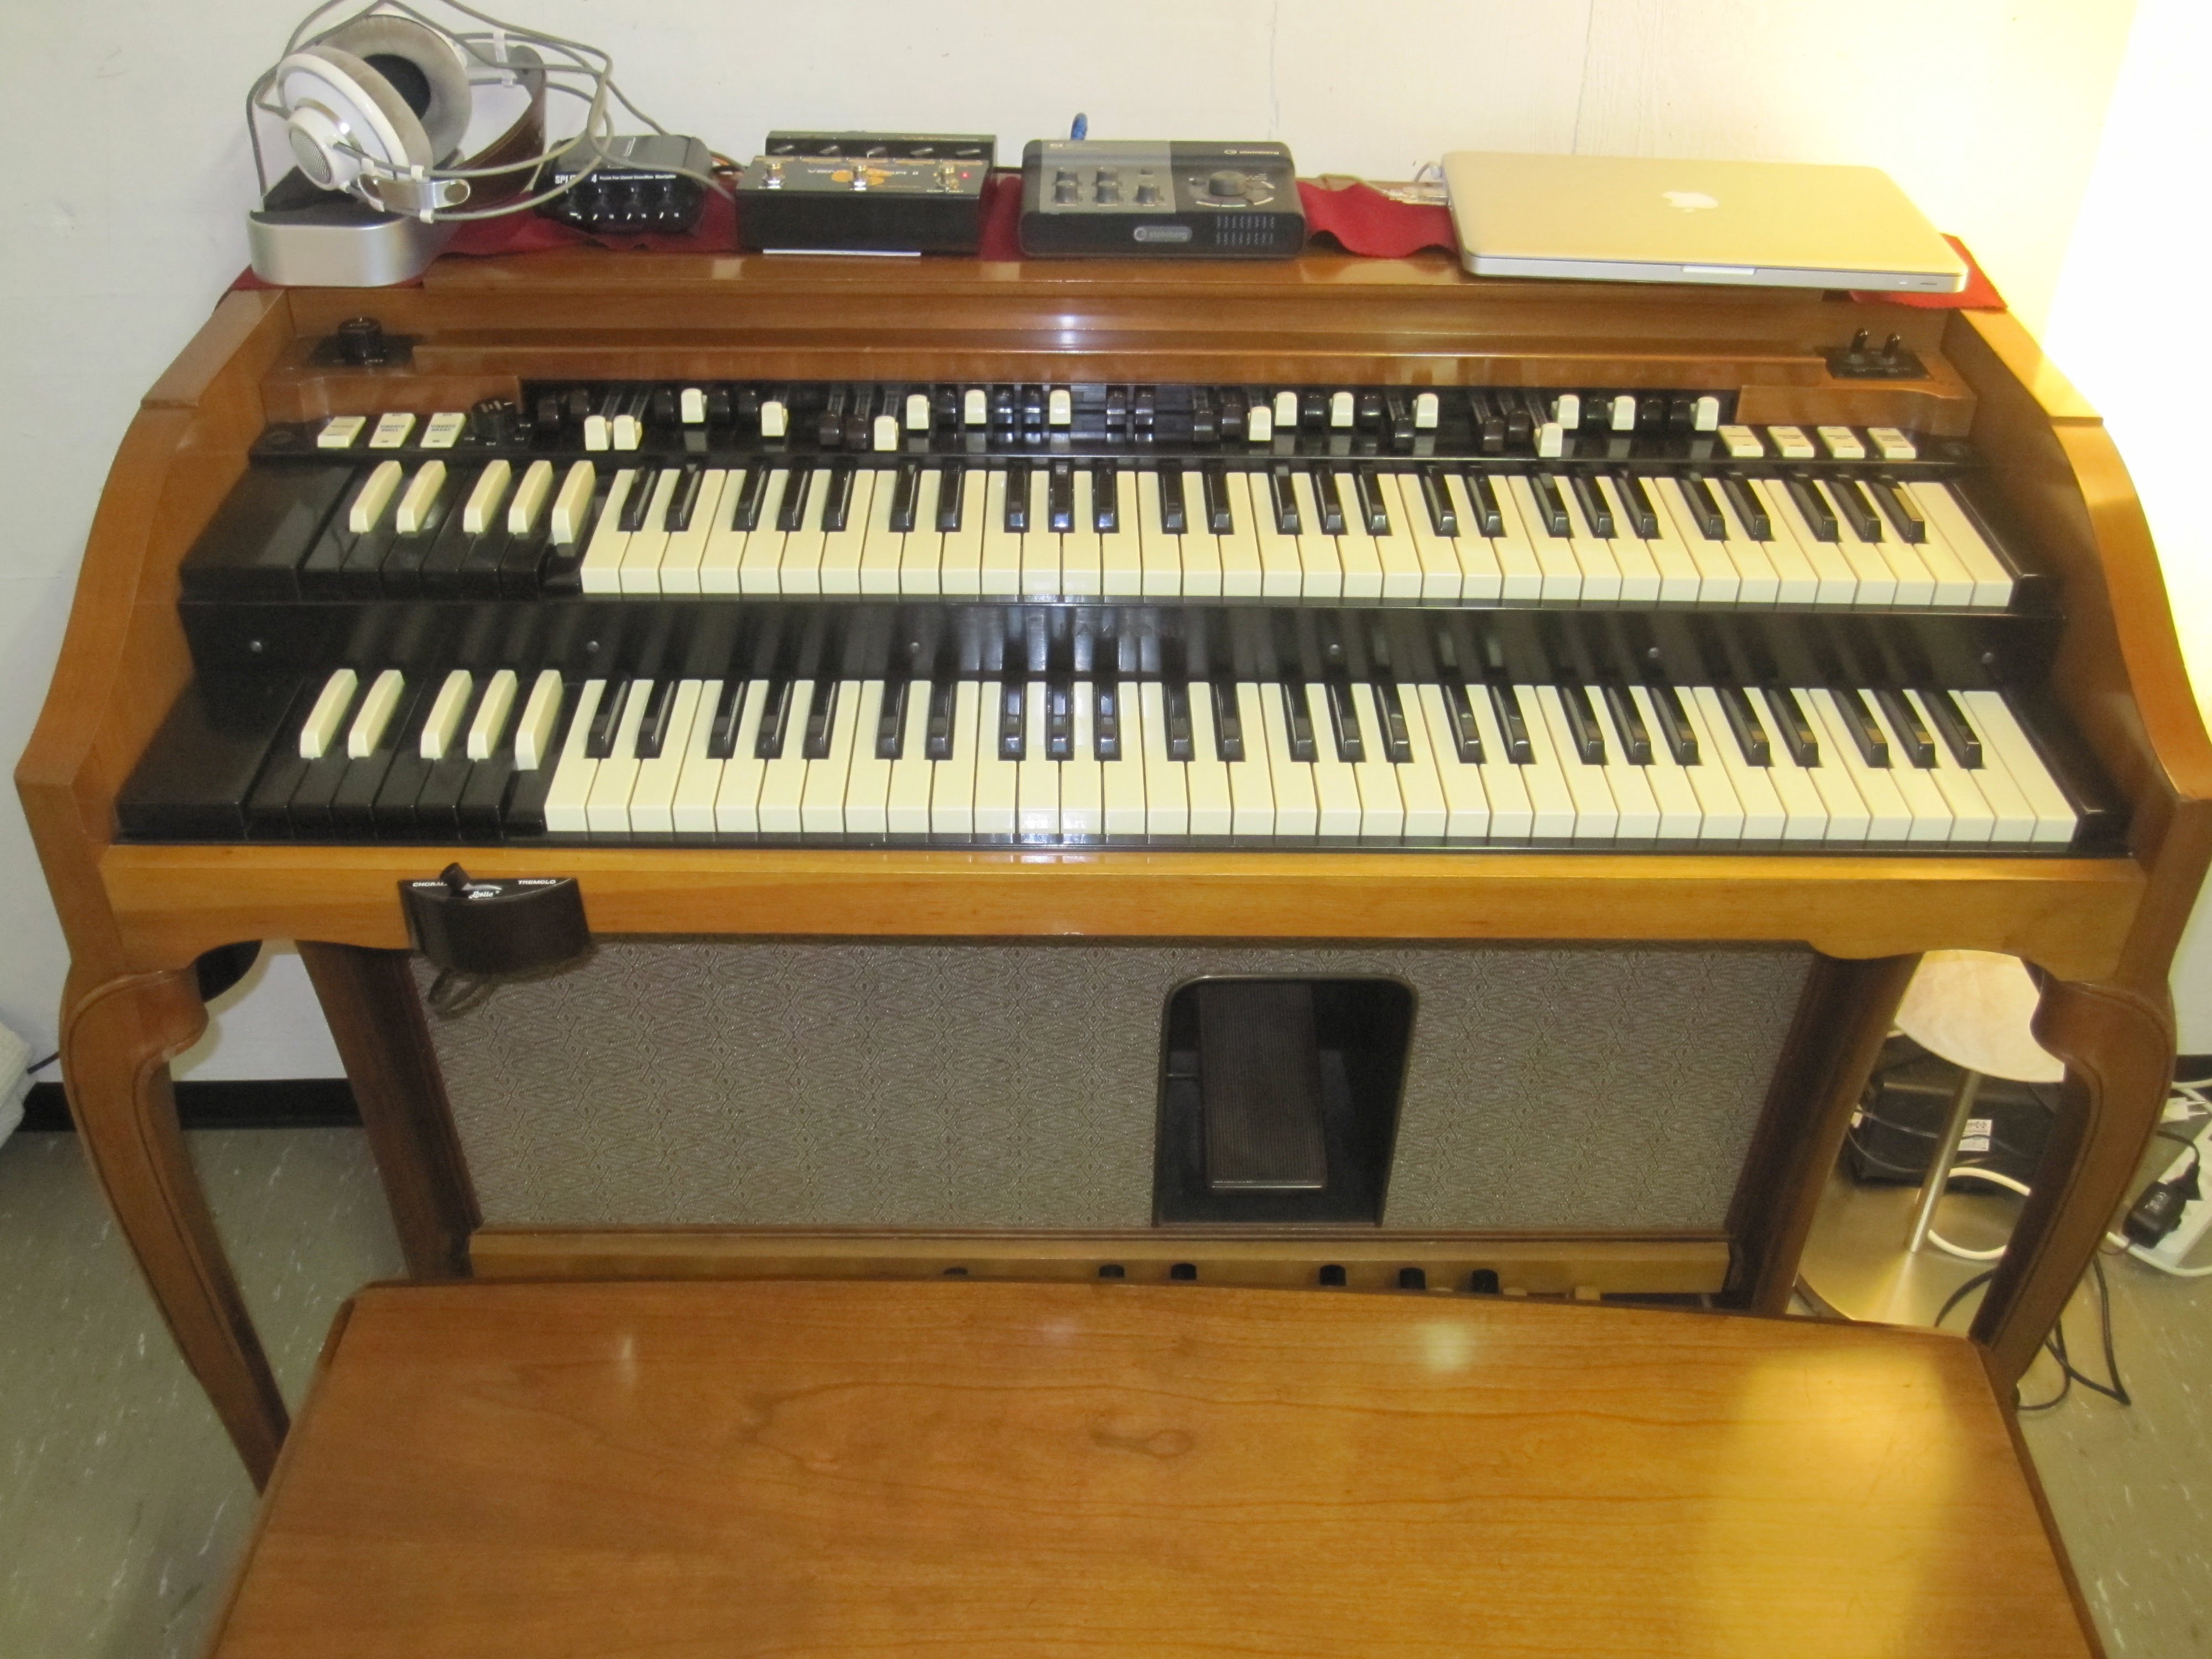
More pictures of my Hammond A-102
Today I took some pictures of the A-102.


Boogie Fun
https://www.wikiloops.com/backingtrack-jam-57868.php
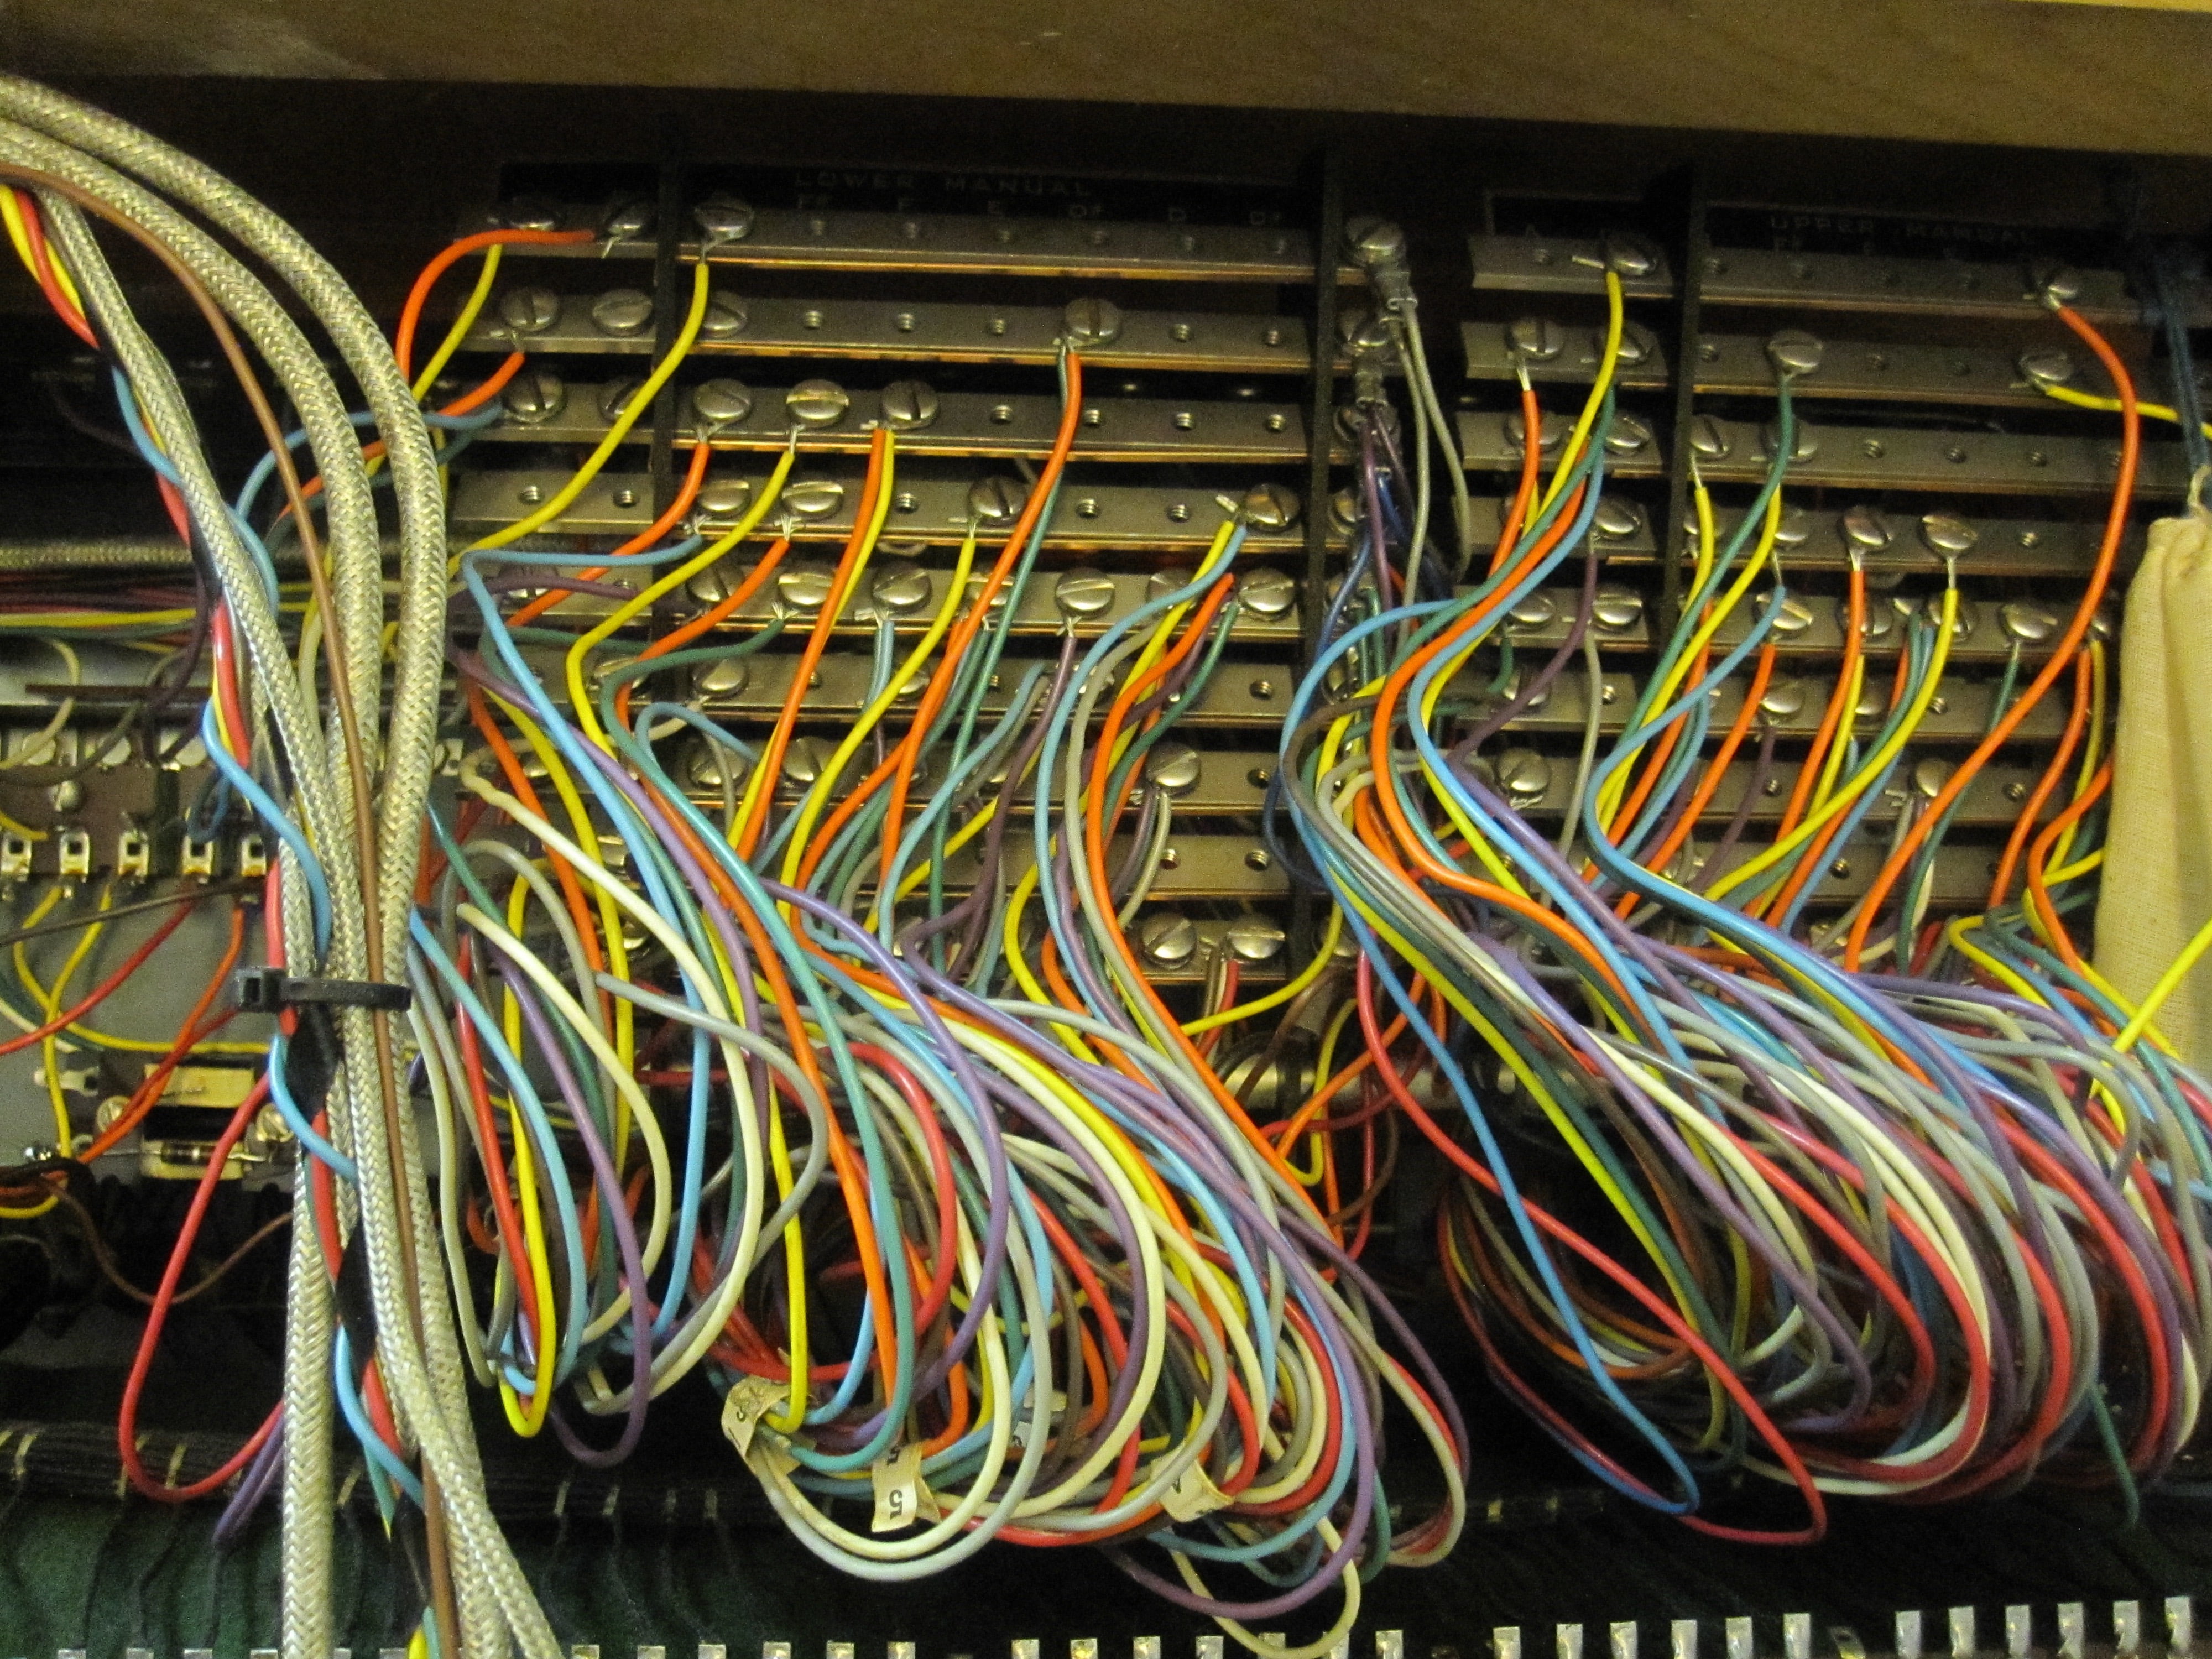
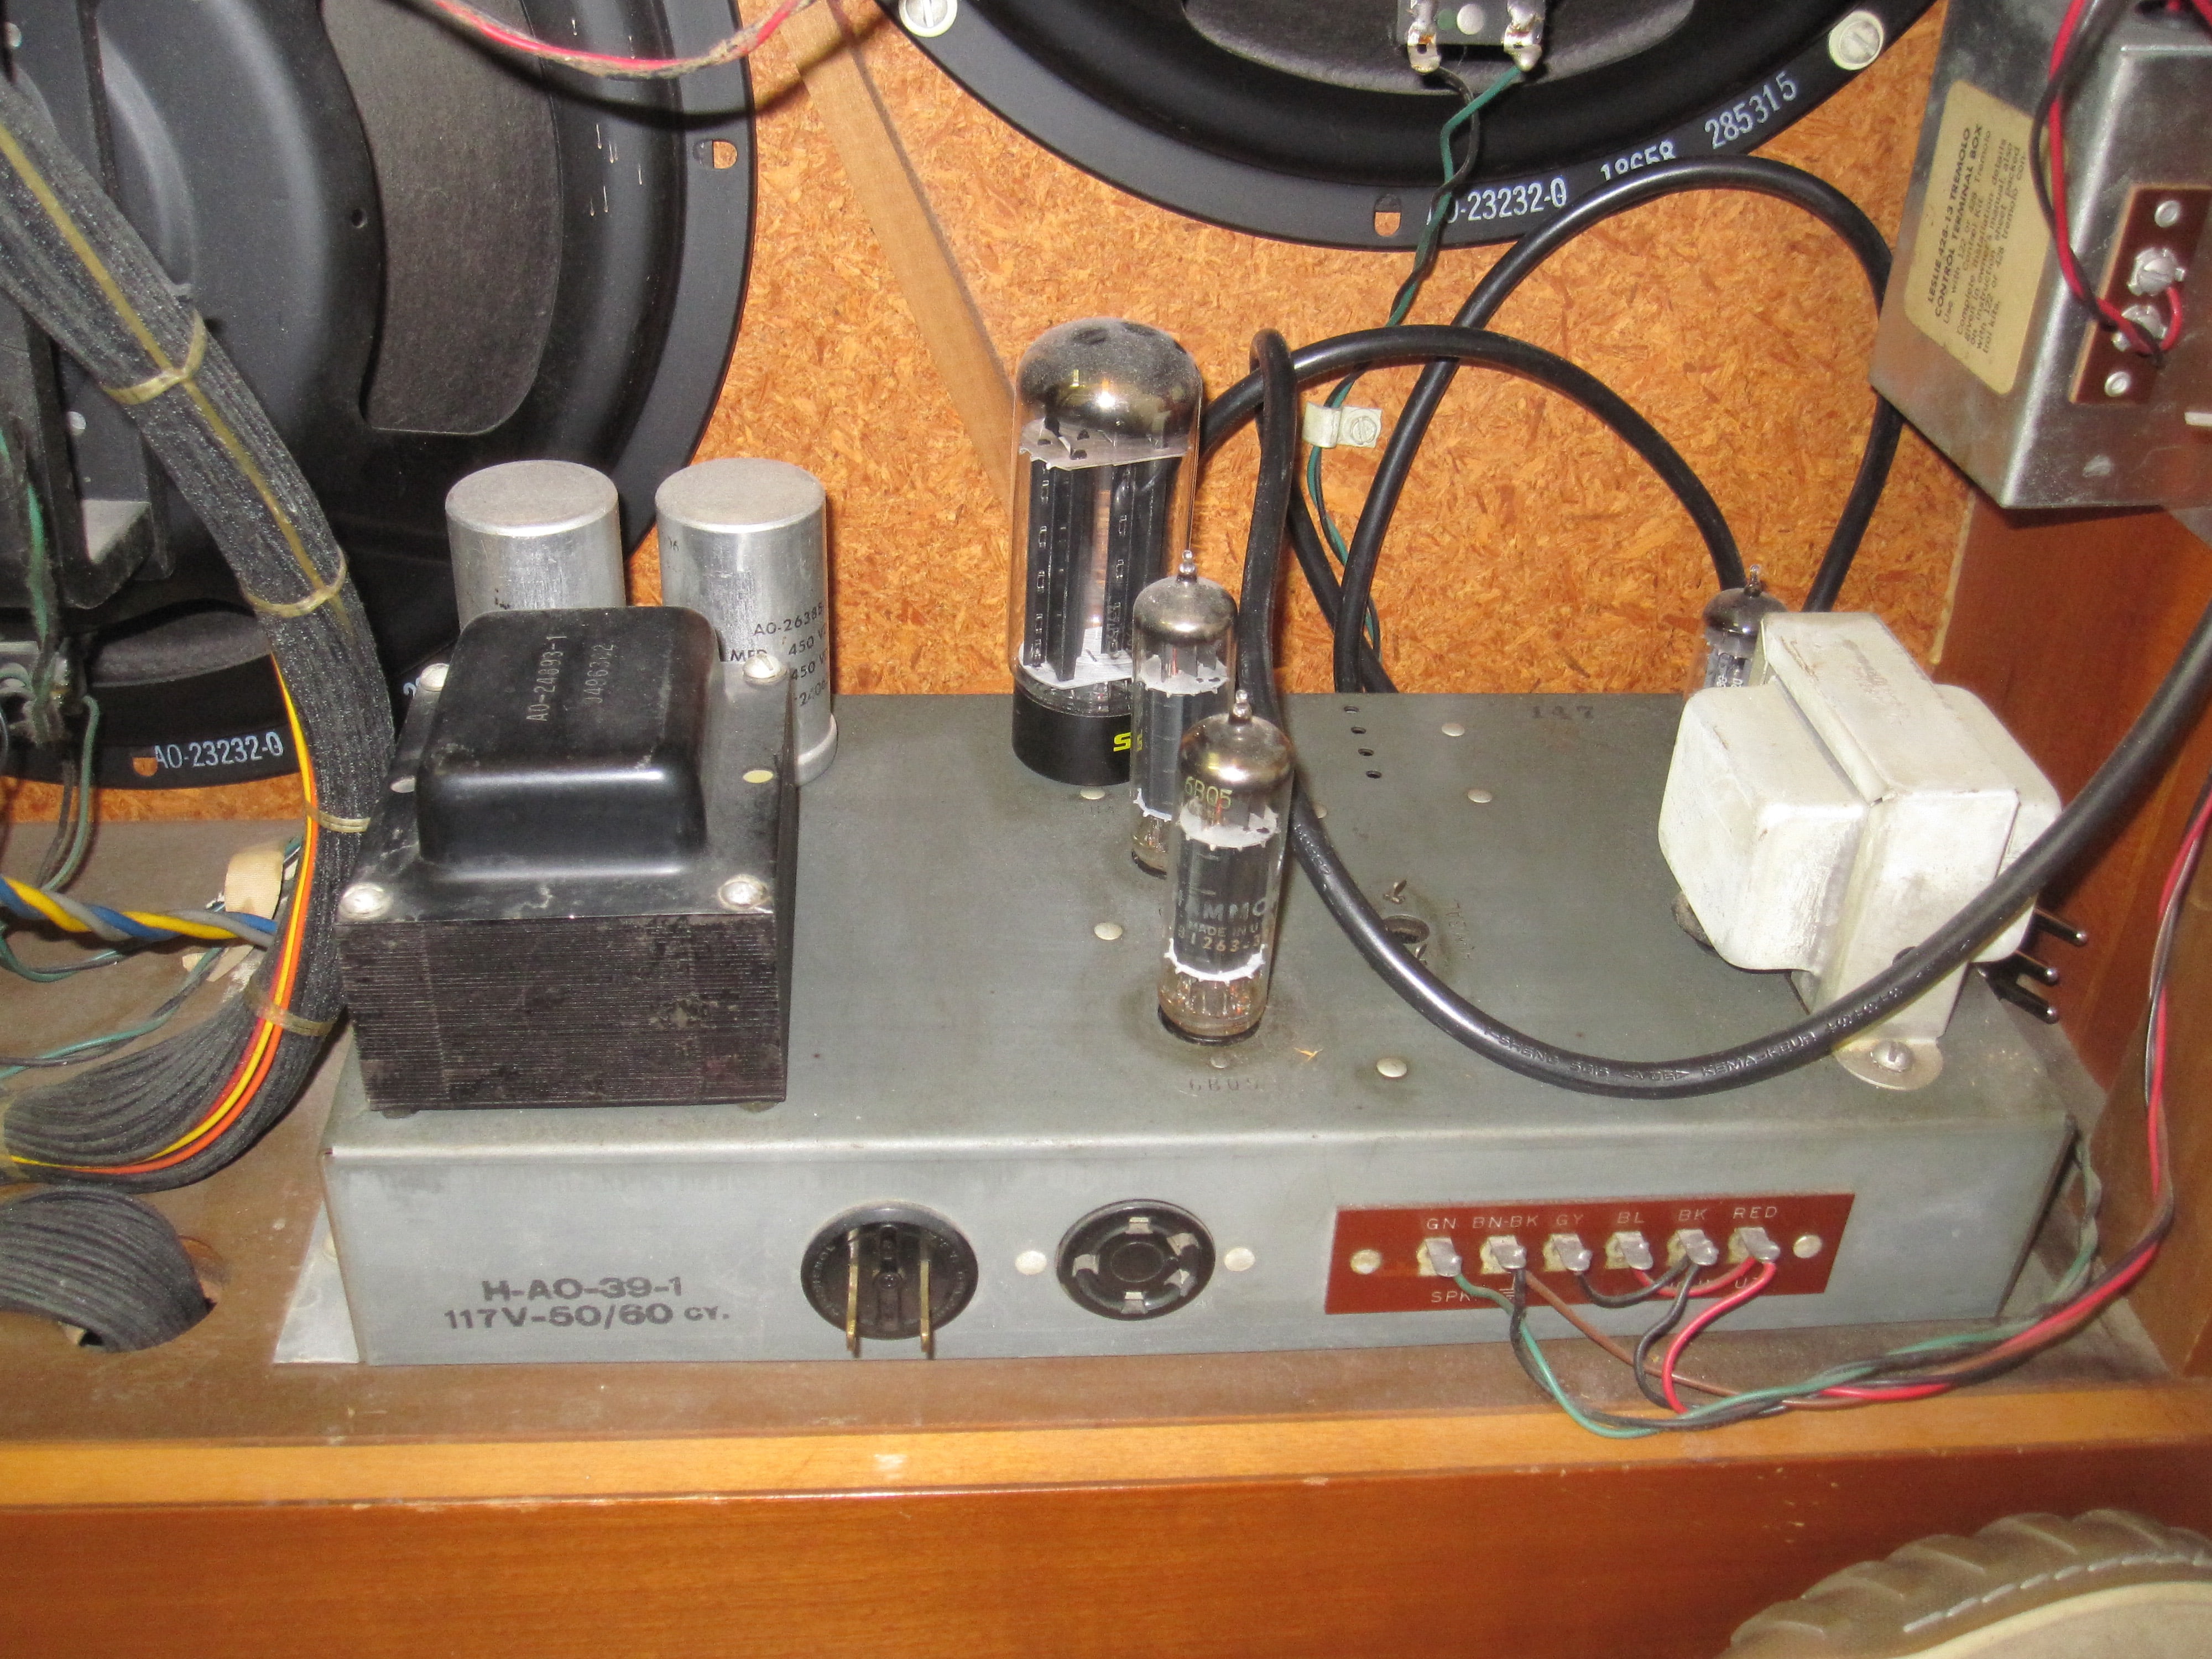
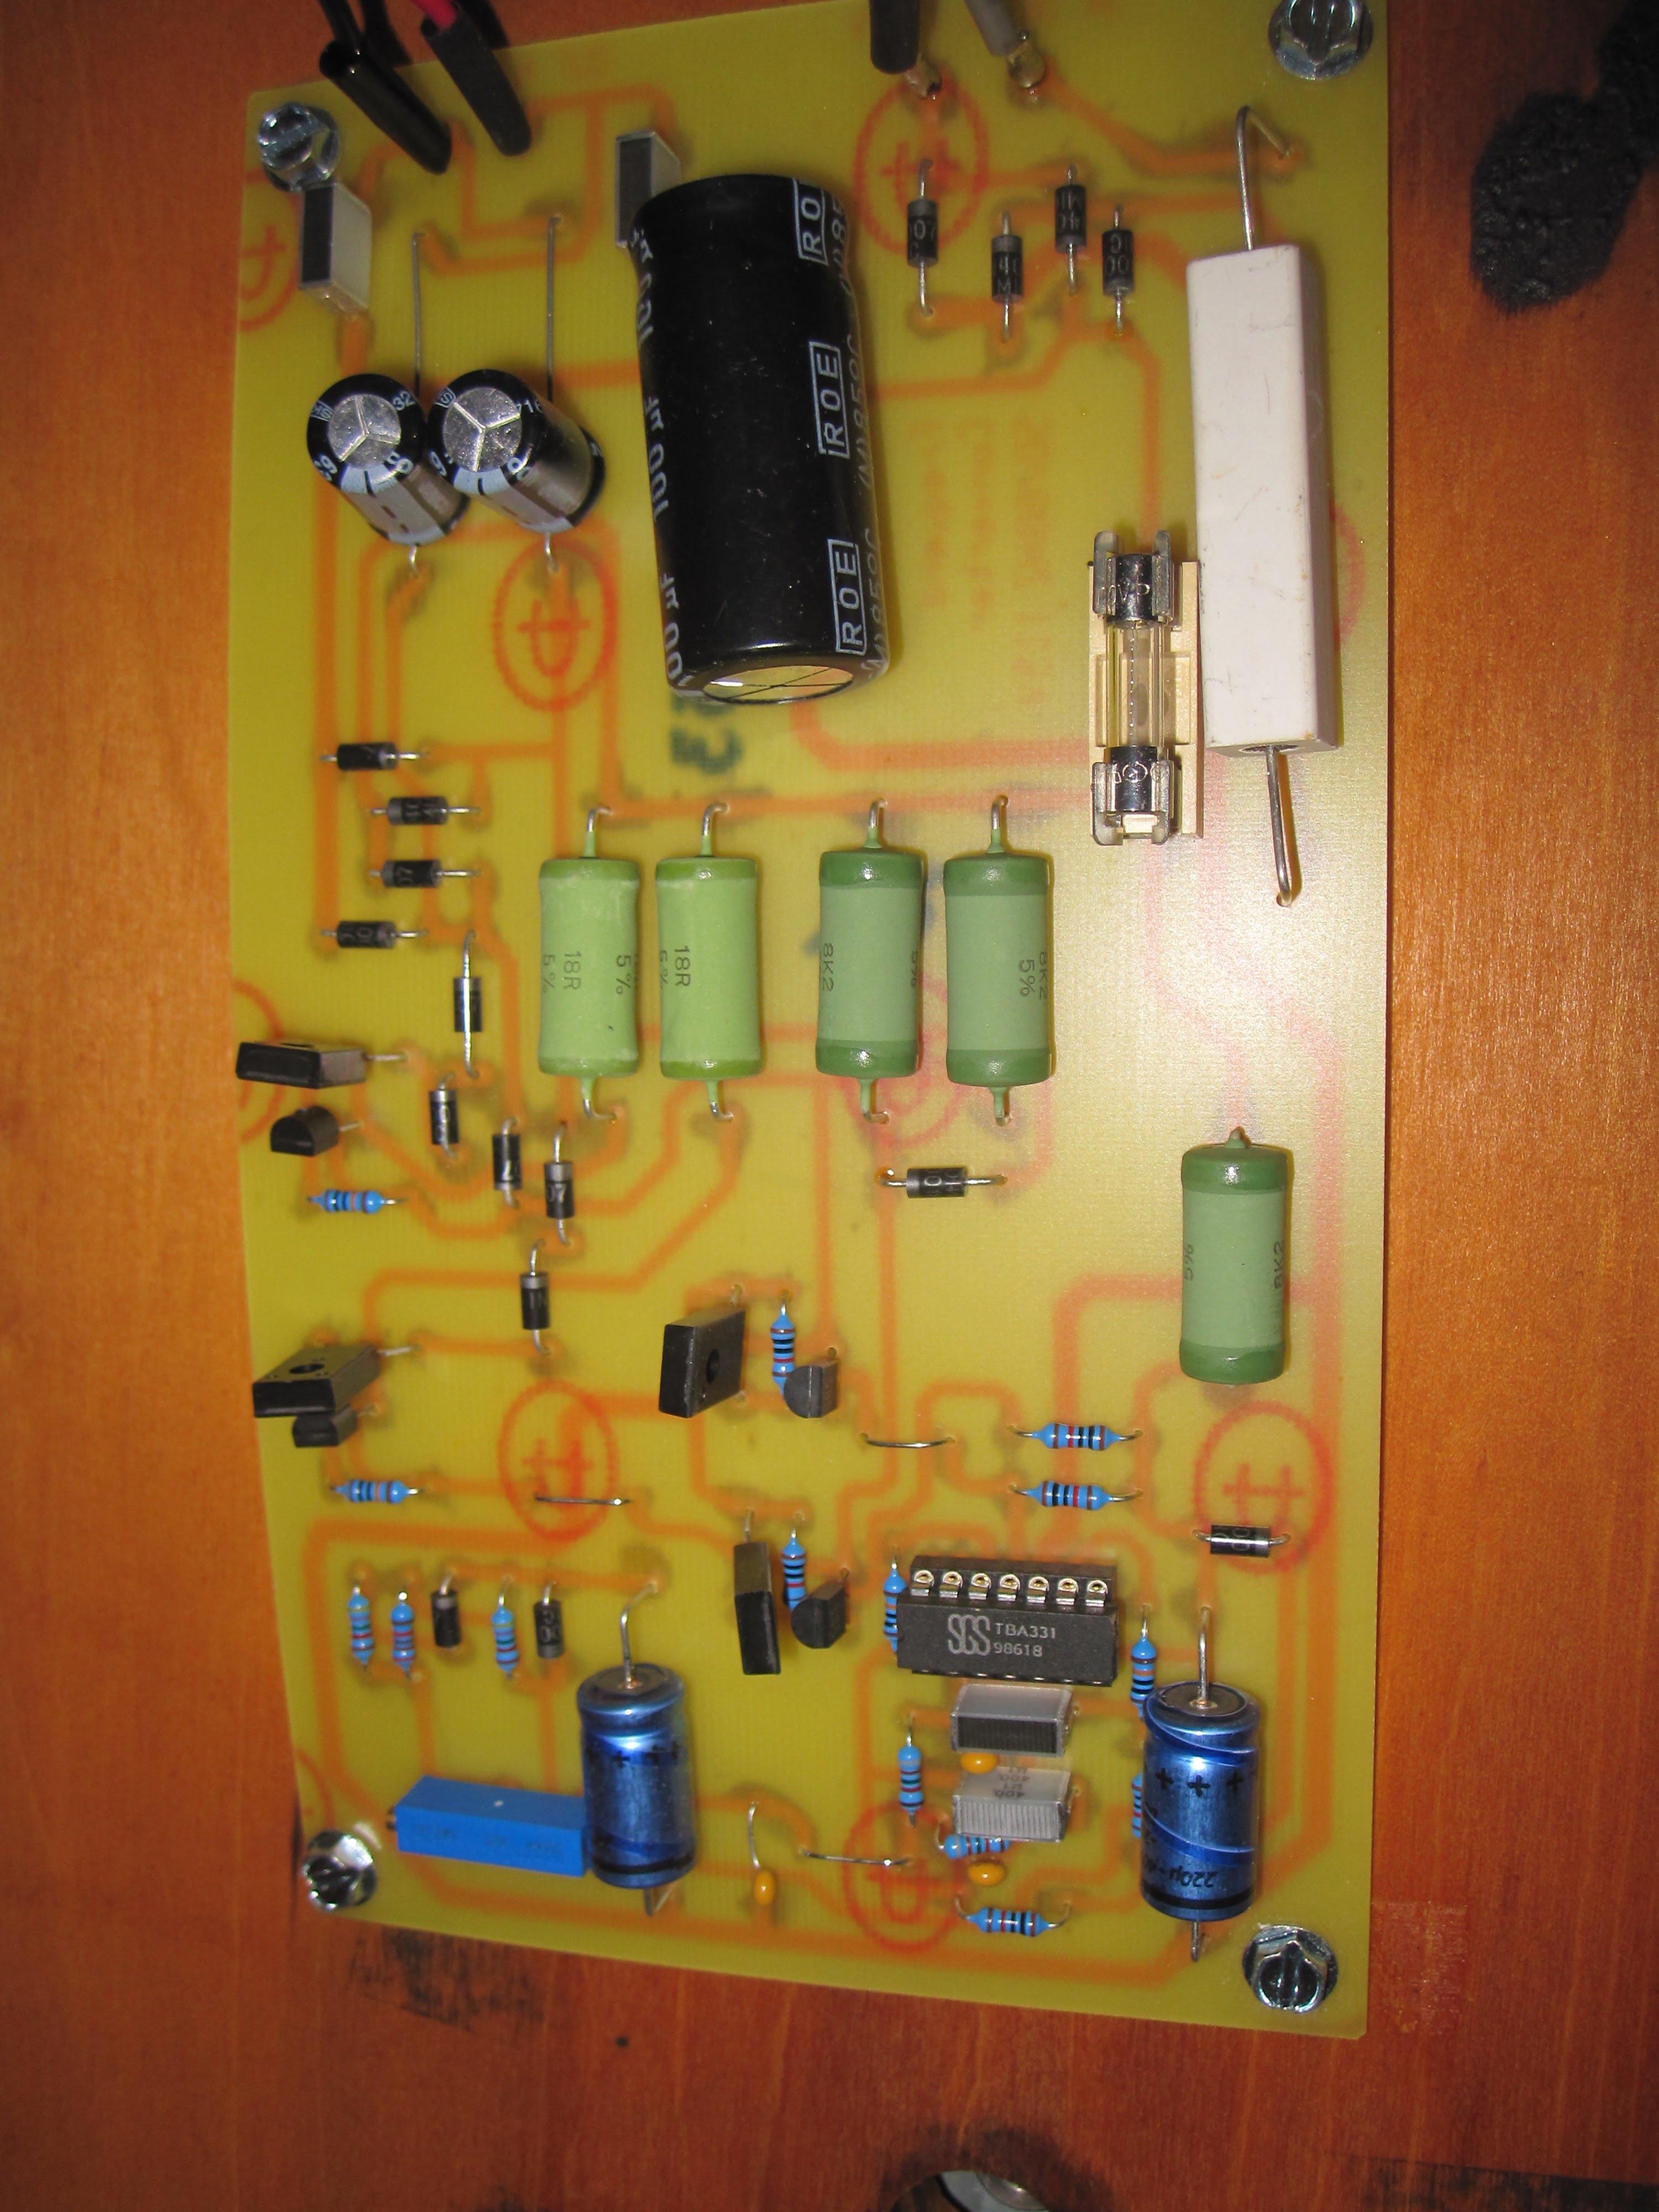
Repairing an A-102 Hammond
Found some very useful images on the organ forum showing a number of repairs that were done to an A-102. Covered are the lifting of the manuals, replacement of a key, and many more repair instructions are available.

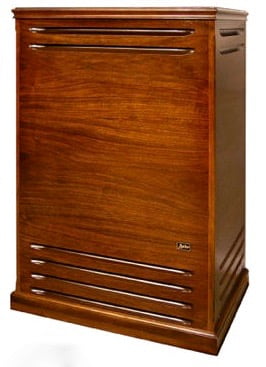
The Leslie 251
The Leslie 251 is a 2-channel Leslie that is the ideal fit for an A-100 series organ, since it has an additional channel to make use of the reverb amp that is found in the A-100.
Specifications
Cabinet: Selected hardwood veneers, with quality lacquer finish in woods and colors to harmonize with organ consoles.
Dimensions: 41 ” high, 29 ” wide, 22 1/2 ” deep
Speakers: Rotary channel, treble -compression type driver, permanent magnet, 16 Ohms impedance
Rotary channel, bass – 15 inch heavy duty, permanent magnet, 16 Ohms impedance
Secondary channel, two wide range 6 x 9 permanent magnet speakers, 16 Ohms impedance each
Amplifier: Two channels, with combined output of 50 watts
Power consumption: 200 watts, 2.2 amps
Weight: 147 pound net
How to hook up a 251 to a Hammond Model A-100 using Leslie-kit 8253
1. Attach the echo and tremolo controls to the wooden rail in front of the lower manual with the black oxide screws provided. Use two mounting screws in the rail. Make sure the organ is turned off for the following steps.
2. Remove the organ back and pass the control cables into the console by the following method:
Clip the red and green interceptor plugs and sockets off the echo control cable and strip the wires 3/8″. Push a small screwdriver over the felt dust seal between the lower manual and the knee panel. Push the cables through this opening into the console. From the back of the console, reach behind the tone generator and pull the cables through
3. Position the console connector near the power amplifier so that the power and control cables will reach. Install it with wood screws.
4. Cut the green lead which connects the amplifier output to the main speakers. Remove 3/8″ of the insulation from each of the cut ends. Connect the amplifier end of this lead to the red lead from the echo control with a wire nut. Connect the speaker end of the lead to the green lead from the echo control.
5. Disconnect the reverberation input lead (green) from the main speakers. Strip and connect it to the orange lead from the echo control with a wire nut.
6. Detach the “hot” lead (gray or blue) from the reverberation speaker terminal, strip it and connect it to the blue lead from the echo control with wire nut.
7. Solder the yellow echo control lead to the “hot” reverberation speaker terminal.
8. A100: Connect the plug from the console connector into the contact socket on the rear apron of the power amplifier chassis.
M100: Cut off the 5 -pin plug from the console connector and strip all three leads about 1/4″. Solder the brown cord to the outside AC-terminals under the metal cover on the left-hand side of the rear apron of the power amplifier. Fasten the red lead to any convenient ground point on the amplifier chassis.
9. Connect the brown lead from the echo control to the short, single, brown lead from the console connector, with wire nut.
10. Connect the black lead from the echo control to the black lead from the console connector, with wire nut.
11. Connect the brown double wire from the tremolo control to the short, double, brown wire from the console connector, with wire nuts.
12. Connect the speaker cable between the Leslie and the socket on the console connector.
13. Replace organ back
If the organ’s reverberation control does not work properly, reverse the gray and black leads (marked “Speaker”) on the reverberation amplifier terminals.
WARNING: the 251 connector uses the “6C” pin-out, which is distinct from either the 122-style or the 147-style single-channel pin-outs. Make sure you know how the connector is wired before you plug in that six-pin.
Inside the A-102

Miking a real Leslie
The Hammond tone-wheel organ was invented by Laurens Hammond in 1935. The Leslie tone cabinet was built by Don Leslie in 1940. “Leslies” are speaker cabinets made of solid wood with louvres to let the sound out of the top and bottom of the cabinet and with two rotors that spin and project the sound out into the surrounding space. In essence they are sound modification devices, more like musical instruments than speakers, designed to add to the sound of an instrument by introducing a 3D Doppler effect.
Apparently Don Leslie offered his speaker and cabinet design to Laurens Hammond, but this gentleman didn’t like the sound of a Hammond through a Leslie at all. Hammond dealers were prohibited from selling them in the early days.
Even without advertising, the Leslie was much appreciated and increasingly used by organ players, and by the mid-50s what most people considered to be the Hammond organ sound was actually the sound of a Hammond organ amplified by a Leslie tone cabinet.
The moving sound of this winning combination has something special about it. And it still moves players and listeners alike.
The Hammond and Leslie brands continue on today and are owned by Hammond Suzuki USA. To the aficionado, the original organs, the best known of which are the B3, C3 and A-100, are still the greatest and there is a thriving market for vintage Hammond organs – and Leslies sixty years after they were first introduced.
Recording a Lesie is an art in itself, and there are may ways of approaching it. There’s a nice article on some of the options for doing this on the Shure website, Miking the Legendary Leslie Tone Cabinet. More information can be found at how do you record a Leslie speaker and Miking the Hammond and Leslie.
Another cool video, which shows footage of a clinic on recording the Hammond:
Recording the A-102 with the Neo Ventilator II
Here’s a recording I did with the Neo Ventilator into Garageband, with just a touch of eq added.
https://www.wikiloops.com/backingtrack-jam-56821.php
I recorded the two channels coming out of the Neo Vent into a stereo track, although I may be a better approach to take two mono channels, so the width can be varied easier for a stronger effect. Not quite happy yet with the slow and fast speeds of the rotors nor the rampup time, I’ll have to experiment with that some more.
Jim Alfredson has done a great review of the Neo Vent, and seems to be able to record a more pronounced effect from the pedal, I’ll have to try and figure out what he’s doing different.
Jon Lord talks about his Hammond organ sound
Jon Lord (‘Deep Purple’) gives a demonstration on how he got his signature sound, and demonstrates it playing the organ solo from ‘Highway Star’.